
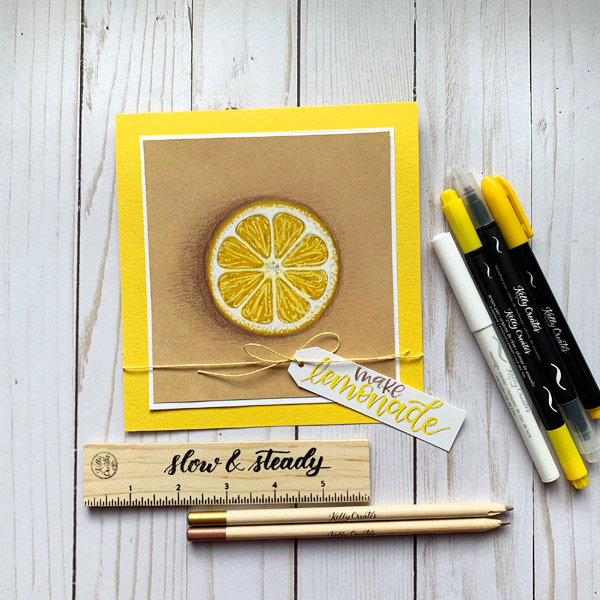
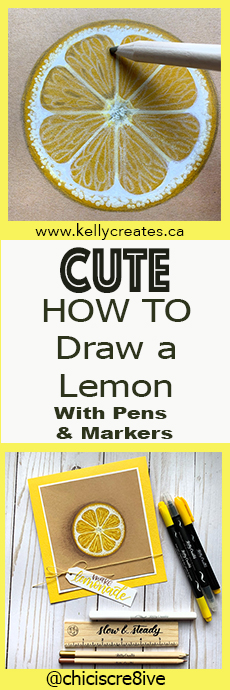
Chasity @chiciscre8ive is going to brighten your day with this ‘sweet’ lemon card…and she will show you how to use Kelly Creates pens and pencils to draw and colour a lemon!

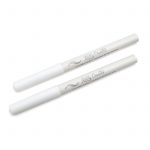
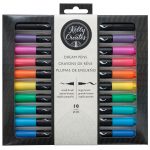
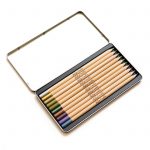
Kelly Creates Supplies: Project Paper Pack: Kraft card stock and white card stock, Dream pens, Multicolor Small Brush pens, Starlight Metallic Colored Pencils, Moonlight Markers, Blending Pen, Deluxe Lettering Kit (pencil, eraser, ruler)
OTHER SUPPLIES: Circle Cutter or Circle Tracing guide (glass or cup), Yellow card stock, adhesive, paper trimmer, yellow twine,
Hey lettering family! Have you seen the 2020 Pantone color of the year? It’s the most beautiful shade of Classic Blue. I have seen this blue paired beautifully with lemons. Seeing lots of lemons in home décor at the moment!
What if we could incorporate lemons into our lettering and crafty projects? Today I am going to show you how to use your Kelly Creates lettering supplies to make a fun lemon card!
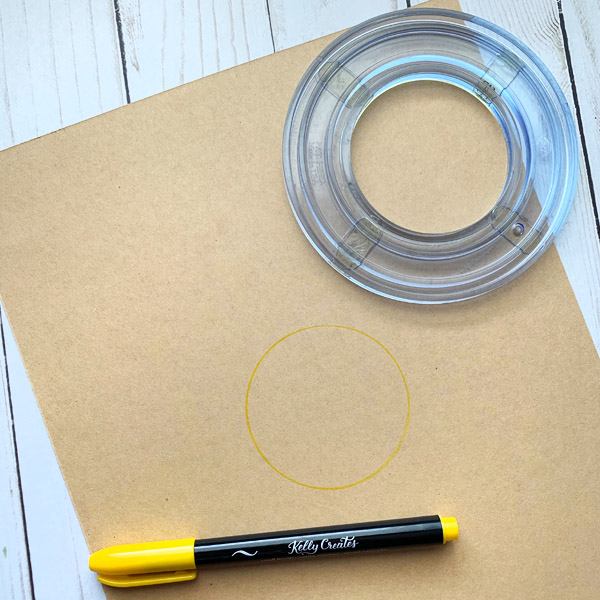
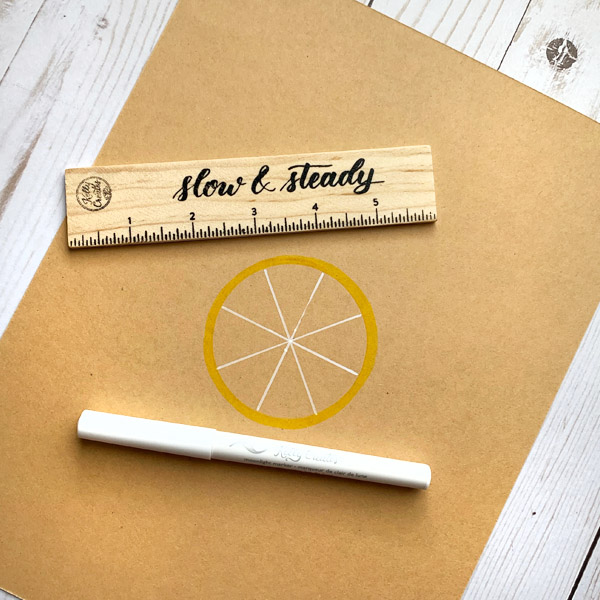
The first step is to grab a sheet of Kelly Creates Kraft Silky Smooth Card stock from the Project pack and a round object you can trace. I used a circle cutter, but a cup would also work perfectly! Using the Kelly Creates Multicolor Small Brush Pen ‘Sunshine,’ draw a circle. (NOTE: You could also use the Kelly Creates Multicolor Fineliner ‘Sunshine’ for this.
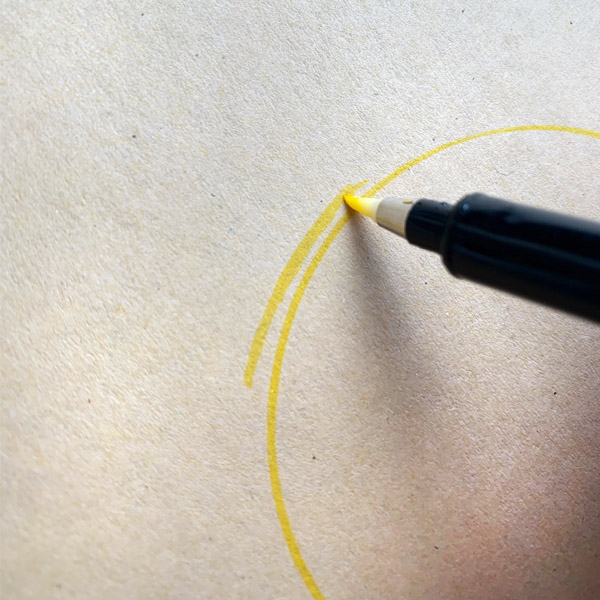
Using the same pen, make the line thicker all the way around. Don’t worry too much about being exact…. lemons aren’t perfect either!
The next step is drawing the lines that are the separation for each section of lemon. I used the ruler from the Kelly Creates Deluxe Lettering Kit. I measured the width of the circle and cut that number in half to find the center. I did this both vertically and horizontally to make sure that I was drawing from the center of the lemon.
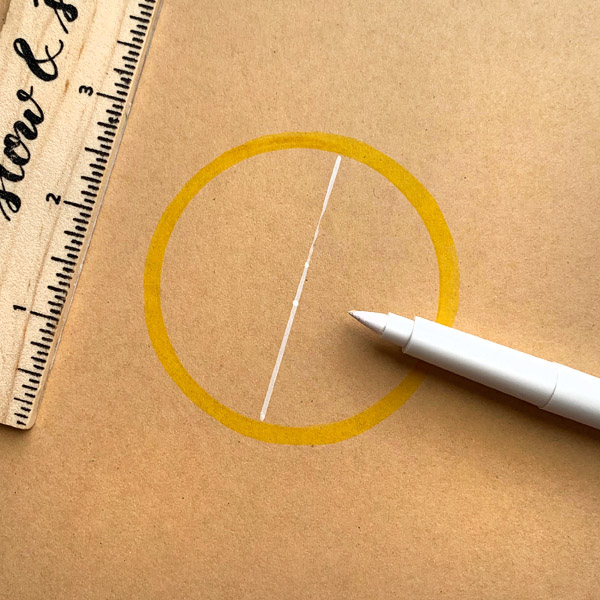
Using the Kelly Creates Moonlight marker, draw the vertical and horizontal lines dividing the lemon. Then draw the rest of the lines dividing the circle, making sure they are evenly spaced.
The next step is to round the edges of the lines you just drew on the outer edges with the Moonlight Marker. This makes the lemon look a little more realistic, but you could leave out this step.
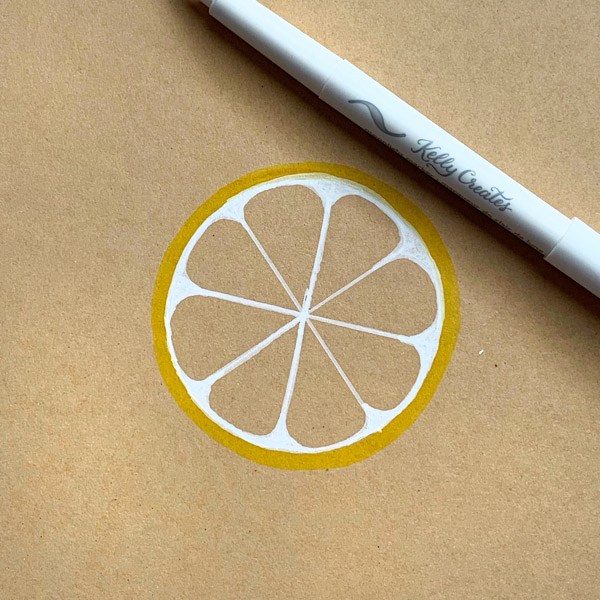
Then, fill in the rind with the Moonlight Marker to make it more lemon-like! (NOTE: To layer the Moonlight Marker for a whiter more ‘opaque’ effect, wait for each layer of white to dry before colouring on top.)
Next, take the Kelly Creates Blender Pen and soften the outer edges a bit by blending. Blend quickly and lightly, or the paper will tear. This will blend the white and the yellow nicely.

Then take the Dream Pen Sunshine and go over the edges again to blend and layer some more. Layering will be important in creating this lemon. I also took the Kelly Creates Blender pen and did a base layer inside the sections of the lemon where there is no ink yet.
Use the Kelly Creates Moonlight Marker for a stipple technique, making tiny dots between the inner and outer rind. This will give some dimension to the peel.
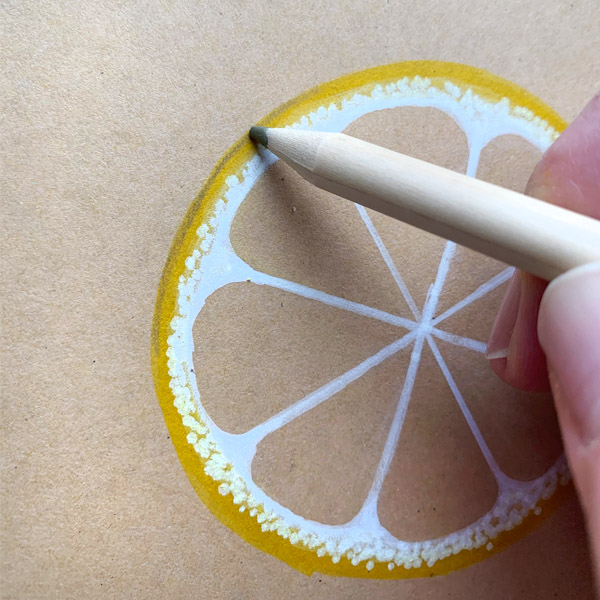
Now, this is where the Kelly Creates Starlight Metallic Colored Pencils come in! Using the Gold pencil, softly outline the outside of the lemon. You can always add layers to get a darker effect, so lighter pressure is better. This will give depth to the lemon slice.
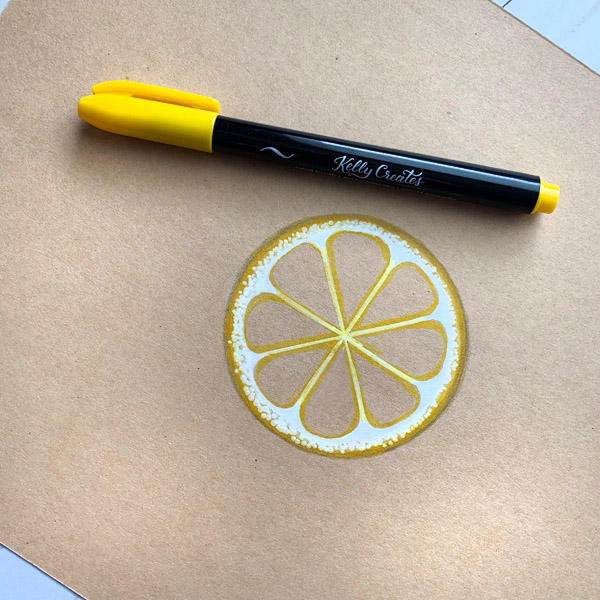
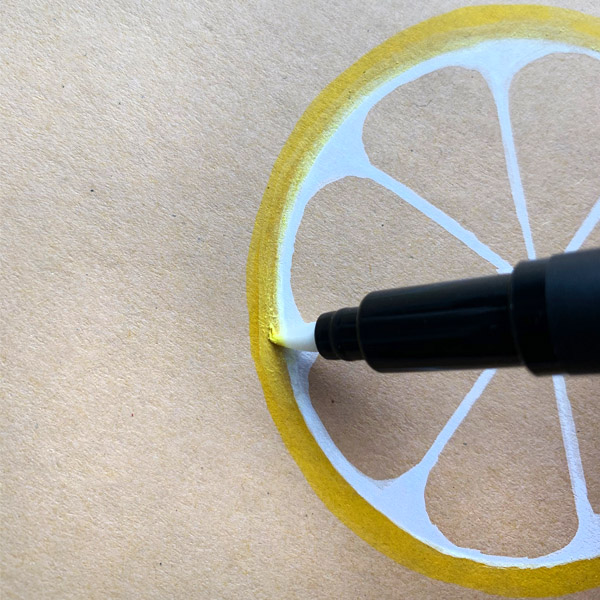
Next, using the Multicolor Small Brush ‘Sunshine’ Pen, line the interior edges of the sections. It’ s OK to go over the white. Since the Moonlight Marker is opaque, it’s easy to go back over with white and cover the yellow.

Then start to work in the center of the lemon. I used the Moonlight Marker and the Kelly Creates Gold Metallic Colored Pencil in layers to achieve the look of the center. Don’t be afraid of layers until you got the look you desire.
Now, let’s get to the fun part! There are two ways to go about this next step. You can use the Moonlight Marker to create the “lines” in the sections right on the Kraft paper, and then cover with the Sunshine Dream Pen or you can start with the Sunshine Marker and then layer the Moonlight Marker on top. If you try the first way, the Moonlight Marker will show through the yellow, but will be less subtle. There isn’t a wrong way, so try both and see what you prefer! Just remember to use light pressure to get fine lines.
I bet at this point your lemon is starting to take shape! (Pun intended)
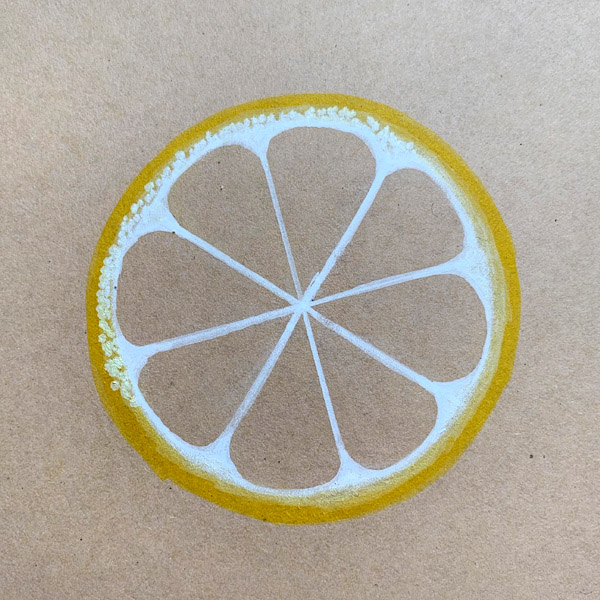
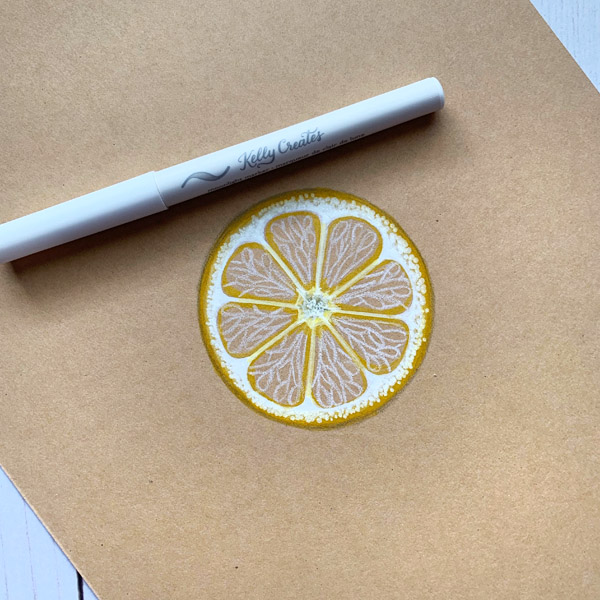
Now, let’s create some subtle shadows. Using the Kelly Creates Gold Starlight Metallic Colored Pencil, darken the outer edges of the sections and add a few small shadows inside each section.

It should look something like this.

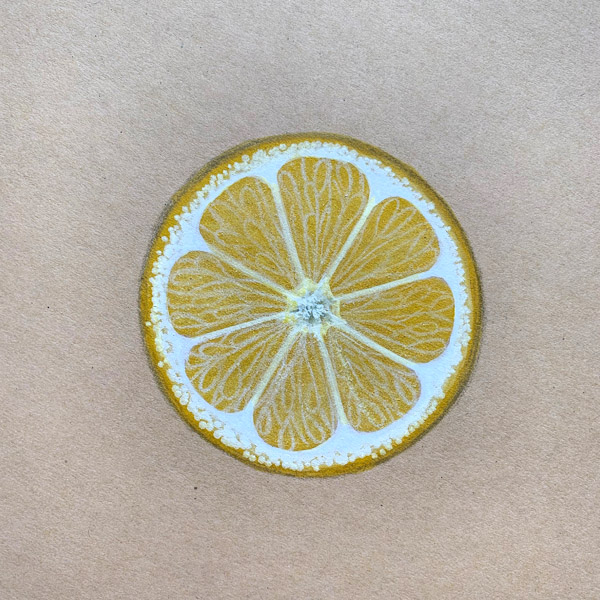
The final steps are to add some white highlights to the sections using the Moonlight marker.
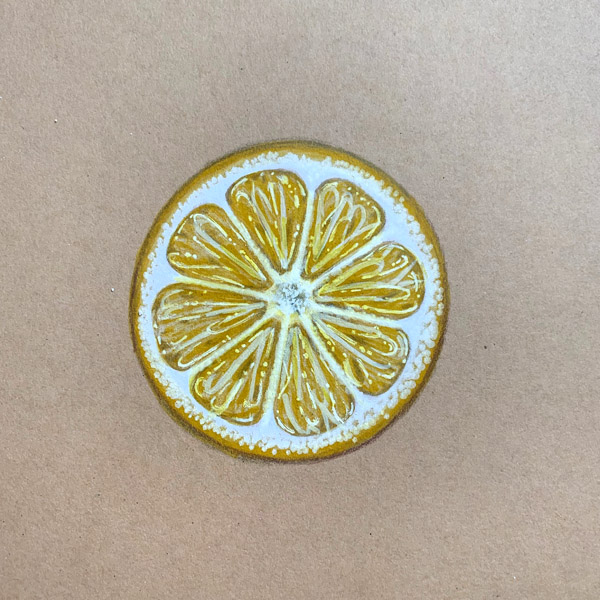
Remember you can layer and add as many details as you like using the Sunshine Dream Pen and Moonlight Marker.
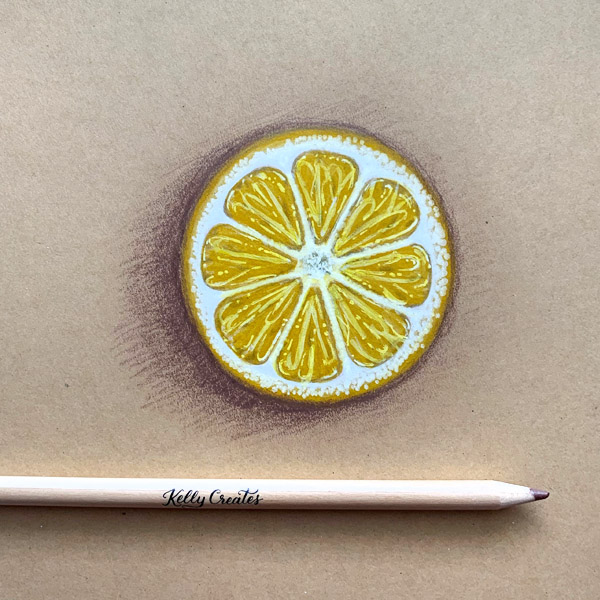
The last detail is to add a shadow to the lemon to “ground” it. I used the Kelly Creates Bronze Metallic Colored Pencil. I started out soft and light, and kept layering all the way around until I got the desired shadow look
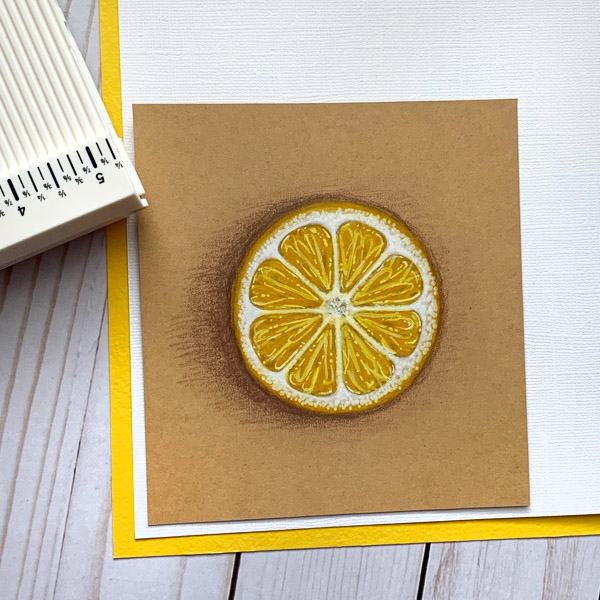
I wanted to make my lemon into a card so that I can share some sunshine! I took Kelly Creates white card stock from the Project Pad as well as yellow card stock and matted the lemon piece after I trimmed it down. Just trim and score the yellow card stock to create the card base.
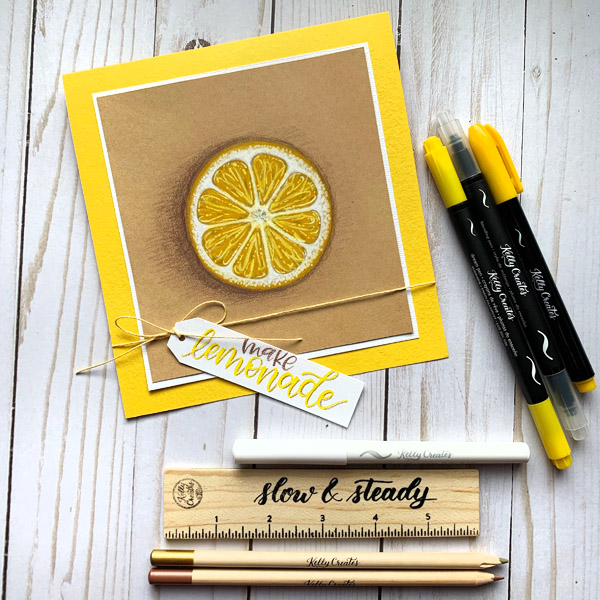
I created a quick tag and wrote “Make Lemonade” with the Kelly Creates pens and Colored Pencils. Then I added some twine to finish the card
I hope that you enjoyed this tutorial and give it a try! I had so much fun playing all the Kelly Creates pens and pencils to create layers and depth. Be sure to share and show us what you create, either in our Facebook group “Kelly Creates Art & Calligraphy” or online with the hashtag #kellycreates. My favorite is when I see us all making!
Thanks for stopping by today. Have a wonderful week!
*****************************
For more crafty projects and lettering inspiration, visit Chasity on Instagram @chiciscre8ive
Shop the supplies Chasity used by clicking on the affiliate shopping links below or visiting my online store http://www.KellyCreatesStore.com


PIN ME!
Bonnie
March 25, 2020 at 3:46 pm (6 years ago)Love this one Chasity ??
Suchita Momaya
March 27, 2020 at 1:03 pm (6 years ago)Hi dear awsome work I’ll surely try this… Thx for technique
Linda
March 28, 2020 at 2:08 pm (6 years ago)Great tutorial. I especially like the idea of using the KC Moonlight marker for this. It looks great. Thanks, Chasity.