
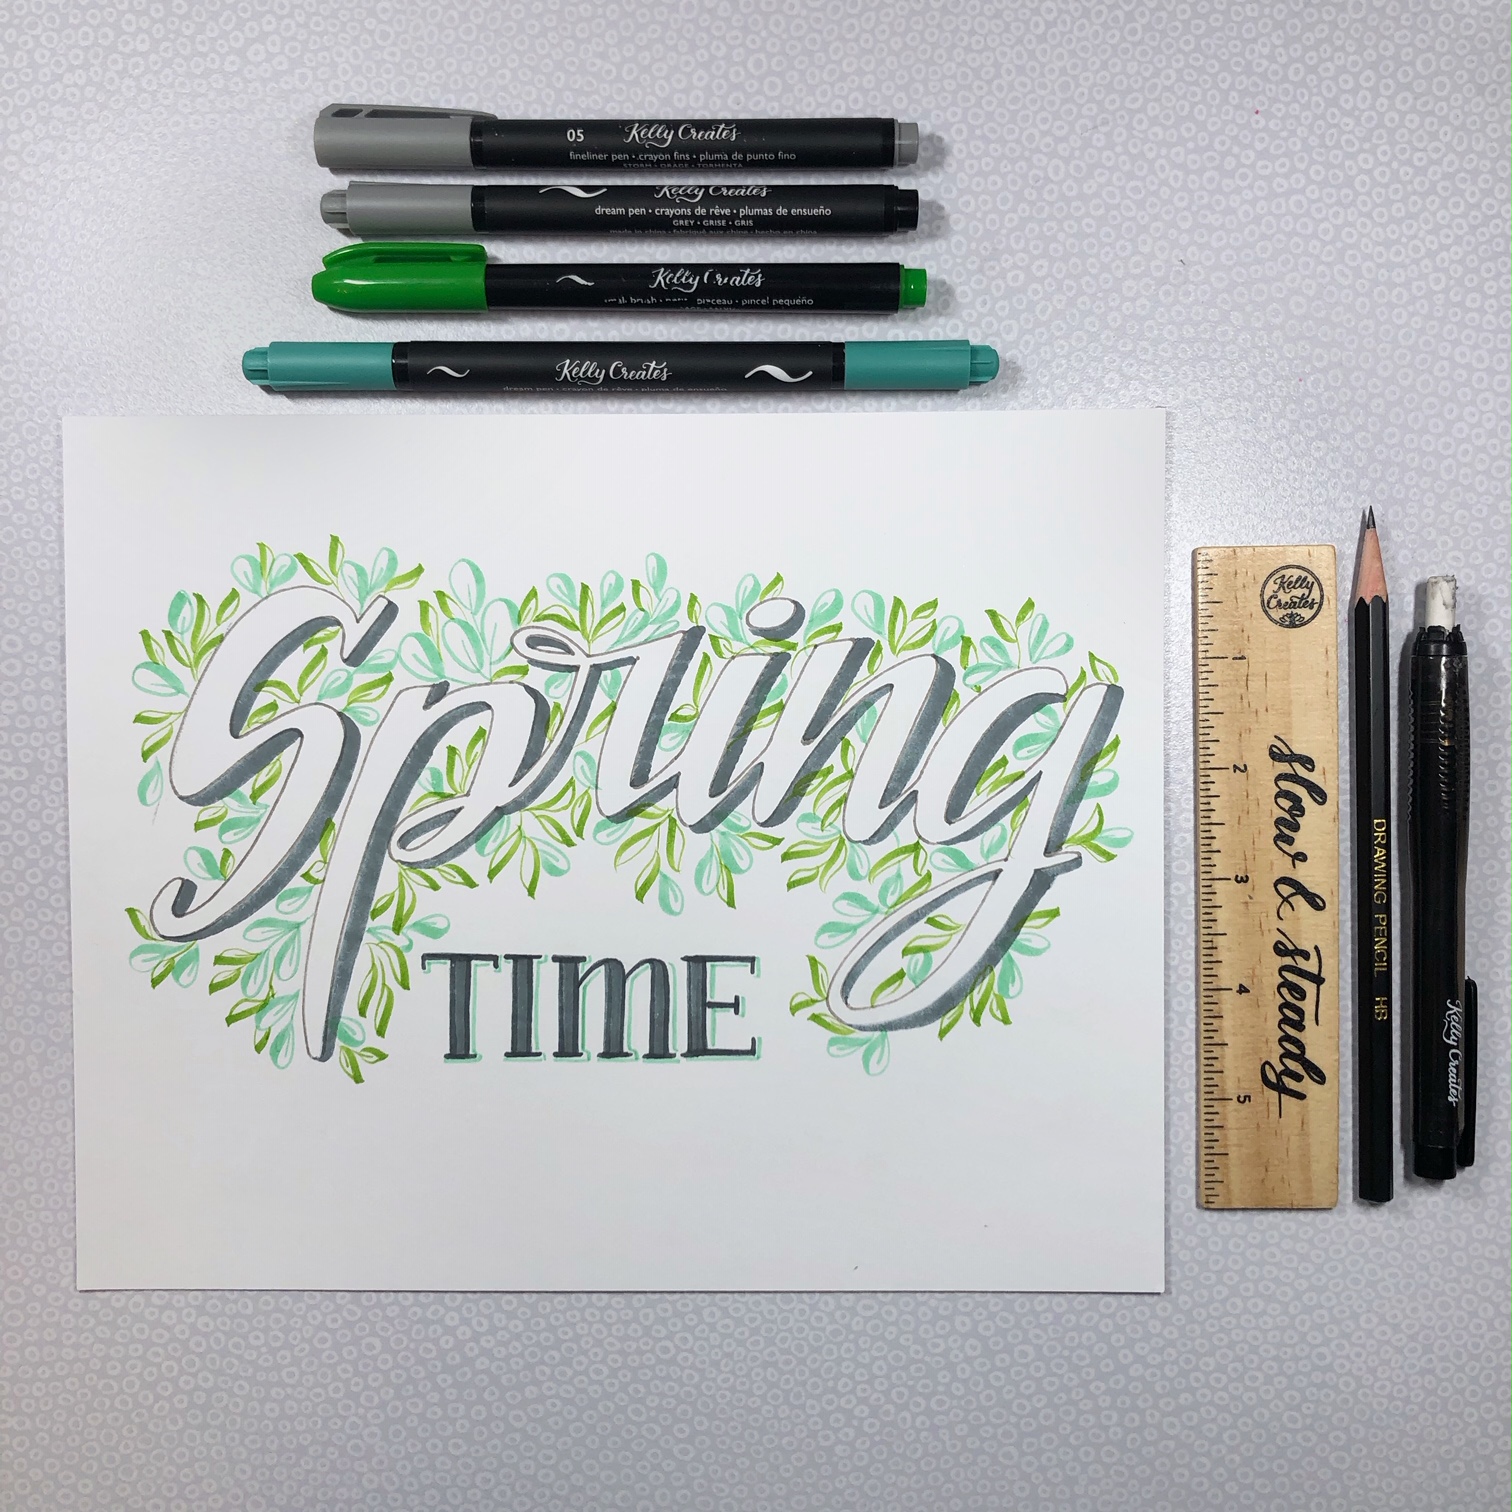
Bonnie (@diamondandwillow) has designed a beautiful Spring hand lettered project using Kelly Creates brush pens to draw a very pretty ‘leafy’ frame.
Kelly Creates Supplies: Project Pad, Dream Pens Set 2, Multicolor Small Brush Pens, Multicolor Fineliners, Deluxe Lettering kit , Dotted Practice Pad

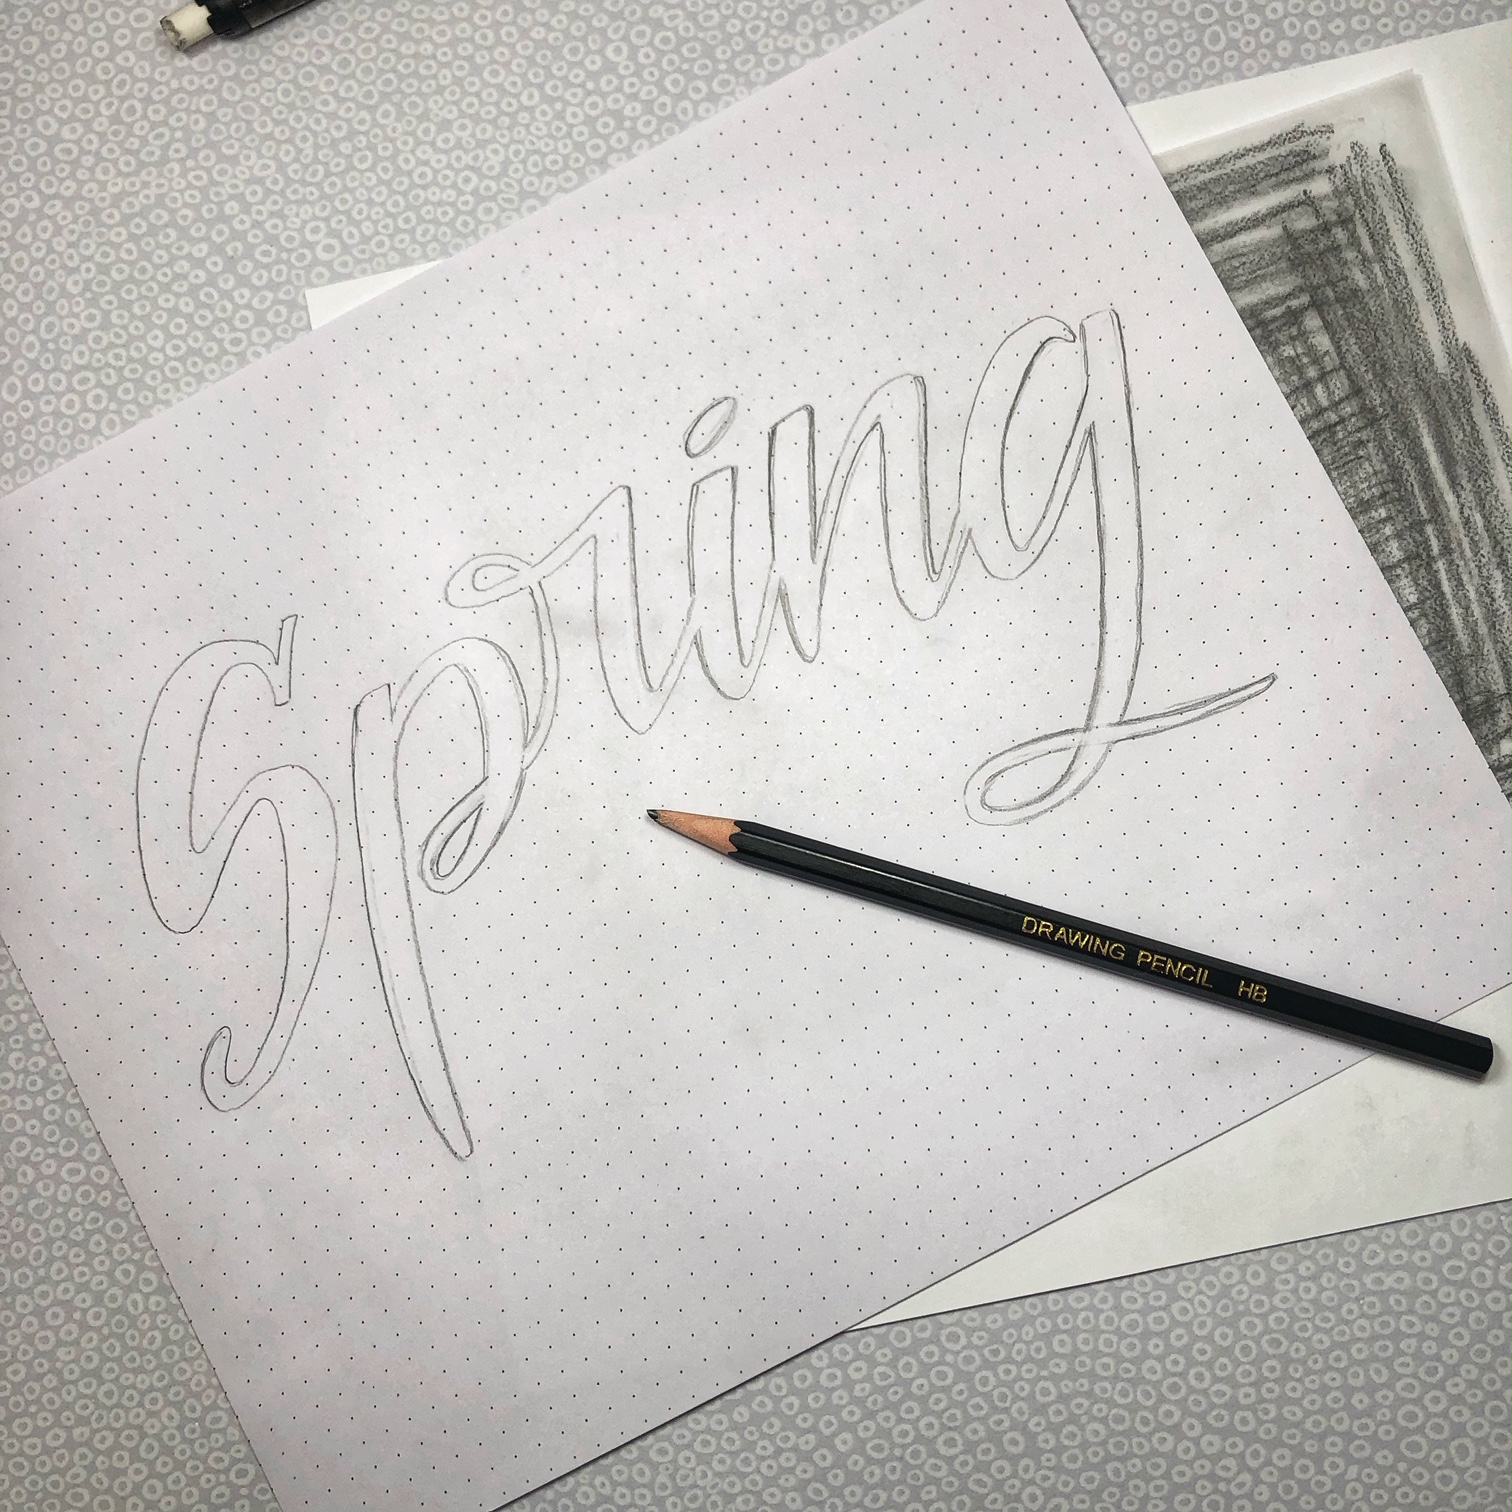
I started with a rough sketch of the word ‘Spring’ on a piece of dotted paper from the Kelly Creates Dotted Practice Pad.
Now to transfer my design, I place a piece of homemade ‘carbon’ paper, ‘carbon’ side down, between my dotted grid sketch and my good copy of cardstock. However, if you are comfortable with lettering your design directly onto your cardstock, you may skip this step. You could also use a light pad instead of transfer paper.
*Note: You can make your own transfer paper by scribbling with pencil onto a piece of tracing paper to cover it with graphite. It will be good to use for multiple transfers.
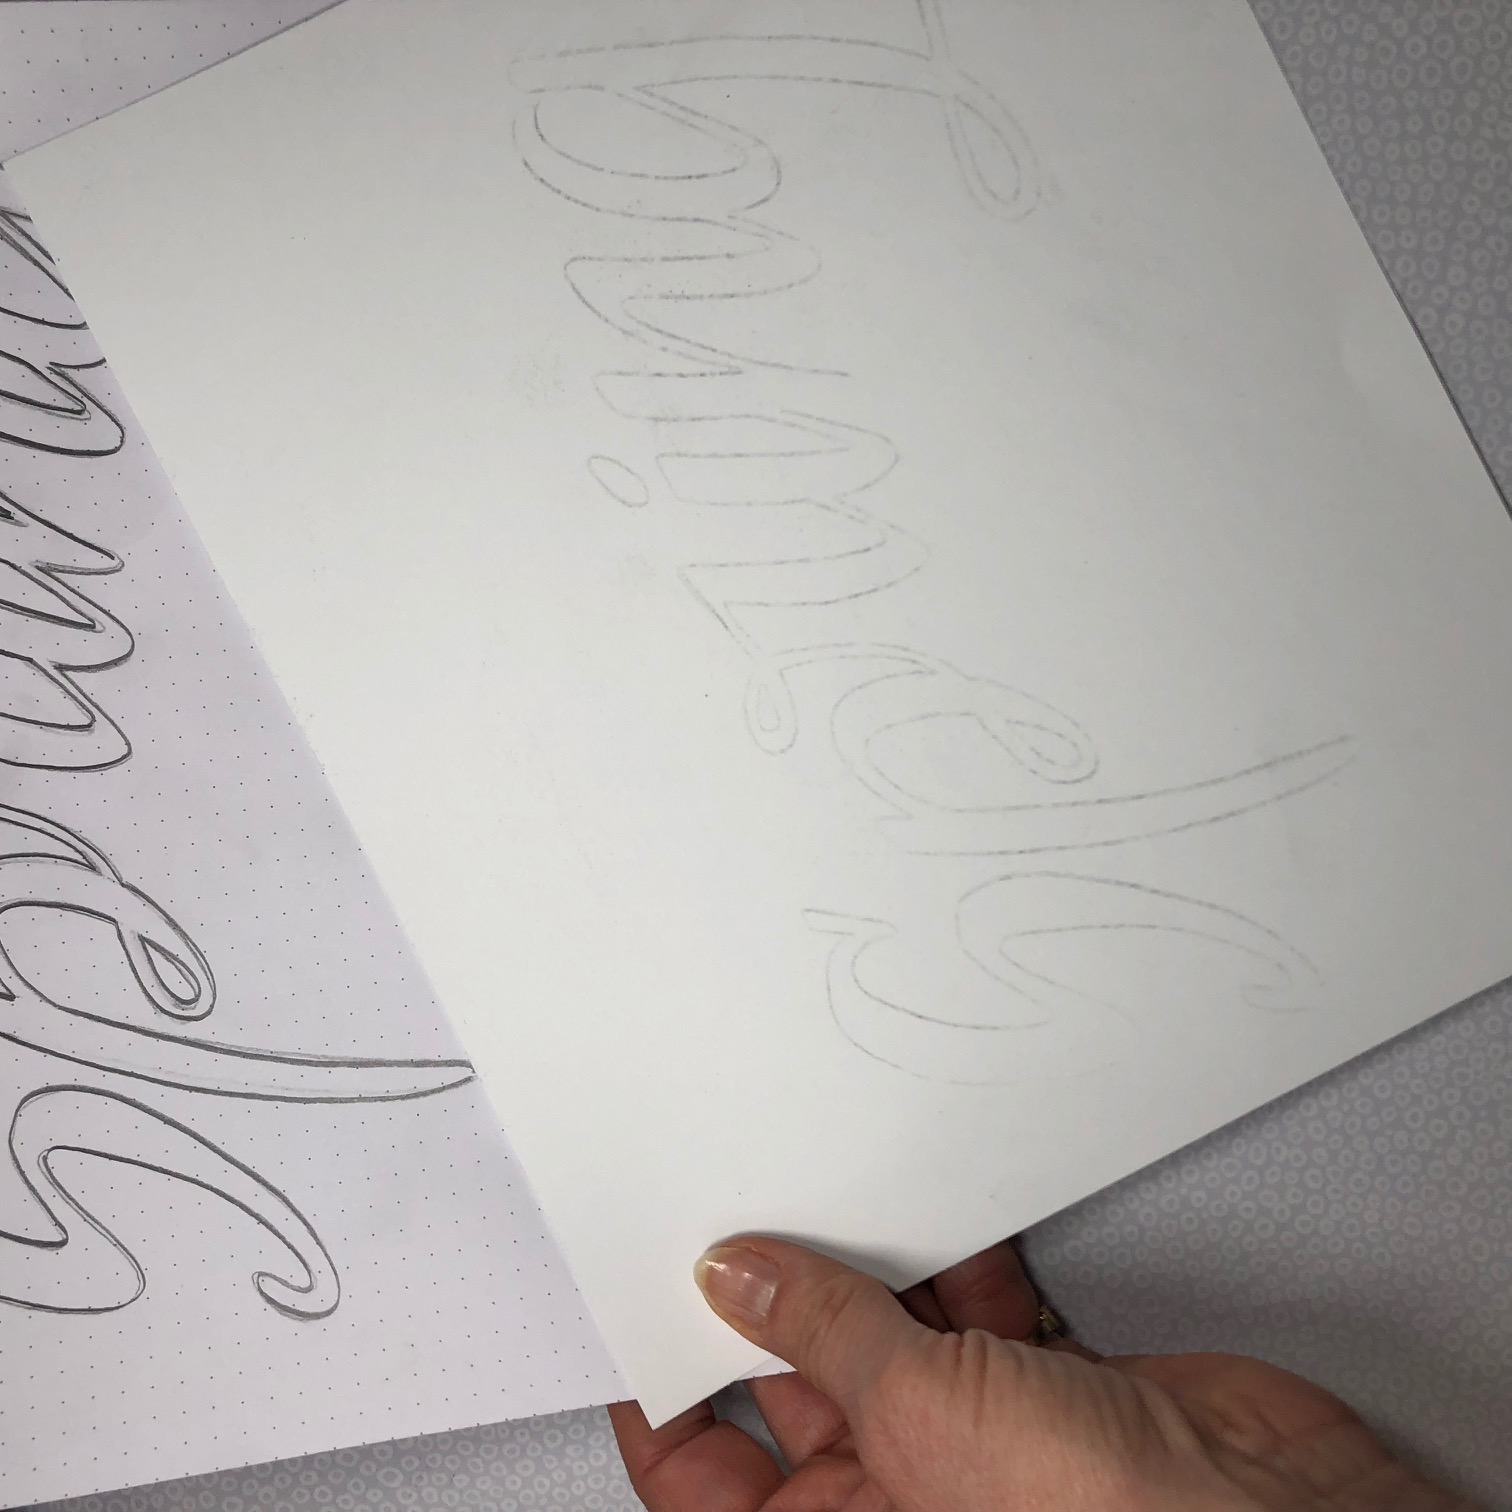
When I am happy with the placement, I trace over my lettered word and this transfers it onto the card stock.

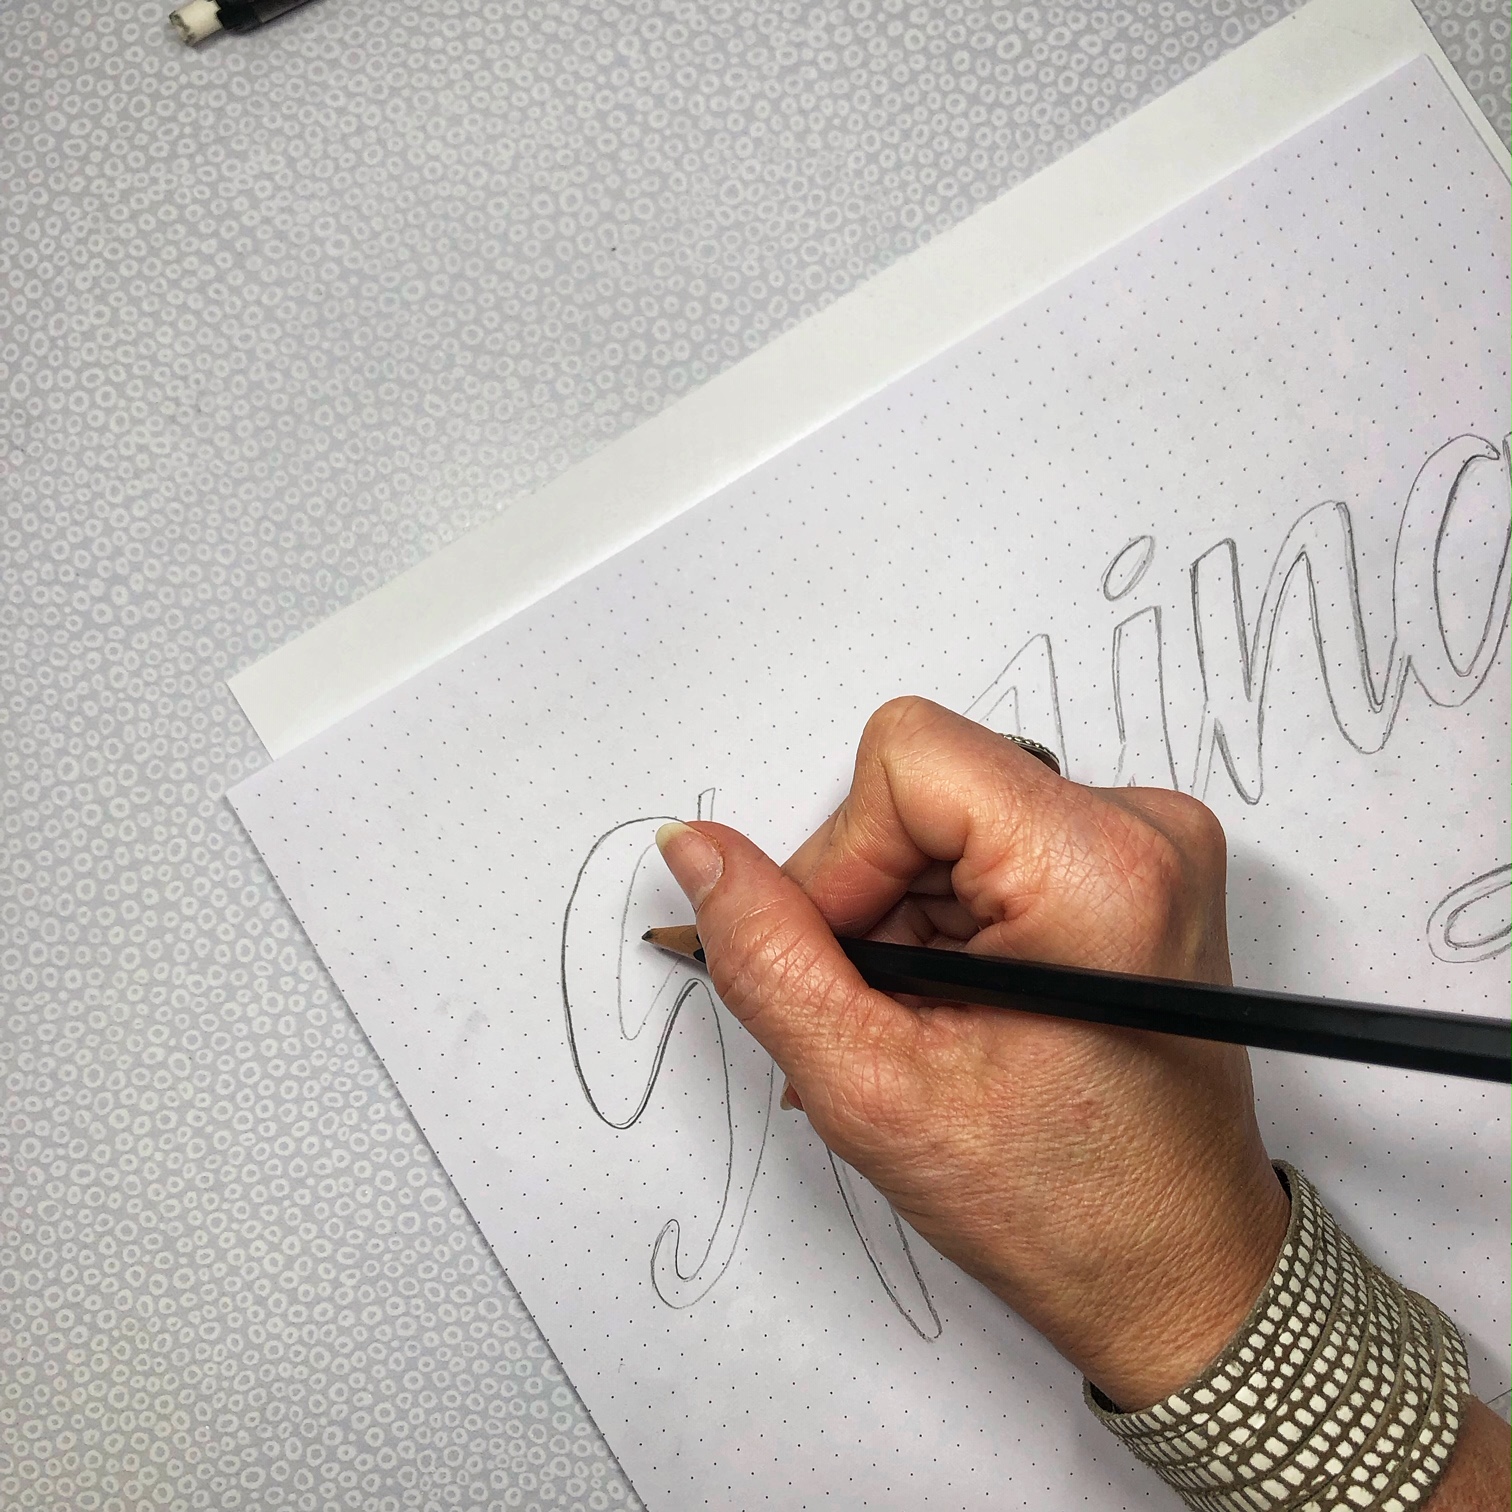
I wasn’t happy with the loop on my letter ‘g’ so I changed it lightly with pencil before proceeding.

I used the grey Dream Pen from the Deluxe Lettering Kit and only added a shadow line to the outside of the right and bottom of the word.
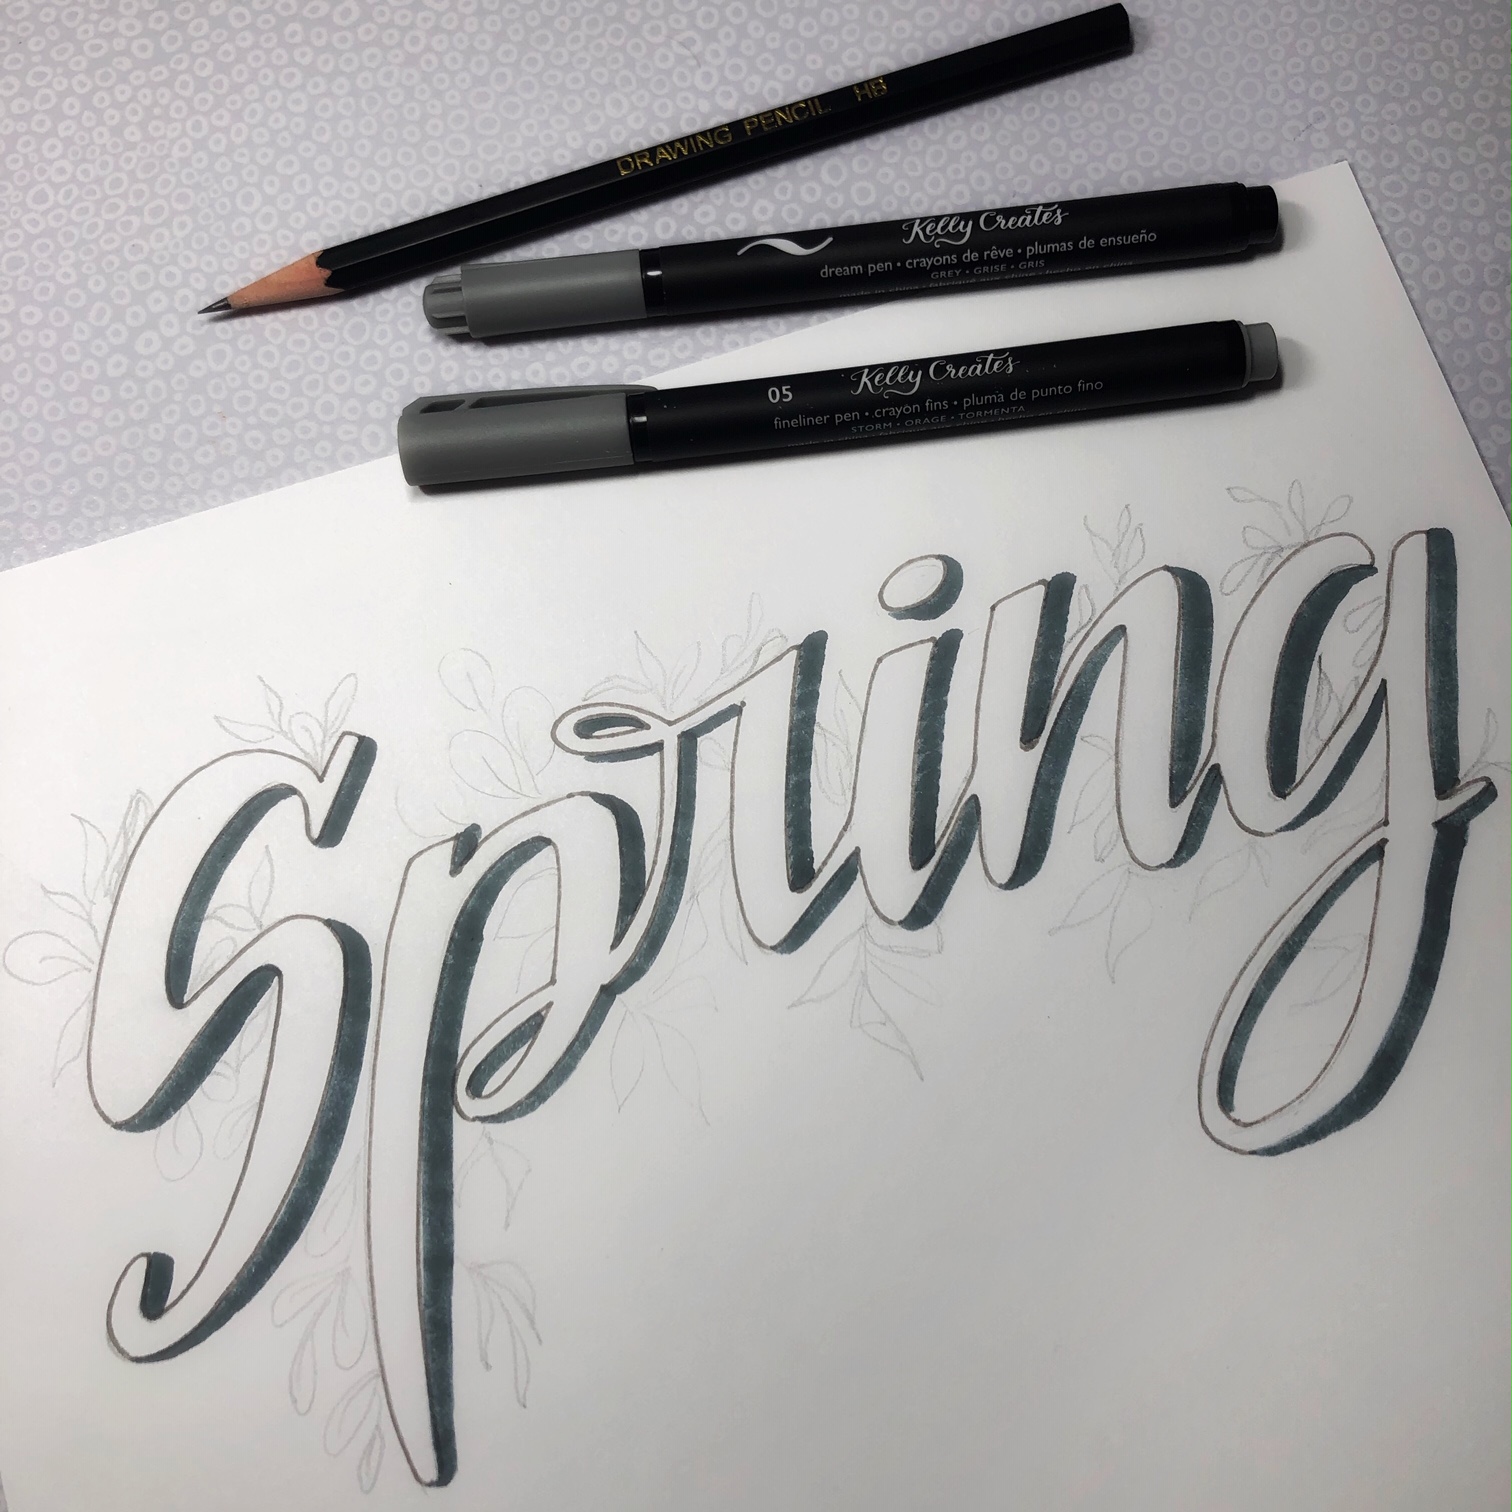
Using the Storm Fineliner 05, I decide to outline the letters as well to better define them. From there I lightly pencil sketch in two leaf styles around the perimeter of the word, just as a bit of a guideline for placement. Think new growth, bursting forth from tree branches if that helps.

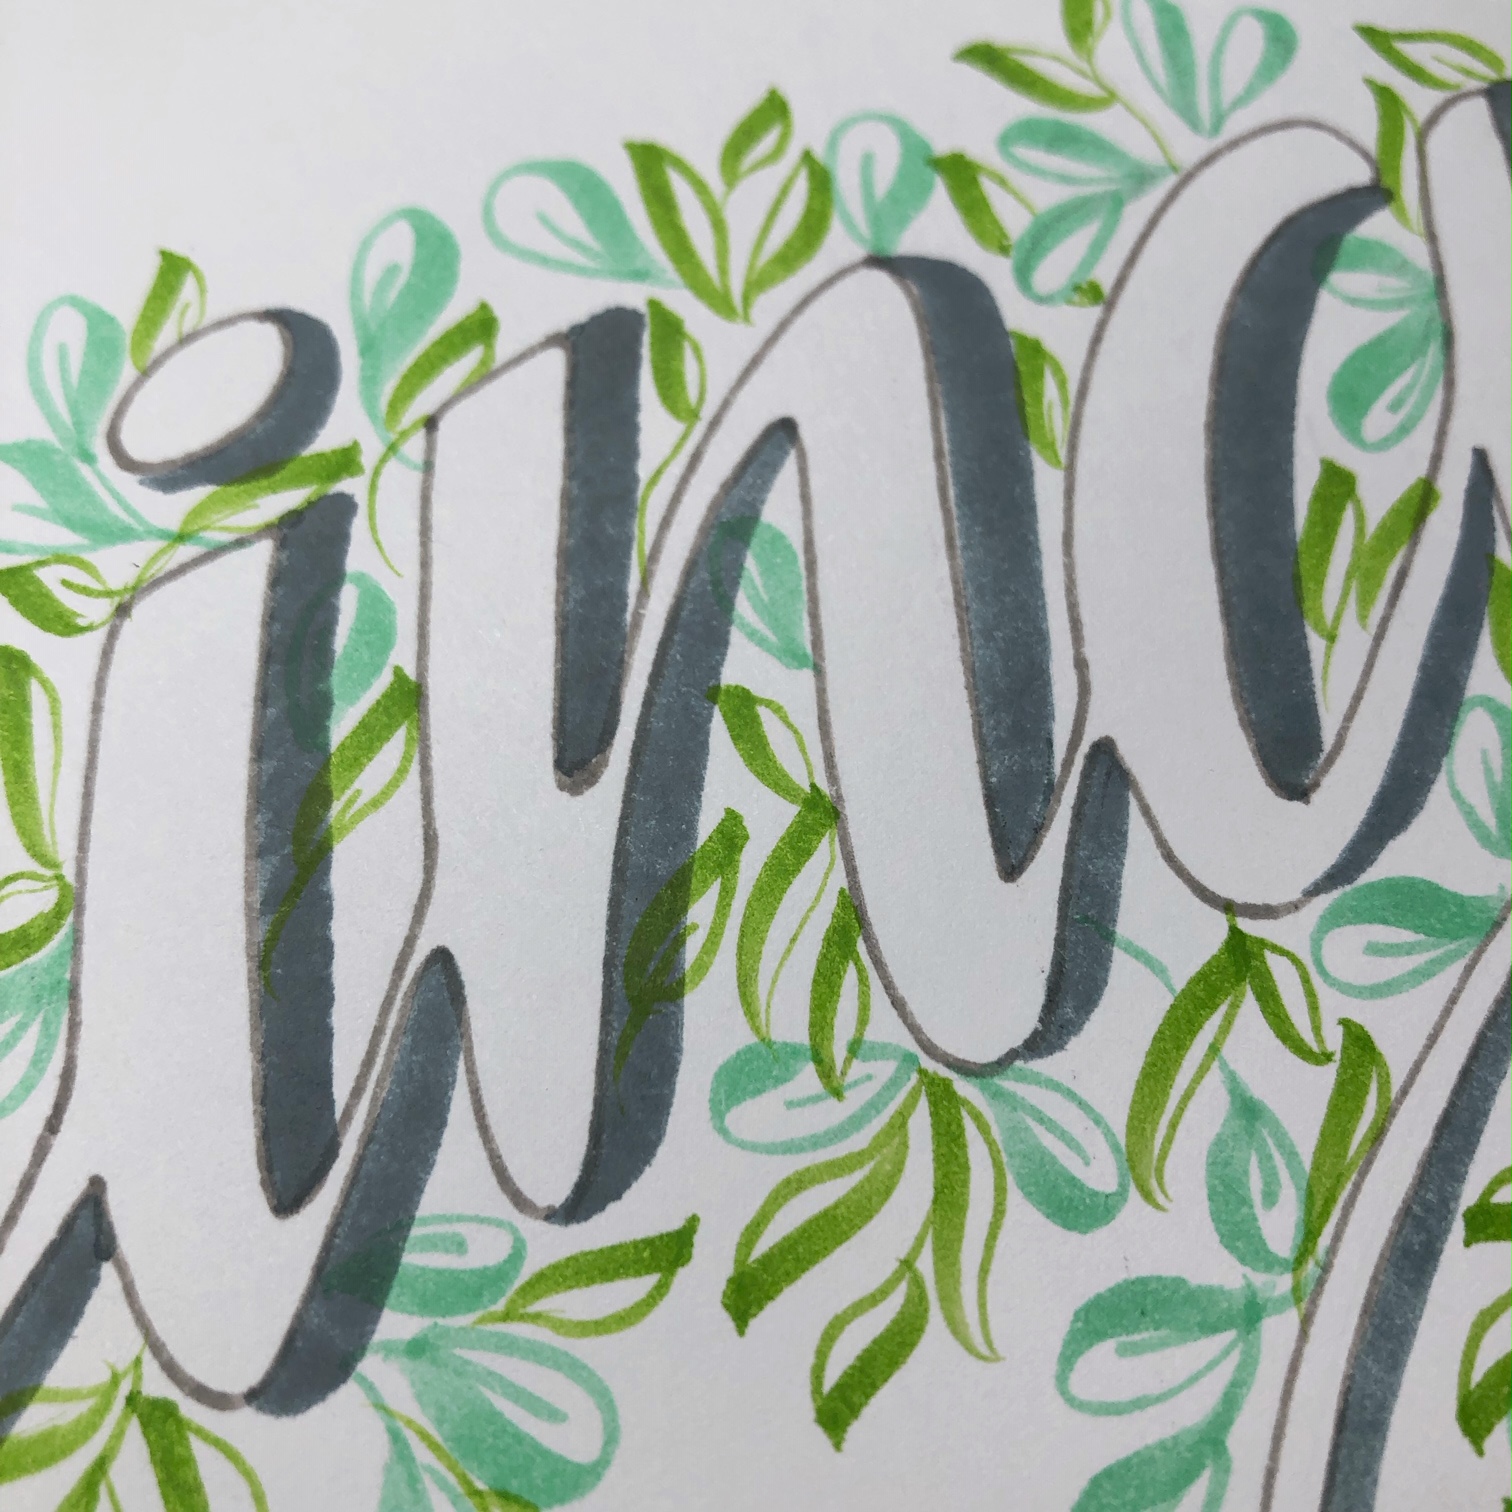
To create these leaves I kind of use the same technique as you would for lettering. Thin stroke up, thick stroke down. This may mean that you’ll need to move your paper around, in other directions to help with placement and stroke ease.

From there I went in with two colors of brush pens: the Sage Multicolor Small Brush Pen and the “Stream” Dream Pen (from the Meadow Set 2).
For the word ‘time’ I went ahead and freehanded it in the open space between the p and g descenders. I used the same grey Dream pen for the letters as I used for the drop shadow to unify the design. 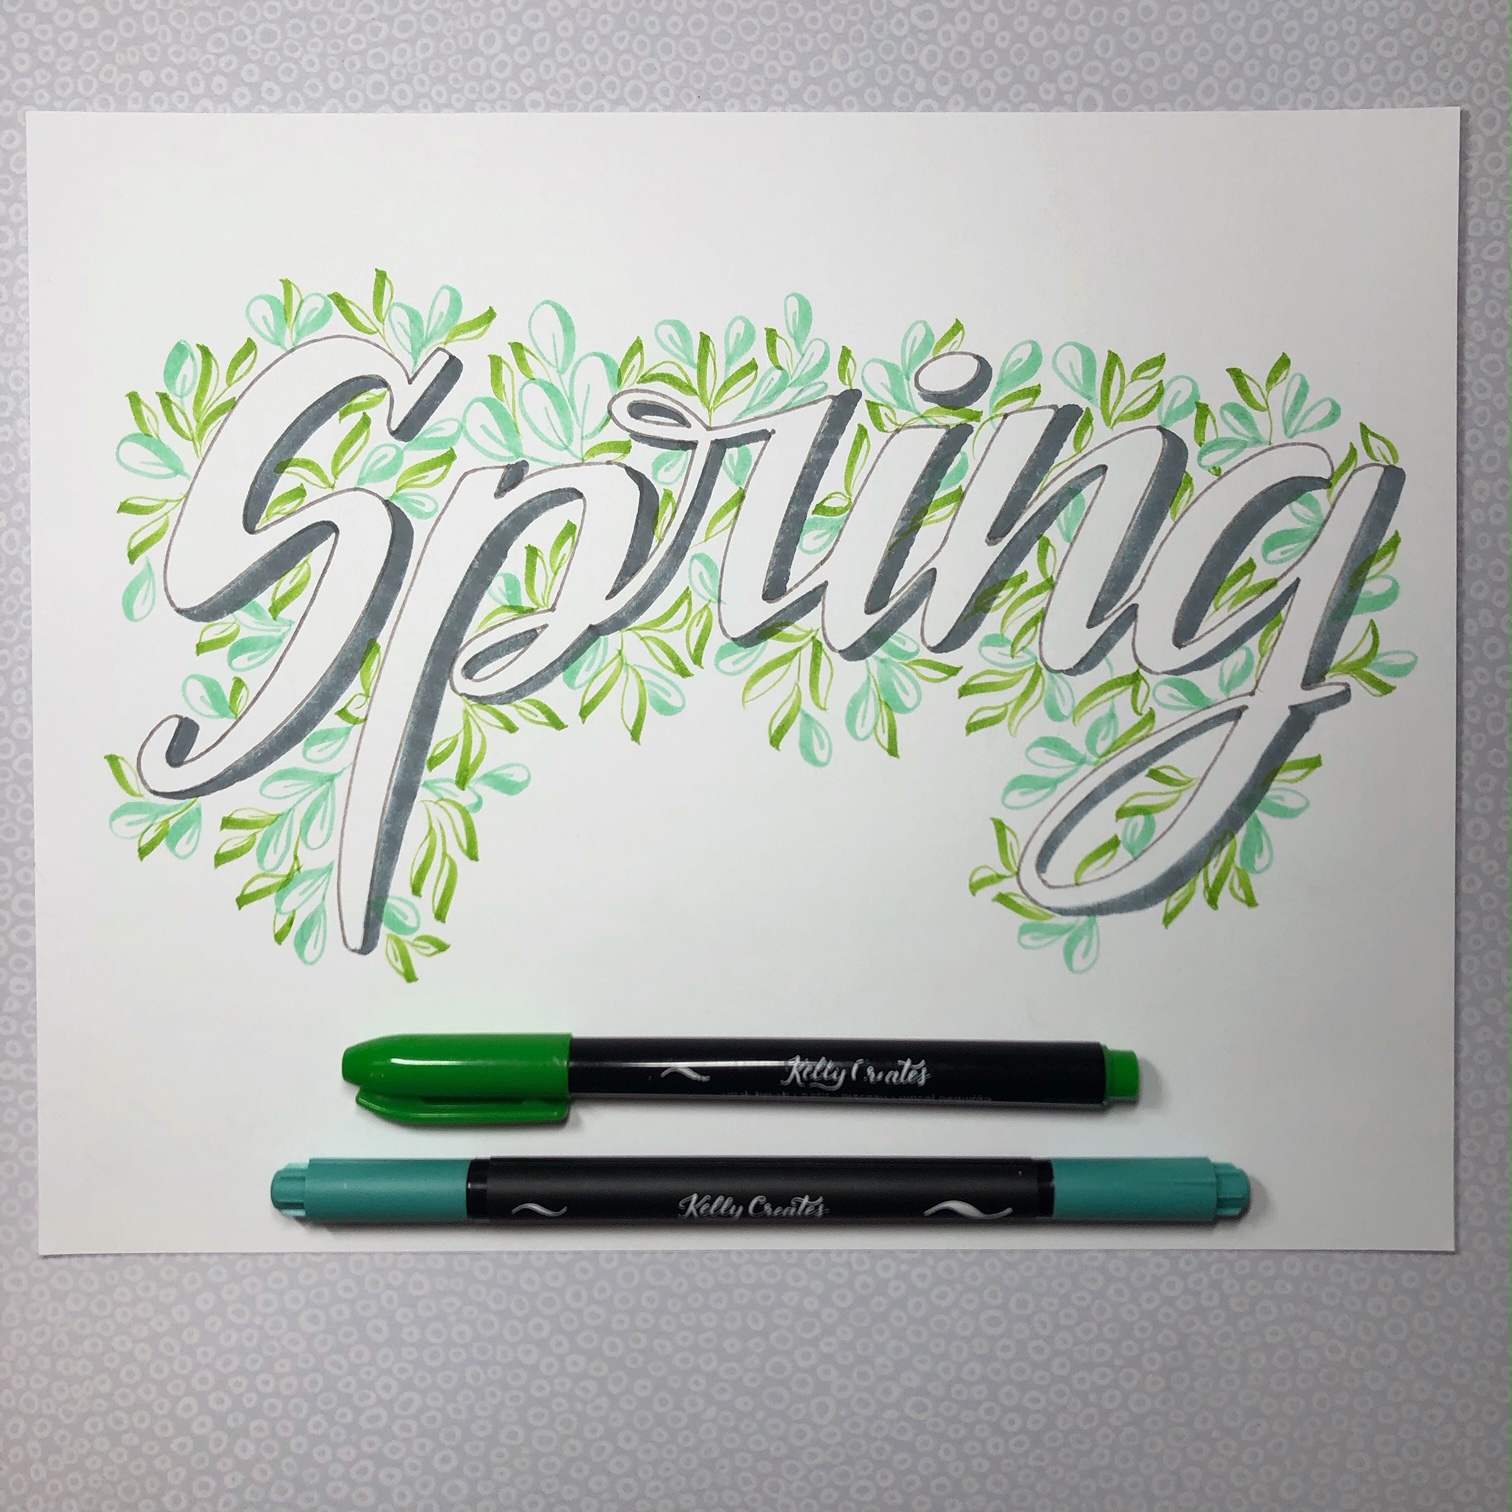
These leaves are so pretty and so simple and really make the lettering pop! Thanks Bonnie for giving me a much needed creative boost for Spring.
Follow Bonnie’s artistic adventures on Instagram @diamondandwillow.
Shop the supplies used in this tutorial by clicking on these affiliate links below:


Linda Epstein
April 5, 2019 at 1:12 pm (7 years ago)This is very pretty, Bonnie. Thank you for sharing it with us.
Carol
April 5, 2019 at 3:02 pm (7 years ago)This is fabulous Bonnie. Great tutorial. You are very talented.
Nira
April 7, 2019 at 9:29 am (7 years ago)Gracias Kelly por aceptarme en tu blog, adoro tus plumas y tus trabajos… Espero seguir mejorando cada día con tus lecciones! Cariños desde Lima Perú ??
Phyllis
April 9, 2019 at 2:17 pm (7 years ago)Love your lettering and excellent “how to”.
Chasity
April 10, 2019 at 4:27 pm (7 years ago)WOW! This is GREAT Bonnie! I really love the leaves!! I am going to try these!