
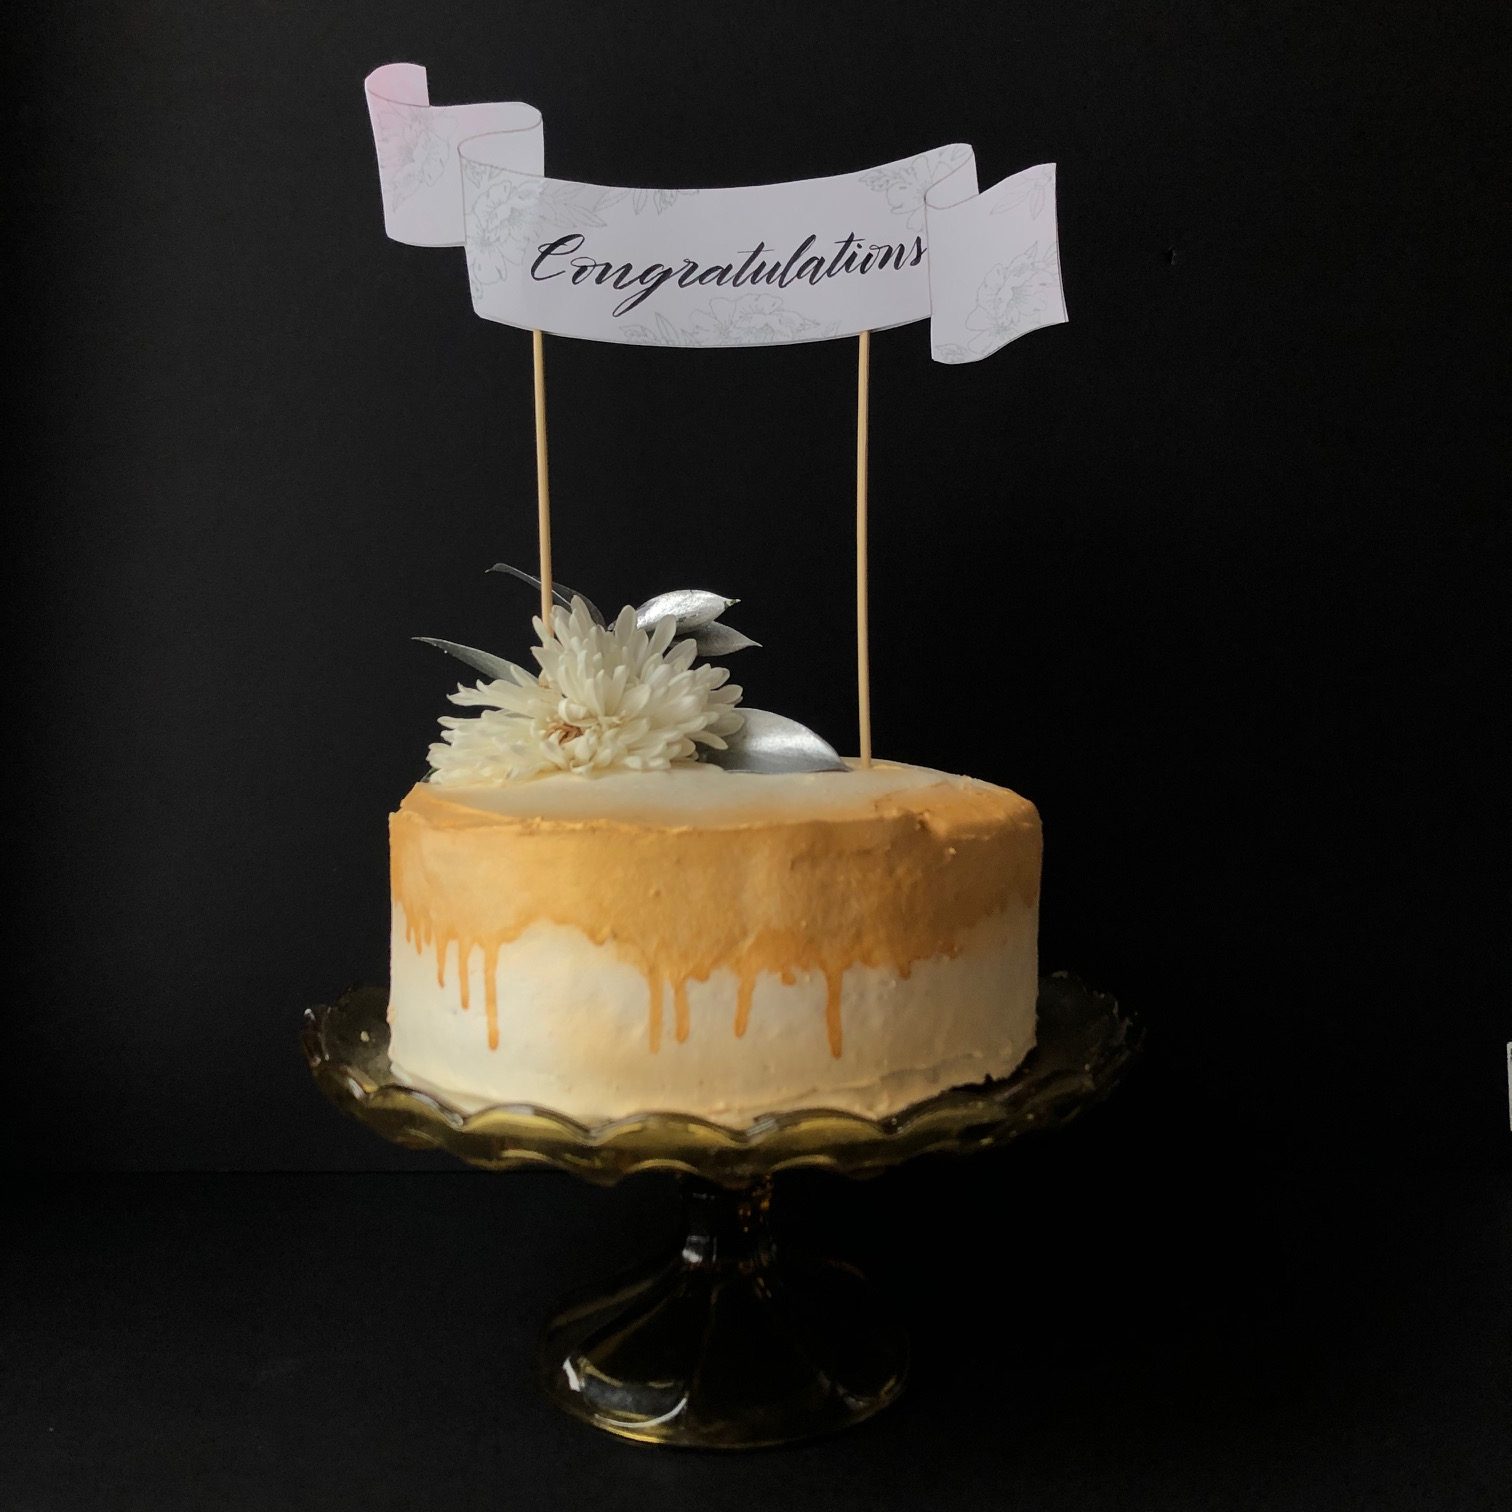
Got Cake? Bonnie Peters (@diamondandwillow) has a sweet tutorial on how to make a hand lettered cake topper!
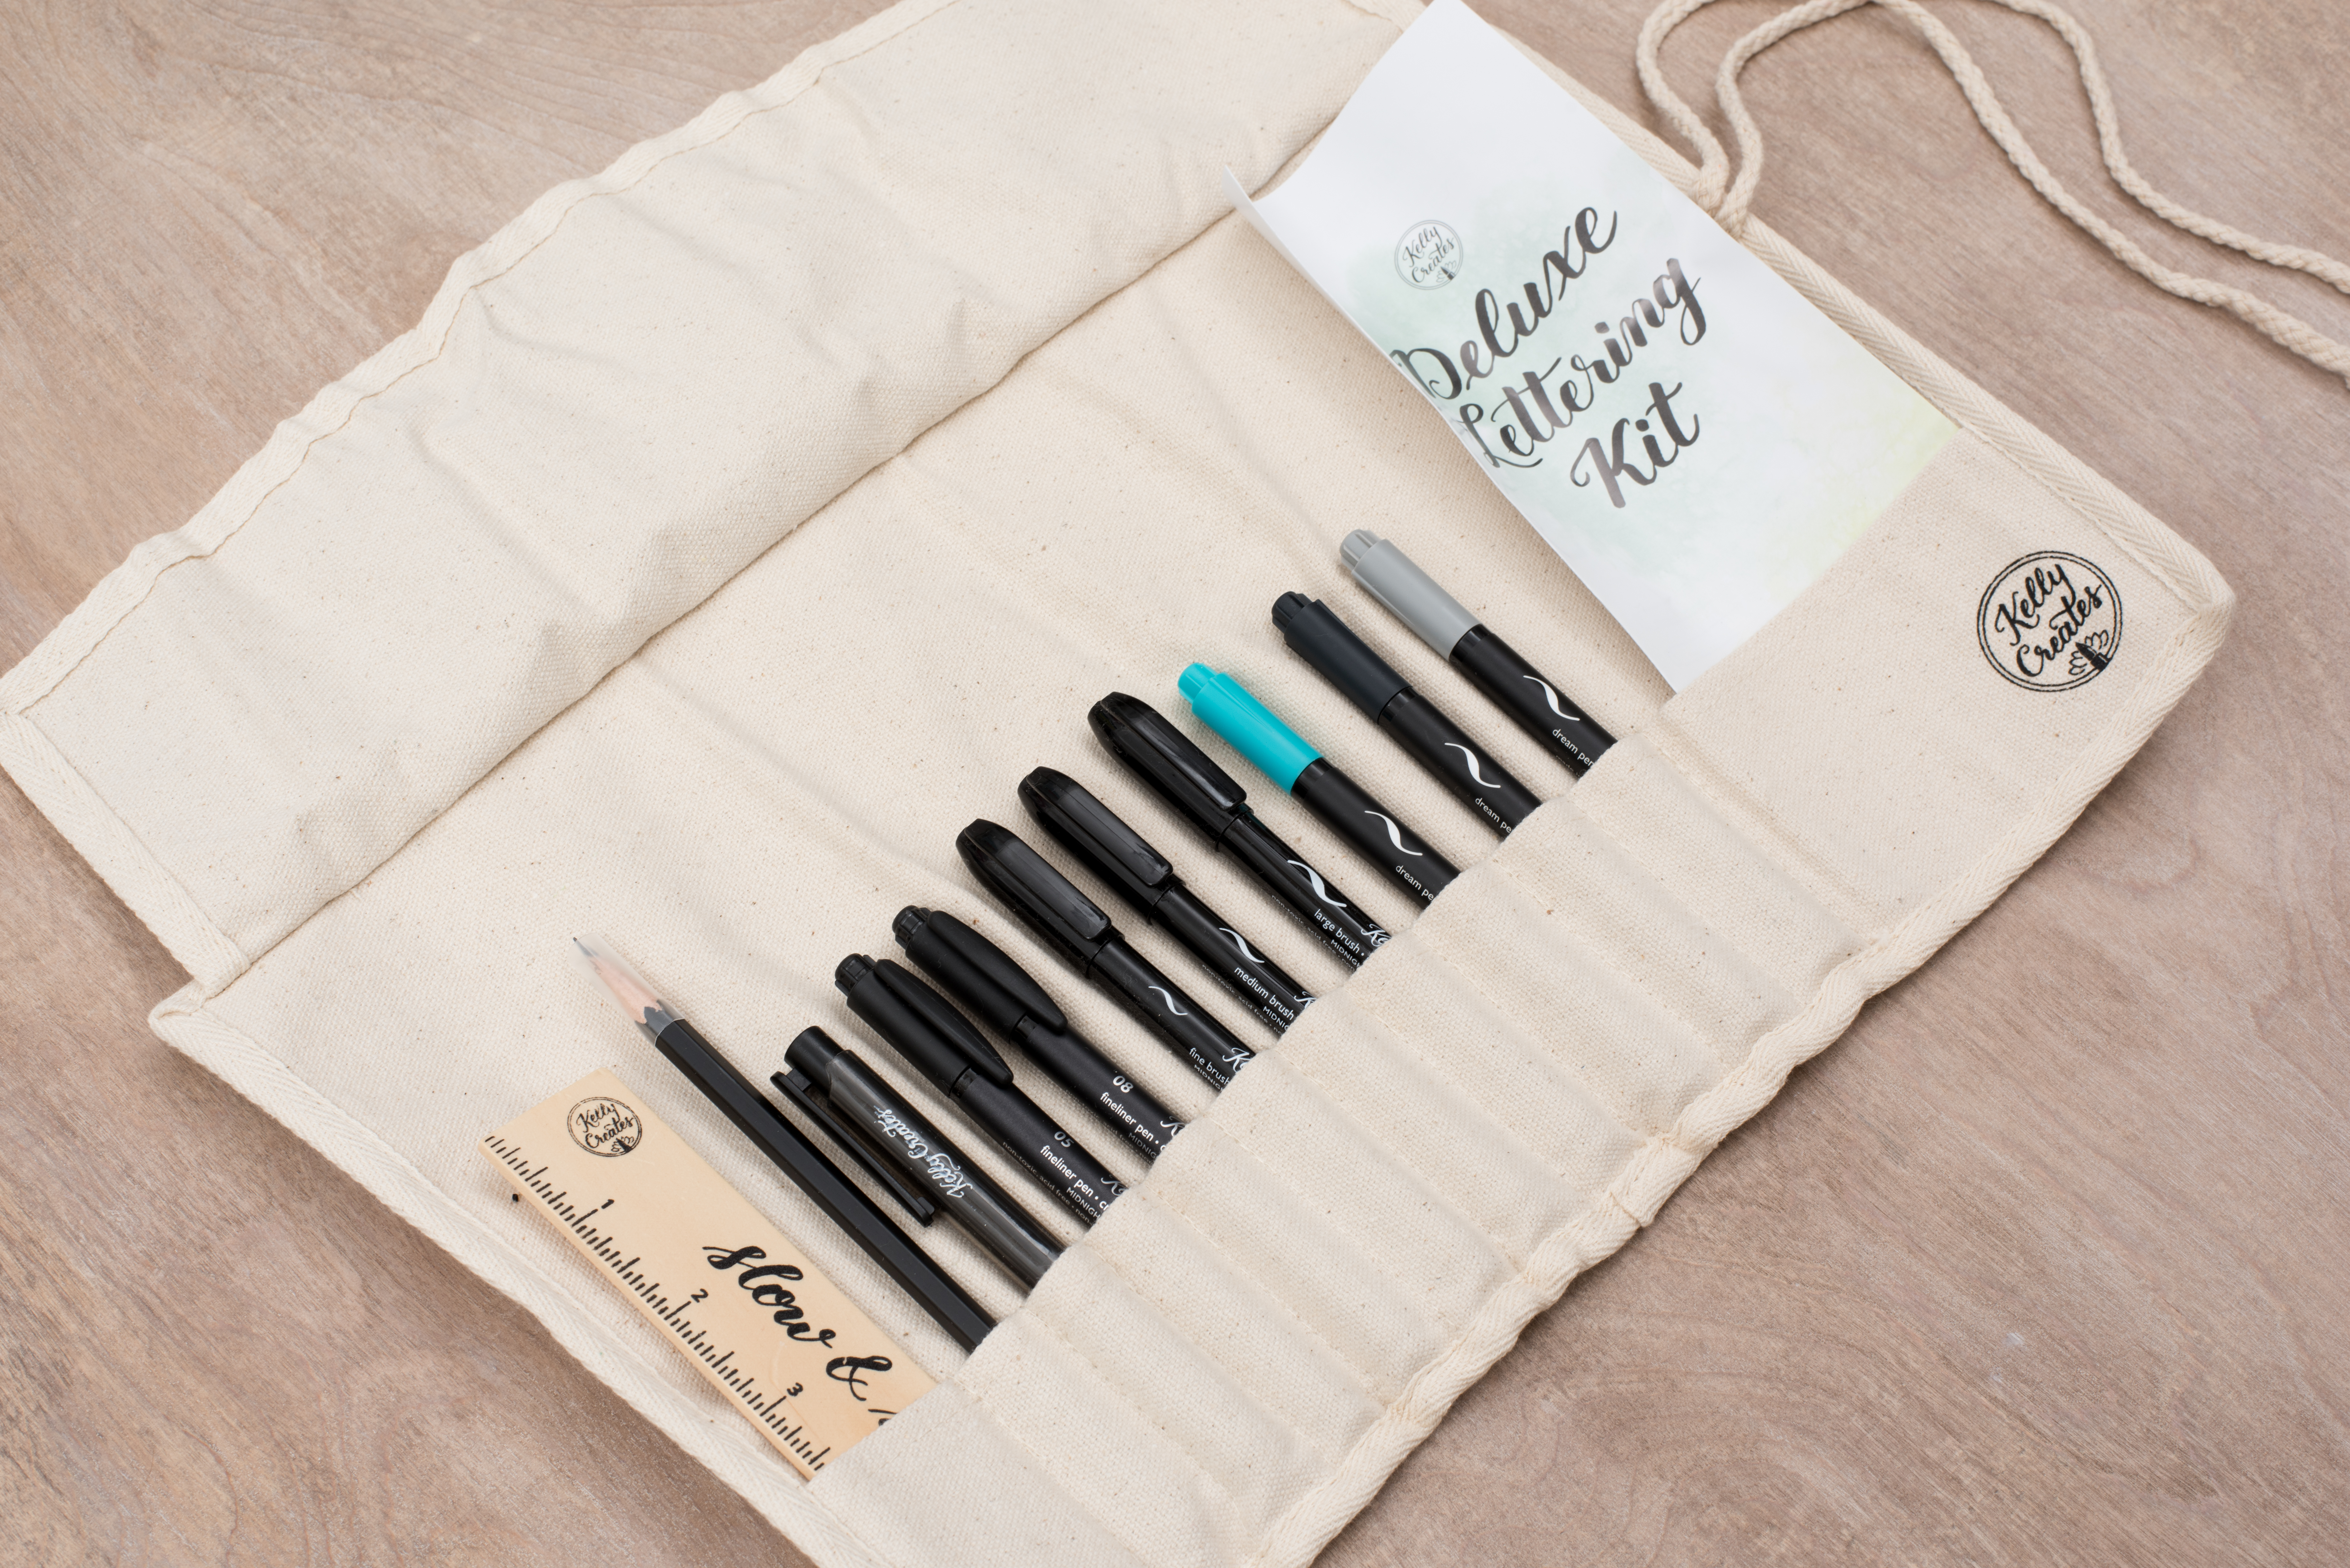
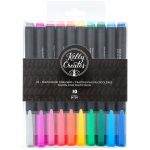
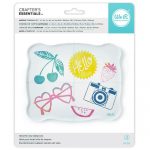
Kelly Creates Supplies: Deluxe Lettering Kit, Multicolor Fineliners, Floral Stamp Set, The Beauty of Lettering Quote pad, Multicolor Small Brush Pens
Other Supplies: scrap paper, ink pad, adhesive, stamp blocks, bamboo skewers, scissors

I began by pencil sketching the first swirl for the banner.

I then drew a line straight down from each curve to create the banner sides. They don’t have to be perfectly straight but they need to be the same length for the next step.

This is where you run a parallel line to the first to complete the sketched banner. Do the same to the folds of the banner. You now have a complete, sketched out banner.

Cut out your banner and trace it onto the back side of the remaining cardstock. This way, you can either have a double sided banner or save an extra banner to practice on. A good idea might be to photo copy it first onto another piece of cardstock, so you have a template for future use.


I used the ‘Storm’ Fineliner to add in the detail lines to show where the banner folds were.

From here I used the Kelly Creates floral and leaf stamps to decorate the banner. Just be careful not to make them too dark so that distract from the lettering you will be adding. I drew in some lines on the reverse side folds of one banner to add dimension to the banner folds.
You can customize your banners in countless ways by using any variety of stamps, colours, cardstock etc. that suits whatever occasion you may be celebrating. There are absolutely endless possibilities of cake toppers!


Now you can use your pencil to sketch your hand lettering or jump in and do it freehand with brush pens if you’re confident. I used a variety of Kelly Creates brush pens to add the lettering. Erase any pencil lines that may be present.

 I used bamboo skewers as the sticks to hold up the banners as cake toppers. Depending on the size of banner you make, one might be sufficient. I secured it together by making the banner double sided, using adhesive to stick the two banners together. Strong adhesive is the best option to glue these two banner pieces together and secure the bamboo sticks between them.
 Buy a ready-made cake, embellish it personally with your DIY topper, and let the party begin!

Bonnie, these cakes look beautiful with your DIY toppers! These cake toppers are perfect for so many occasions and add that extra special personal touch with the hand lettering and calligraphy.
For more artistic inspiration and lettering ideas, click HERE to visit Bonnie on Instagram @diamondandwillow
To shop the supplies that Bonnie used, click on the photos below (affiliate shopping links):


Chasity
February 1, 2019 at 3:46 pm (7 years ago)These are just amazing!!! And your cakes!!! All the heart eyes!
Linda Epstein
February 2, 2019 at 10:57 am (7 years ago)This is a really nice idea. Thank you Bonnie for sharing it.