

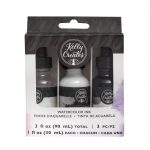
Kelly Creates Supplies: Watercolor Inks Set 1 and Iridescent/White, Grid Paper, Deluxe Lettering kit (pencil, eraser, ruler), Watercolor Lettering Brush set, Plastic palette, Black Fineliners, Dream pen (Stone), Moonlight Markers
OTHER SUPPLIES: Kraft paper, Paper trimmer, card stock, adhesive
Happy October lettering friends! How is everyone’s October so far? Hope that it is wonderful! Here in Utah the weather is really cooling off and the leaves are crisp. We are gearing up to celebrate Halloween.
Today I am sharing with you an awesome Halloween lettering tutorial. There are no bones about it; you’ll have so much fun recreating this one!
Halloween is one of my favorite holidays; I just love the magic of the season so much! This tutorial is for everyone, no matter your skill level, and I hope you give it a go!
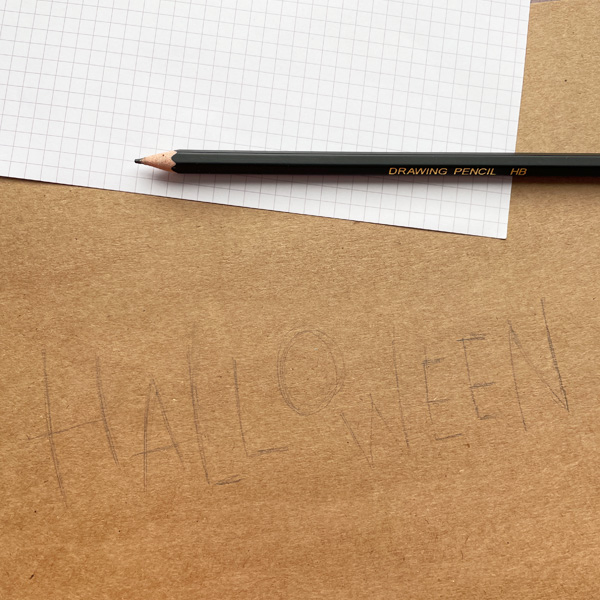
I started out using the Kelly Creates grid practice pad. This is a great way to practice your letters before committing to a project. I also used the pencil and eraser from Kelly’s Deluxe Lettering Kit. I need to practice before I can commit to a design I like.

I started with a thin, tall block letter, because bones are narrow. The grid paper really helps with getting the letters all the same height.

Next I started to play with the letters and turn them into bones. To create the bones, think of a heart shape on either end of the block. Then play with placement of your letters to make them fun. My “bones” playful, but you could certainly make them more realistic.

You can either make smaller bones for the letters that have curves, or just curve the bone. I know that bones don’t bend, but I like how the curved bones look. Try both ways and see which one you prefer. Practice on the grid paper with pencil until you like the design. It took me a couple of tries to figure out how I wanted the bones to “connect”.

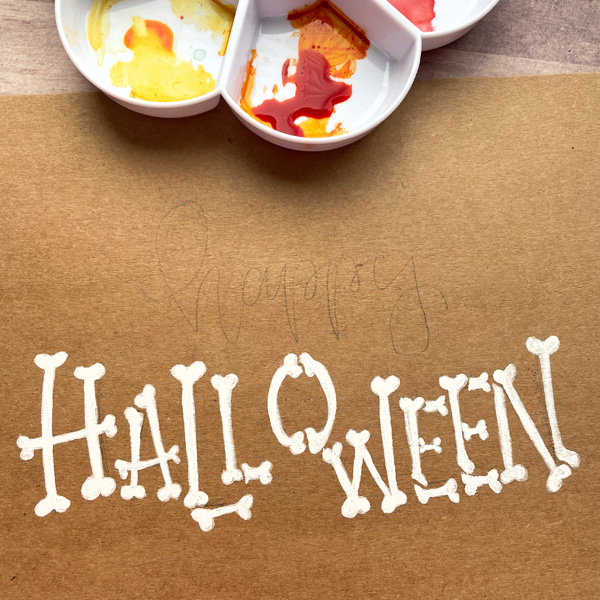
Once you have the bone letters figured out, grab some kraft paper and let’s make a fun card! I lightly drew single line letters in pencil on the kraft paper. If you are more comfortable drawing the entire bone, just use a light hand so it erases later.
To start, I mixed Kelly’s White and Iridescent Watercolor inks in her Palette. I found that equal parts of the two watercolors were a great consistency for the project, and the Iridescent gave the bones a little shimmer. Please note, this does take a little while to dry! If you don’t have Kelly’s watercolors, the white Moonlight Markers would work amazingly as well. Both options would also look really good on black cardstock or black watercolor paper as an alternative. Using the Kelly Creates #2 Watercolor lettering brush, start painting the letters

Be careful if you are left handed. I found this watercolor mix did take some time to dry, and could smudge easily. Continue with each letter.
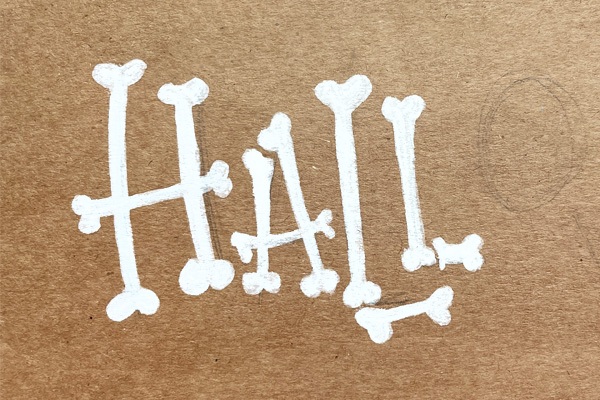
I did bounce some letters and also changed the size to make this project a little more playful. The “joints” of the bones were a little tricky so make sure to leave some extra space between letters to accommodate for this.
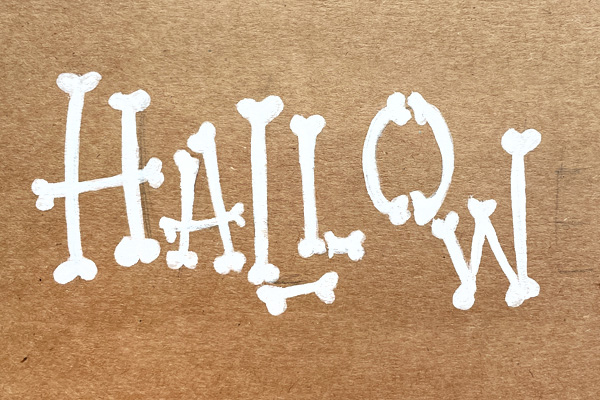
Keep creating the letters until your word is complete. Be sure to set this aside for a little while and let the white dry. I started working on the other word while waiting for the “bones” to dry. Be careful not to touch this while you’re working.
Then I lightly sketched the word “Happy” above “Halloween”. If you are really confident, you don’t have to sketch the words, but I somehow always end up writing uphill, so it’s nice to sketch in pencil beforehand.

I knew I wanted to add a little color to the project. Using the Orange Watercolor and the #2 brush, I brush lettered the word “Happy”. I love the Kelly Creates brushes for lettering, they are so soft and bend with pressure just like a brush pen. And you can go back and add more color if you like while the letter is still wet.

I love the way the orange looks on the Kraft paper. I let that dry for a minute. Kelly’s watercolors are really pigmented so the colors are so vibrant. Even on Kraft.

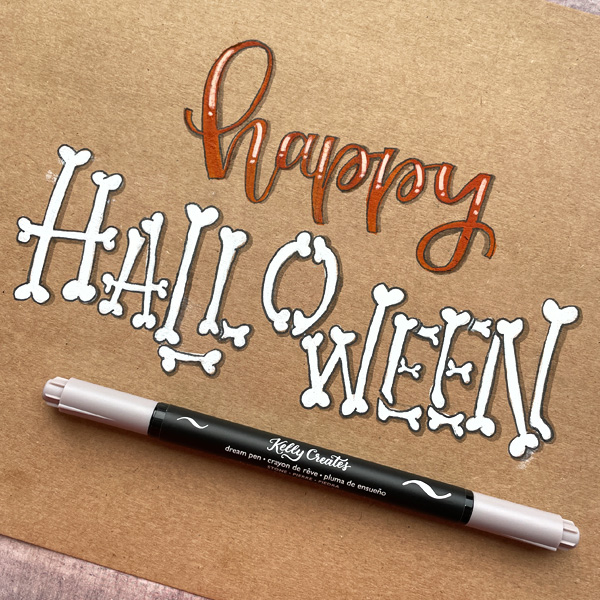
Once the orange is dry, take the Kelly Creates Stone Dream Pen, smaller tip, and create a shadow on the letters to help the word pop off the page. Remember when adding shadows to think about where your light source is.
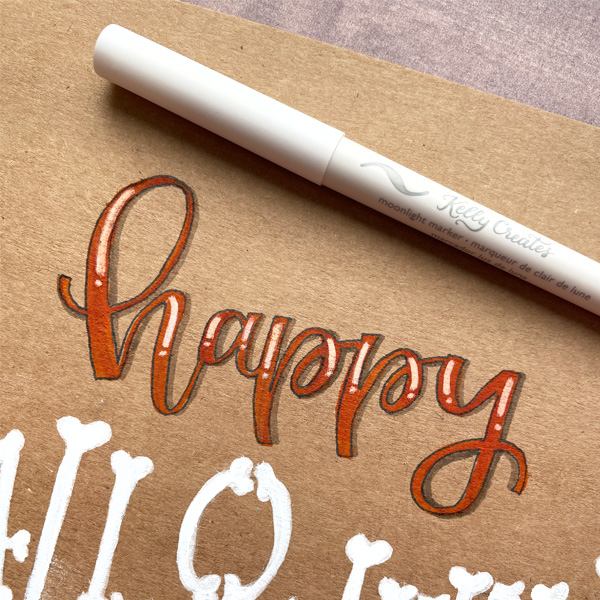
Next, I added some white highlights using Kelly’s Moonlight Marker. I liked how it coordinated with the “bones” and gave some more dimension.

Now that the white is dry, let’s add some detail to the “bones”. Using the Kelly Creates Black Fineliner 05, I outlined each of the “bones” to give them some more detail. I also added some small lines in the bones to give them some dimension.
Then, using the same Kelly Creates Stone Dream Pen, add a shadow to the letters. Lastly, I added some paint splatters to the piece. I did this by adding some water to the white watercolor ink to make it slightly watered down. Put some paint on the brush and tap the brush over the piece.

Trim the project to create a card using a paper trimmer and add orange and white if you would like. I love giving handmade cards for holidays, and these are really fun ones! This is easy enough to do; making multiples would be so easy!

I hope you enjoyed this tutorial today! You could use this hand lettering style in your planner, art journals, as home decor and scrapbook layouts. This is also a great idea for a get well card for someone that has a broken bone. There are so many other possibilities!
Thanks for stopping by! Be sure to share your work if you try this; we would love to see what you create!
********************************
For more inspirational lettering and crafty designs, follow Chasity on Instagram @chiciscre8ive
Shop the supplies Chasity used by visiting http://www.kellycreatesstore.com or clicking on the items below.


PIN ME!

Claudia
October 27, 2021 at 8:58 am (3 years ago)So cute! Thanks. 😉
Akash
February 3, 2022 at 10:54 pm (2 years ago)This is what I am looking for really thank you so much for these Halloween lettering arts