
Today Chasity (@chiciscre8tive) is here with a super cute DIY calendar tutorial….to help you keep organized in 2020!

Happy New Year friends! Welcome to 2020. Today, I want to share an easy tutorial with you that will last all through the year and is a great way to kick off your 2020 creatively! Let’s make a 2020 desktop calendar to start the New Year! The best part about this project is no matter where you are in your lettering journey, this is a really simple way to create the look of a hand lettered calendar using Kelly’s wonderful stamp sets.

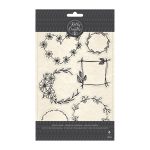
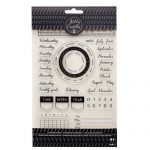
Kelly Creates Supplies: Galaxy Paper Pad (351381), Wreath Stamps (351372), Calendar Stamps (348274), Inspirational Phrase Stamps (351377), Bouncy Month Stamps (351373), Silky Smooth Project Pad, Black Fineliners, Ink and Stamp Block set
OTHER SUPPLIES: Metal Ruler, Craft knife, Cutting Mat, Stamping Ink pads (I used Navy and Green), Cardstock (color of Choice, I choose Green), Tape Runner, Liquid adhesive, Paper Trimmer, Score Board, Embellishments, Ribbon, Binder Clip, Tiny Number Stickers (optional)
Gather all the supplies listed above and let’s get started! You will need green and navy ink pads if you want to create the same look, or you can just use the black or grey ink from the Kelly Creates Stamp and Block set. Another option is to stamp lightly with the Kelly Creates grey ink pad and then trace over the stamped words with Kelly Creates Multicolor Small Brush pens. You could coordinate with the “Sage” and “Ocean” coloured pens if you use the same Galaxy paper I chose.
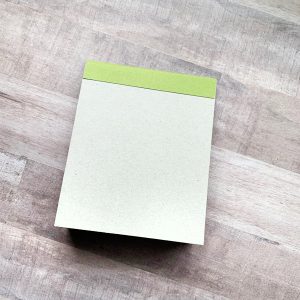
I created this desktop calendar using the white cardstock from Kelly Creates Smooth Card stock Project Pad, and I also used the chipboard from this pack as the base for the stand. Yep, sometimes we even use the packaging for projects!
I started by cutting 13 rectangles 3”x4” from white cardstock. You can make your calendar fit any size you desire, but I chose these dimensions based on the size of the stamps.

 Next I used the grid stamp and days of the week stamp from the Kelly Creates Calendar Stamp set. I lined the stamps up on the large block from Kelly Creates Stamp Block Set. With the grid lines, it makes it super easy to line up stamps. I stamped the grid 12 times on the 12 pieces of Kelly Creates white card stock I had cut.

I wanted to do all of my stamping at once, so I stamped the Kelly Creates Months Stamps on the cardstock above the grid alternating the colors between the Navy and Green. I chose these colors because they coordinated with the paper I chose to use from the Kelly Creates Galaxy Paper Pack.
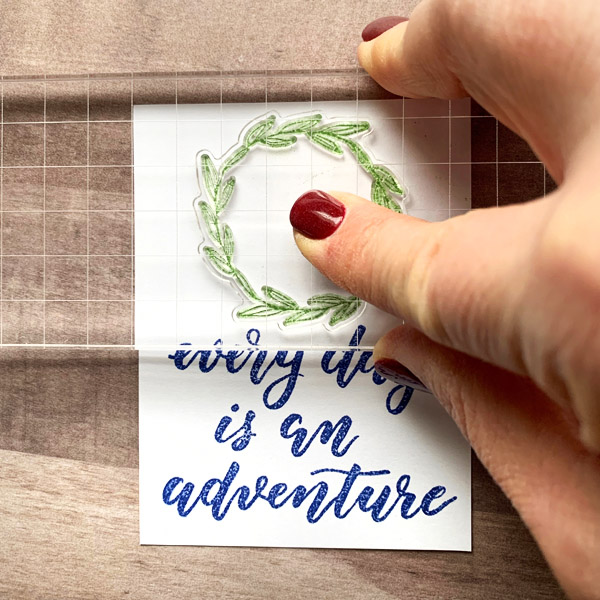
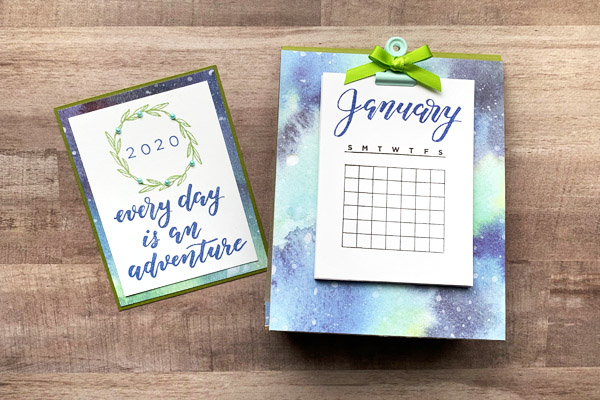
Next, I created a cover for the calendar. This is where the 13th piece of cardstock comes in. Using the Kelly Creates Phrase set, I chose a phrase and stamped it on the bottom of the card stock. Then I stamped a simple wreath from the Kelly Creates Wreath stamp set on the top. I stamped 2020 inside the wreath using the small numbers from the Kelly Creates Calendar Stamp Set.

I matted this piece using paper from the Kelly Creates Galaxy Paper Pad.

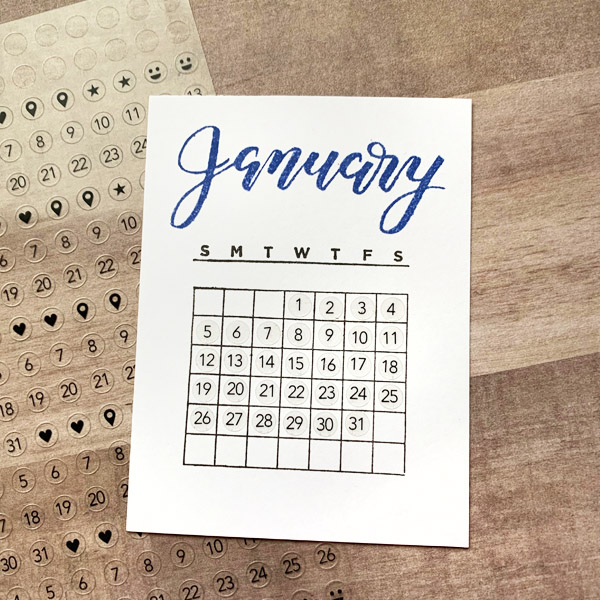
Here is what the calendar pages look like stamped.

Now it’s time to build the base to hold the calendar pages. I wanted it to stand so it would work on my desk so I used the cardboard from the Kelly Creates Project Pad. I used a metal ruler, craft knife and cutting mat to trim the chipboard down to 4 ½” x 11. You can also use scissors or a trimmer.


Next, I scored the chipboard half way down the long side at 5 ½”. To score it, use the metal ruler and cutting knife. Don’t cut all the way through the chipboard. Just cut about half way through. This will allow me to fold the chipboard.
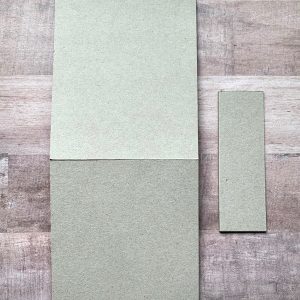

From the left over chipboard, cut a second piece 4 ½” x 1 ½”.
I then cut paper from the Kelly Creates Galaxy Paper pad to cover the front and back of this cardboard base, and also cover the small piece of chipboard that will be the bottom of the base.

I cut a green piece of cardstock that coordinated with the Galaxy paper to 4 ½” x 1 ½”. Using a scoreboard, score the cardstock at 3/4”.
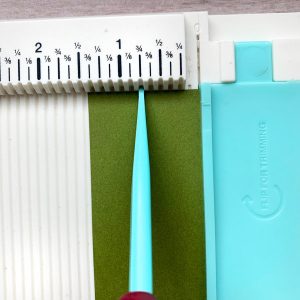

This will cover the score line at the top of the base and give it a clean, finished look.

Next I assembled the base. Bend the chipboard that is scored in half, and glue the small chipboard piece to the bottom of the folded piece to create a triangle.


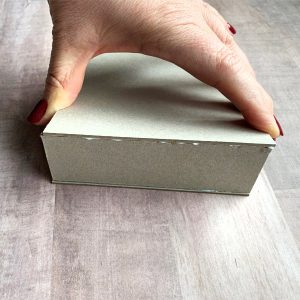
Now it’s time to decorate the base. I used glue to add the green piece of card stock and the cut sheets of paper from the Galaxy Paper pad that coordinated with the inks and other papers I chose.

Now for the finishing details… I added a few tiny half pearls to the wreath on the cover page, and I glued the binder clip to the front top of the base. This clip will hold the cover page and the calendar pages. I also added a ribbon bow to the binder clip. You can use any embellishments you have to dress up your calendar!

Look out 2020! You have a calendar that will take you through the entire year. These make great gifts too. You can hand letter the calendar if you like, but sometimes I like to use the Kelly Creates stamps because they are beautiful, save time, and make creating easy!
The last step is to add numbers to the months. This can be done by hand with a Kelly Creates Fineliner, or you can add small number stickers like these. I found these at the craft store in the planner section.
Thanks for taking the time to check out this tutorial. If you give it a try, be sure to share what you create on Facebook and use the hashtag #kellycreates.
*****************************
For more creative and crafty ideas, follow Chasity on Instagram @chiciscre8tive.
To shop for the supplies Chasity used, click on these affiliate links or visit KellyCreatesStore.com


PIN ME!

Bonnie
January 22, 2020 at 6:52 am (4 years ago)Love this Chasity! I
Chasity
January 22, 2020 at 1:43 pm (4 years ago)Thanks Bonnie!