
Today we welcome Melissa Clarkson (@letterbystarlight) to the blog as a guest artist. Melissa’s clean style of mixing lettering for quote designs caught my eye on Instagram and in our Facebook group. In this tutorial, she is sharing a wonderful quote PLUS a BONUS print alphabet A – Z.

Hello! I’m Melissa (@letterbystarlight). I’m a wife, mom of two young kids and a self-taught lettering artist from Southern California. I first picked up a brush pen in 2017 and fell in love! I like to mix different styles of brush lettering with watercolor and floral illustrations. I enjoy sharing my love of lettering with others by creating tutorials on Instagram and my blog http://www.letterbystarlight.com.

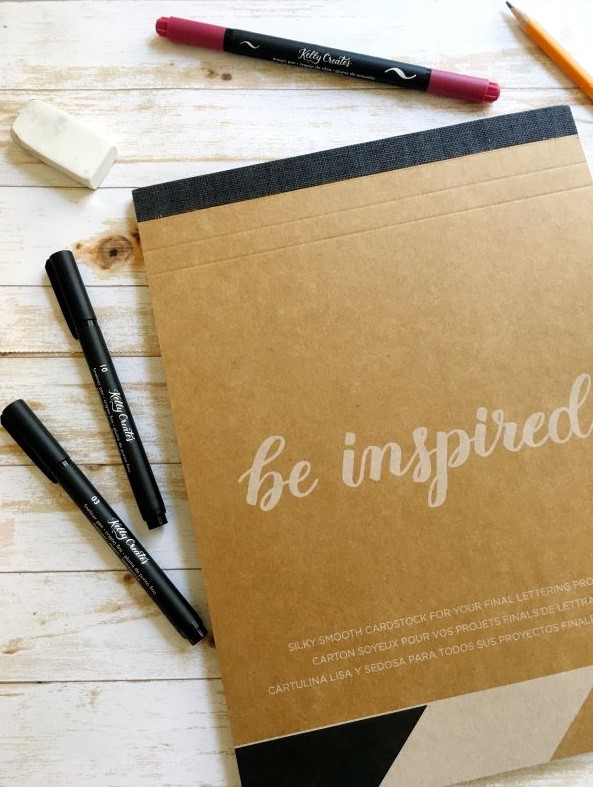
Kelly Creates Supplies: Project Pad (White Silky Smooth Card Stock), Deluxe Lettering Kit (Pencil, eraser, Ruler), Dream Pens (Meadow Set 2), Black Fineliners
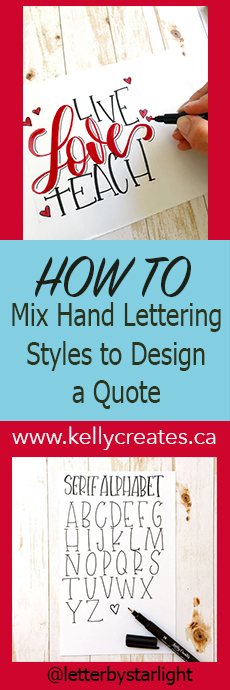
One of my favorite ways to add visual interest to a hand lettered quote is to mix lettering styles. My favorite combination is to mix brush script with a serif print. Today I’m going to show you how to lay out a quote design using different styles of lettering.
TIP: When laying out a quote, I like to think about arranging the words to create a shape that is visually appealing. In our example today, I am lettering the quote “Live, Love, Teach.” I have decided to letter the quote within a square shape. It’s also important to think about which word(s) in your quote you want to highlight the most. In this example, I’ve chosen the word “love” as the most important word in the quote. You can make the word stand out by making it larger and a different color.

Start by lightly penciling in a square shape that you will use as a guideline to letter inside. You can use a ruler, but it doesn’t need to be perfect since you’ll be erasing it later.

Next you are going to lightly pencil in the word LOVE. Since we have determined that this is the most important word in the quote, we will be lettering it in a script style and also making it larger than the other words. When penciling in your lettering, try to keep in mind the size of the brush pen you will be using so that when you go over it later, the size will be appropriately proportioned to your brush pen. TIP: Sketch your design on Kelly Creates Grid Practice Paper first.
 Next, you will add the serif print. We are going to arrange the serif lettering around the word love – some letters will be taller and some will be shorter but keep the letters inside of your square shaped guideline.

Once you have your finishing hand lettering with your pencil, you will lightly erase the pencil marks so that it only leaves a very light guideline for you to trace over with your brush pens and fine liners.

Next you’re going to letter the word LOVE with your Kelly Creates Dream Pen. Here I’ve used the “Cardinal” color from the Meadow Set 2.

Then you will add a drop shadow using the Kelly Creates Black Fineliner # 03. I like to add my shadows to the right side of the letter – but do what feels most natural to you. This will make the word ‘love’ stand out above all other words in the quote. 
Then you will letter the words “LIVE” and “TEACH” using the serif print with your Kelly Creates Black Fineliner 10. Thicken the down strokes to make the print bolder. Here is the A-Z exemplar of my favorite fun whimsical style serif print to give you a little inspiration for your next lettering project!

To add a fun touch, I’ve added little hearts around the letters in red and outlined with the Black Fineliner. Once everything is inked and dry, you can go back and erase any remaining pencil marks.

I hope you have enjoyed this tutorial! If you make a piece using this method, please use the hashtag #kellycreates and tag me at @letterbystarlight on Instagram or share in our Facebook group “Kelly Creates Art & Calligraphy” – I would love to see what you create!
As a teacher, I ADORE this piece, Melissa! Thanks for inspiring us and showing how easy it is to combine lettering styles for a visually pleasing quote design and layout.
Shop the supplies Melissa used by clicking the affiliate shopping links below:


PIN ME!
Debbie Reaves
October 1, 2019 at 4:17 am (7 years ago)It’s beautiful!
Thanks so much for sharing this with us. It was very informative and fun.