
Today’s tutorial from Bonnie (@diamondandwillow) is both creative and practical! She is sharing a unique way to use Kelly Creates pens as watercolor to design beautiful bookmarks.

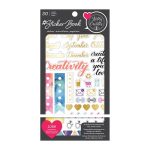
Kelly Creates Supplies: Blending Kit, Deluxe Lettering Kit, Project pad, Black Fineliners, Aqua Brush Pens, Jewel Metallic Brush Pens, Beauty of Lettering Quote pad, Sticker Book
Other Supplies: paint brush, adhesive
Did you know that water based brush pens can be used as watercolor too? This bookmark tutorial is about using Kelly Creates Jewel Brush pens and the Aqua Brush pens on the Kelly Creates Blending Palette and treating them as watercolour paint.

Cut out your desired size of bookmark from Silky Smooth white cardstock paper in the Kelly Creates Project Pad. I also use the paper from the Kelly Creates Beauty of Lettering Quote Pad. My bookmarks measure 2 ¼” x 6” . After you’ve completed the artwork, you can mount it with adhesive onto a piece of Silky Smooth black cardstock paper, sized ½ ” larger both ways. This will help straighten out any buckling you may have from the water, make it more durable and create a more polished look.

When creating your background, think about what type of silhouette, drawing or sticker you will be adding. Look at some photographs or search ‘silhouette’ on Pinterest for some ideas. You can also just choose some of your favourite colours to blend and go with that.
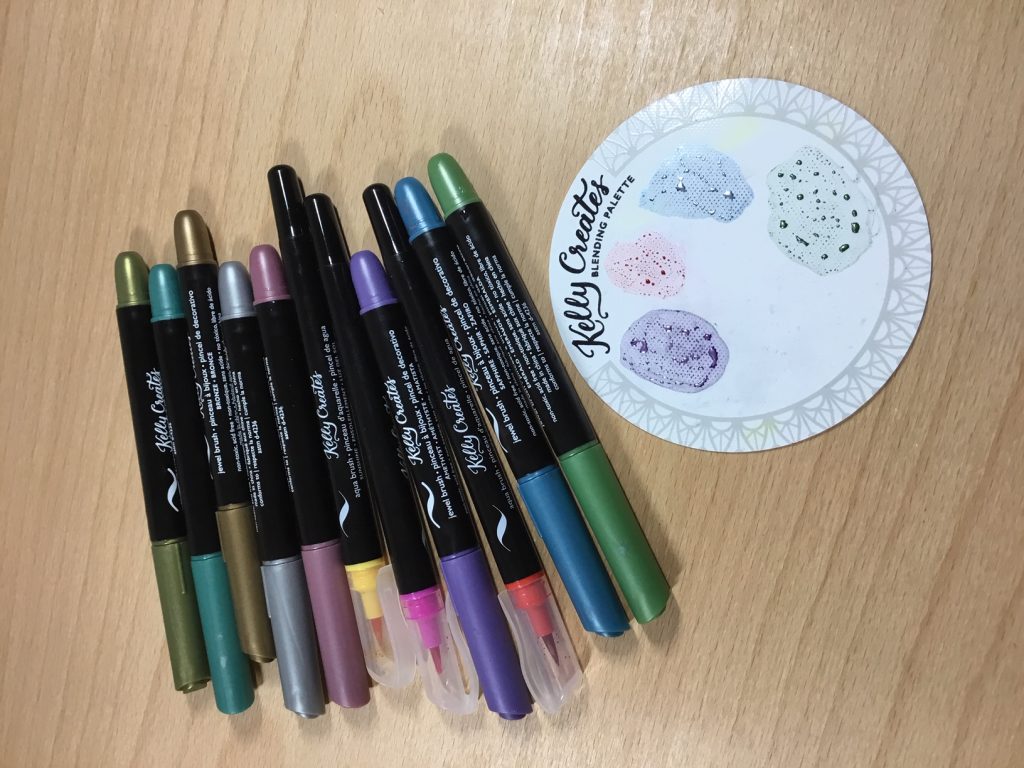
Once you’ve chosen your colours, place some directly onto the Kelly Creates Blending palette by simply scribbling on it. Use the side of your brush tip so you don’t damage it. I made tiny circles of each ink color on the palette.
 TIP: I would recommend trying this technique on some scrap pieces of cardstock first, so you can get a feel for how much water is too much or to little as well as the colour needed to create the blending.
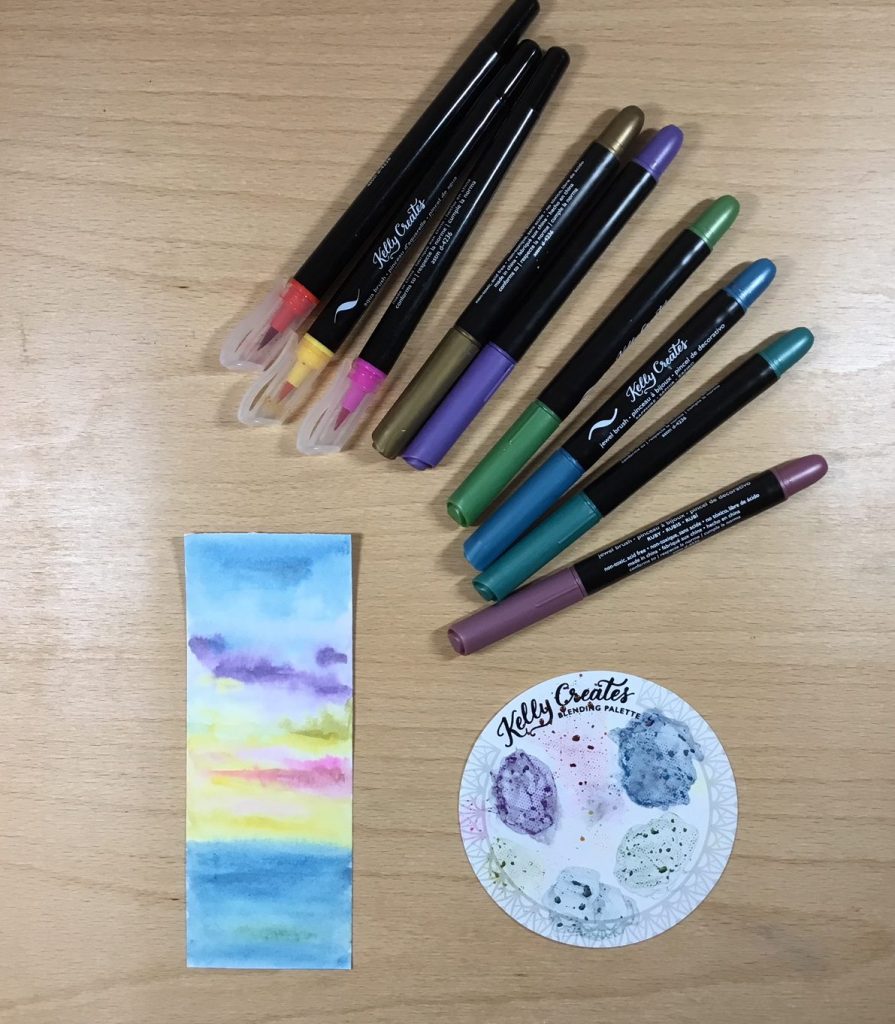
With your paint brush, begin adding a small amount of clean water directly onto the cardstock before picking up the pen ink from the palette with the same paintbrush. Then gradually add in your colours to blend together for a soft wash.
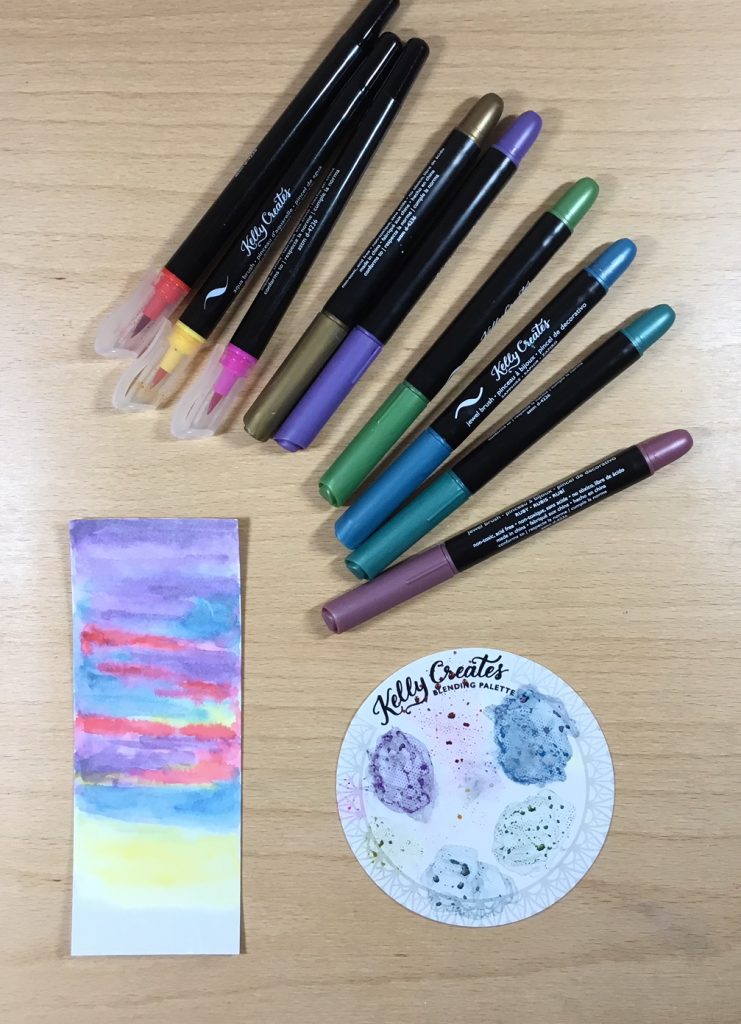
TIP: Be careful not to use too much water or multiple strokes back and forth or the paper fibres will pill and tear. Another option would be to use watercolor paper. Let your bookmark dry completely before you proceed with adding a design or illustration or stickers.

For this bookmark, I used a mandala from the Kelly Creates Sticker Book to give the impression of a compass. Then using a pencil and ruler from the Kelly Creates Deluxe Lettering kit, I drew a smaller compass in the top corner and outlined it with a Kelly Creates Black Fineliner.

On the other two bookmarks, I lightly drew the silhouettes with pencil first and then filled them in with the Kelly Creates Black Fineliners. If you are uncertain about drawing, then use Kelly Creates stamps, stickers or rub-ons!

When choosing a silhouette, consider its design and size beforehand if you want to add a quote in as well. Lastly, I wrote quotes with either a Kelly Creates Fineliner, Small brush pen or a combo of both.

Here’s a few more ideas to spark some creativity…add your own or a recipient’s name instead of a quote, transform this into a gift tag with a To: and From: plus punch a hole in it to add a tassel or ribbon…. or resize the idea and make it into a journal page!

Thanks Bonnie! Watercolor doesn’t have to be complicated or seem too difficult! Anyone can try this technique. As an avid book reader, I can always use more bookmarks. Using the metallic Jewel brush pens also gives a little shine to the watercolor backgrounds.
For more inspirational artwork and lettering, follow Bonnie on Instagram @diamondandwillow and her Facebook page “Diamond and Willow Artworks.“
Shop the supplies Bonnie used by clicking on the affiliate links below:


PIN ME!

Linda Epstein
August 6, 2019 at 6:08 pm (5 years ago)Beautiful bookmarks and nice tutorial. Thank you.