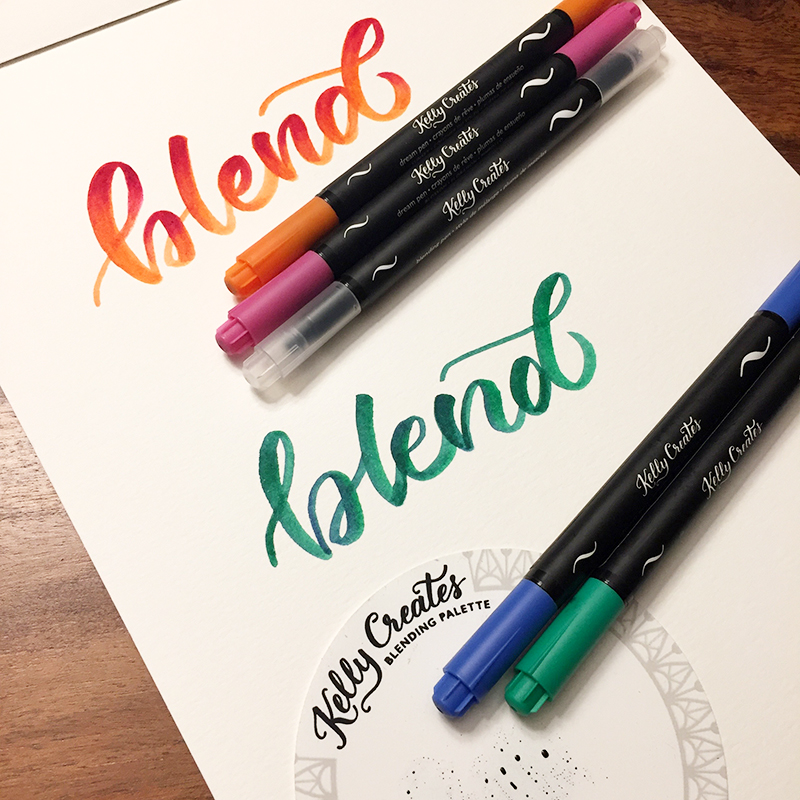
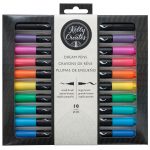
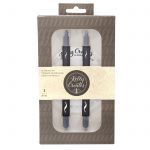
Elizabeth Wise (@wiselettering http://www.wiselettering.com) is going to show you how easy it is to blend colours of Dream Pens using the new Kelly Creates Blending Kit.
This tutorial is going to cover blending using the Kelly Creates Dream Pens along with the brand new Blending Kit! I generally use two different methods to blend colours in a single word. Here are a few helpful hints before you get started:
- First off, you will need to use a heavyweight Bristol paper or smooth watercolour paper because regular thin paper tends to absorb the ink too quickly to blend.
- In both techniques, use two colours(one light and one dark) that work well together to create a seamless blend. If the two colours don’t sit next to each other on the colour spectrum, the result will be a strange muddy colour in the blend area.
- Usually I recommend writing your word out first with a pencil, but I’ve found with blending, pencil is often difficult to erase after the ink is applied on top, so you end up with pencil lines showing through. Freehand is best.
What you’ll need: Kelly Creates Dream Pens and Blending Kit, plus watercolour paper.
Technique 1
STEP 1 – For the first blending technique, use the blending palette from the Blending Kit with the Ocean and Jungle Dream Pens. Using the darker of the two colours (blue Ocean in this case), start colouring a spot on the palette to build up a small “swatch” of ink.
STEP 2 – Now using the lighter of the two colours (Jungle green in this case), drag the brush tip through the ink on the palette to pick up the second colour.
Start writing your word and see the automatic blend of colour you will get as you write. 
You can stop to pick up more colour for different letters. You also can vary between picking up lots of the second colour, or writing a letter in just the original colour. It’s a very quick, playful technique that is easy to create pretty gradients of colours in a word.
Technique 2
STEP 1 – In the second blending technique, I used the Sunset and Blossom Dream Pens. Always start with the lighter of the two colours as the base colour. This blending technique is fairly time sensitive as you want to be working with wet ink. If you let it dry too long, I find the blend isn’t as smooth. Write your whole word out or write one letter at a time.
STEP 2 – Next, take your darker colour brush pen, and one letter at a time, add a little ink to the upper area of the letters. Timing is sensitive on this part. You will need to do the blending on one letter at a time before moving on to the next one.
STEP 3 – Using your blending pen, make downward strokes from the dark colour into the light colour, blending the area where they meet. TIP: Try to do this in as few strokes as possible so as not to overwork and break down your paper.
 If you feel like your blending pen is starting to hold too much of the ink, simply scribble off extra ink from the blending pen on a clean piece of paper until the colour disappears and it writes clear again.
TIP: This is how to ‘clean’ all of your brush pens and blending pens when working with this technique. Just scribble the ink out until the original colour (or clear blending ink) is flowing.
I hope you try out the Blending Kit and enjoy adding a little extra colour and flair to your words!
Thank you for this awesome tutorial, Elizabeth! With this technique, the number of custom colours you can produce in your lettering is limitless.
To see more of Elizabeth Wise’s lettering and design work, follow her on Instagram @wiselettering and visit her website http://www.wiselettering.com.
SHOP for these supplies by clicking these affiliate shopping links below:


