
Chasity is going to show you a really cool technique to make cards using the Kelly Creates Watercolor Inks and washi tape!

Kelly Creates Supplies: Deluxe lettering kit (Pencil, eraser & ruler, Black Large Brush Pen), Watercolor Paper Pad, Watercolor Sets 1 Warm, 2 Cool, and 3 B/W & Iridescent, Watercolor Palette, Watercolor Brush #4, Multicolor Small Brush pens Set 1 and Set 2, Multicolor Fineliners 05, Metallic Jewel Small Brush pen, Black Fineliners, Moonlight Marker, Galaxy Washi tape (optional)
Other Supplies: Washi Tape: 1”, ½” and ¼” Thick, Cardstock, Paper Trimmer, Scissors, Baker’s Twine, Adhesive sequins, Adhesive Dots
Hello lettering friends! How is it June already? I know… I say that every month! But I am in shock at how fast the year is going. And what a strange year it has been thus far. I hope that it’s getting warm where you are. Things are heating up in Utah for sure! It’s been so great to get some much-needed vitamin D!
I hope that everyone has had the opportunity to play with the Kelly Creates new watercolor line! I am loving all the projects I can create with these new tools, even outside of watercolor lettering. Kelly is inspiring me daily to create beautiful watercolor pieces of art, from her florals to cute elephants!
Today I want to share with you a fun tutorial with a masking / resist technique using Washi Tape. I have seen this technique done by many of my favorite letterers and wanted to give it a go, using washi tape and watercolors to create colourful backgrounds for cards.
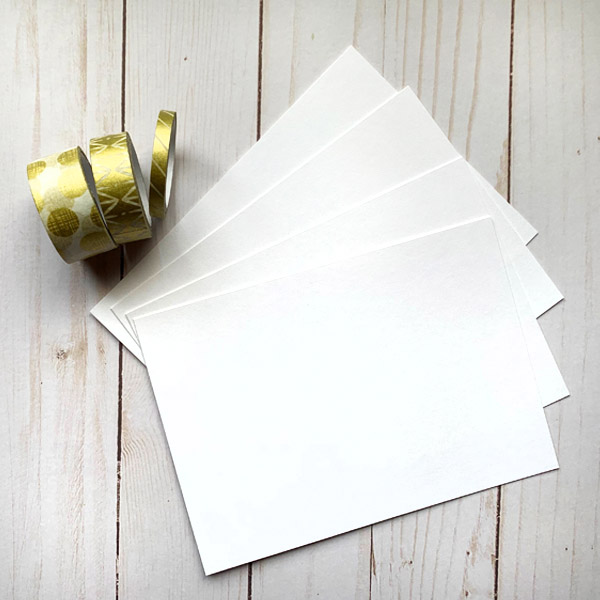
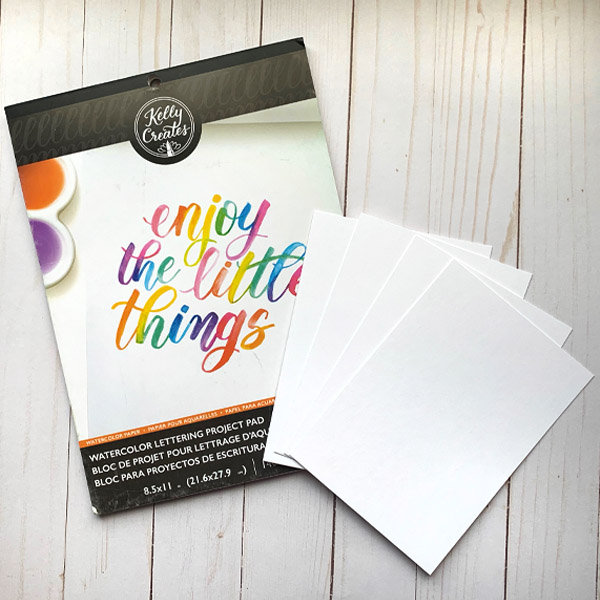
To get started, I cut down Kelly’s watercolor paper into five 5” x 7” papers. I just used my regular paper trimmer.
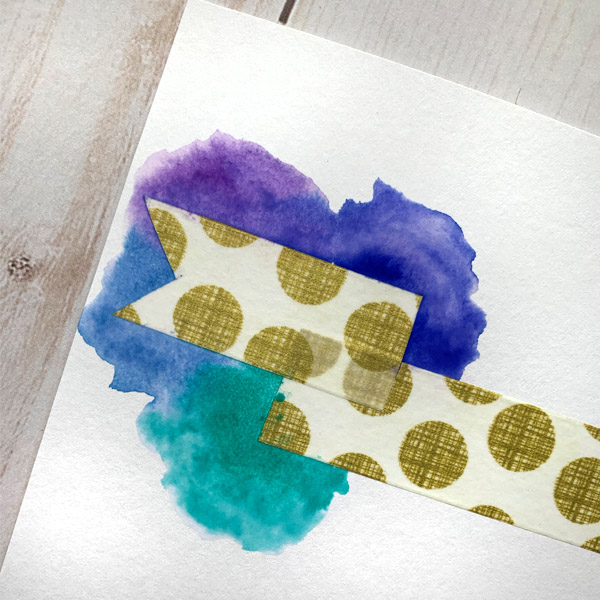
Next I started to mask areas on the papers with washi tape, where I wanted the Watercolor Inks to resist. This is really fun to do with banner shapes, and also clean borders or even torn edges.


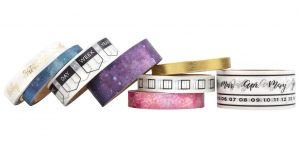
Get creative on how you use the washi tape. Washi tape comes in different widths, so it’s also great to play with the widths.

I have a bit of a washi tape obsession, so it’s never in short supply here. Keep in mind that you can use the Kelly Creates Galaxy washi tape that comes in different widths.
I couldn’t use Kelly’s Washi tape though because I knew I would be throwing this away.. and I can’t part with Kelly’s washi…lol!

As you can see, I used banner shapes, I did a thin border, and I also played with the ripped edges to see what effects I could get. Washi tape is really versatile and forgiving and can be repositioned multiple times.
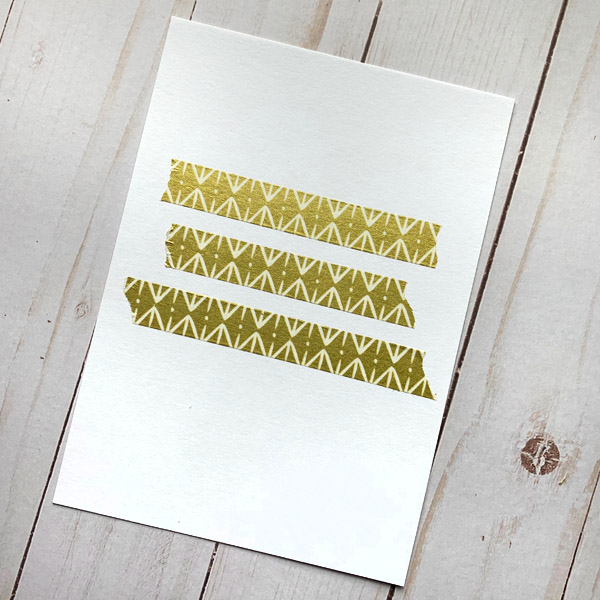
Make sure that you rub the washi down on the paper so no watercolor can seep underneath. I recommend doing sample tests with the Watercolor Inks and your washi tape to check its adhesion to the paper and its masking properties. Not all Washi tape behaves the same way. (The Kelly Creates Watercolor paper is super smooth so the Washi tape adheres well, as opposed to using a rough watercolor paper). I added all the washi at the same time to the cards so I could then focus on the watercolor.

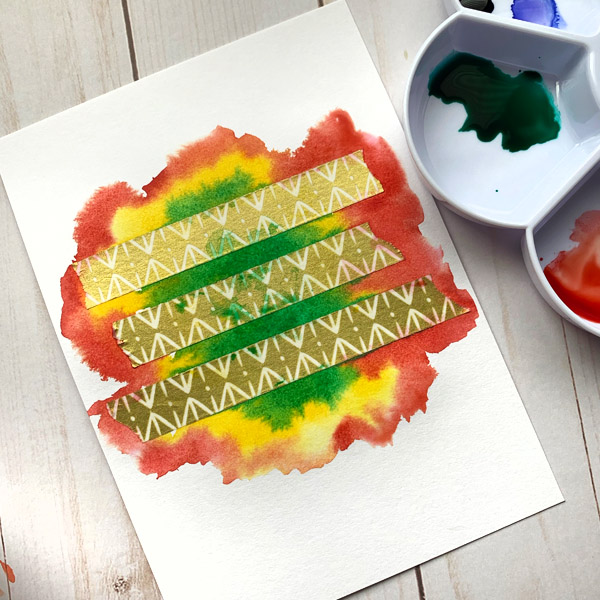
Next, I chose some Kelly Creates Watercolor Inks to use together to create the backgrounds. Sometimes I wet the paper first with clean water before painting with inks (wet on wet), and sometimes I did not (wet on dry). I just wanted to play and experiment with effects. It was about progress, not perfection. I started with the Set 1 “Warm” ink colors together (Poppy, Rose, and Deep Yellow).

It’s totally OK to paint watercolor right over the washi because it will resist the color. As I completed the backgrounds, I would set the card aside to dry and move on to the next one. I love the Kelly Creates palette for mixing colors, but for also keeping the watercolors separate! Make sure that you paint right along the edges of the washi tape so you get that nice crisp line. I did not wet the paper with this background.
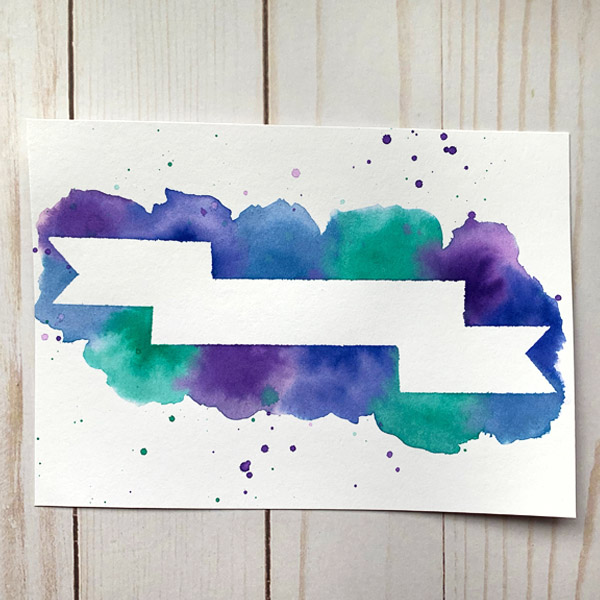
For the next card, I used the Set 2 ‘Cool” colors. I did wet the paper with clean water to get the paints to blend more. I love how the mood of the card changes with the warm inks and the cool inks. Be sure to play with color and see what you can come up with!

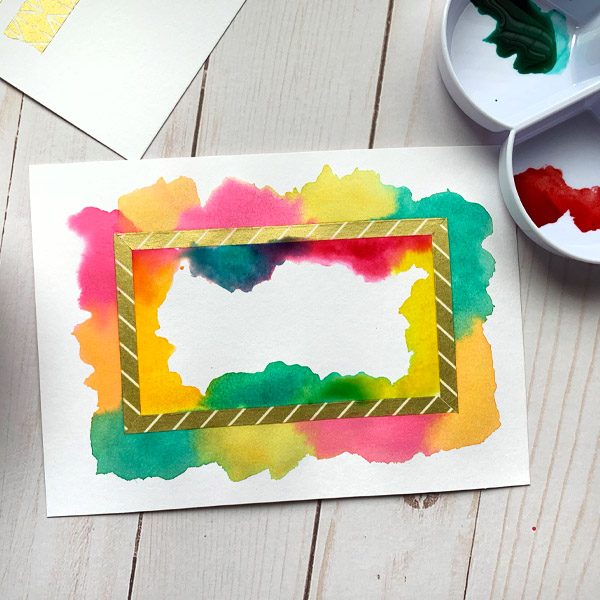
Remember to set the cards aside to dry as you finish the backgrounds. For the third card, I taped a thin border and thought this also would be AMAZING on envelopes to create a box around the hand lettered address! (wink, wink.)
For the fourth card, I decided to change the orientation of the card, and make it vertical so that I could tape stacked lines for lettering a quote or sentiment.
I became a little bolder with my color choices for this one!
After letting the cards dry completely, go ahead and peel off the washi tape. It comes off very easily. (NOTE: If you are using the concentrated Watercolor Inks without diluting with water, the drying time is longer).

You can see that the resist worked great, and now I have a banner ready for a hand lettered sentiment!

I then took a Kelly Creates Multicolor small brush tip pen that coordinated with the colors that I used, and created a border for the banner. For this card, I used “Hibiscus”, a beautiful red from the new Set 2 of Small Brush Pens. This gave the banner just a little more definition.

Then I used the same “Hibiscus” small brush pen to draw thin lines in the” folds” of the banner to create some dimension and interest. You could also use a Kelly Creates Multicolor Fineliner for this detail.
Next, using a variety of coordinating Kelly Creates brush pens, letter a sentiment in the banner. Here is the super awesome thing about Kelly Creates products: you can mix and match and colour coordinate them beautifully! I added some shadows (Sunshine Small Brush pen) and highlights (Moonlight Marker) to my lettering. I just love giving cards that are made by hand. I think it’s going the extra step to show I care.

Let everything dry, then choose some coordinating cardstock and embellishments to complete the card, and it’s ready to give to someone special. I love adding Baker’s Twine and a few small embellies for dimension to my cards, but less is more so your creativity can really shine!

Repeat these same steps for each card. Here are a few progress photos to show what I did. Play around with Kelly Creates Jewel Brush Pens with the watercolor… they are beautiful!

Card 3: I really loved the bright, bold colors and the contrast of black letters on this card.

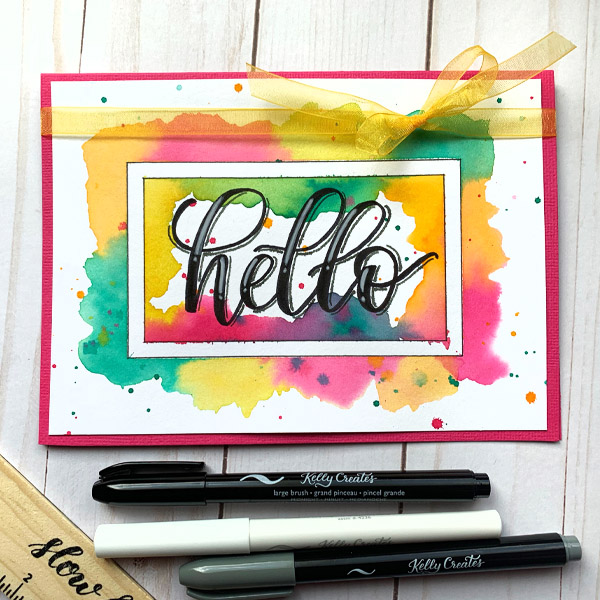
I did use the handy ruler from the Kelly Creates Deluxe Lettering Kit to outline the border. This kept my lines nice and straight!
For the fourth card, I really like how the torn edges of the washi tape look! I chose not to outline this one. I also threw some alpha stickers into the mix to change it up.


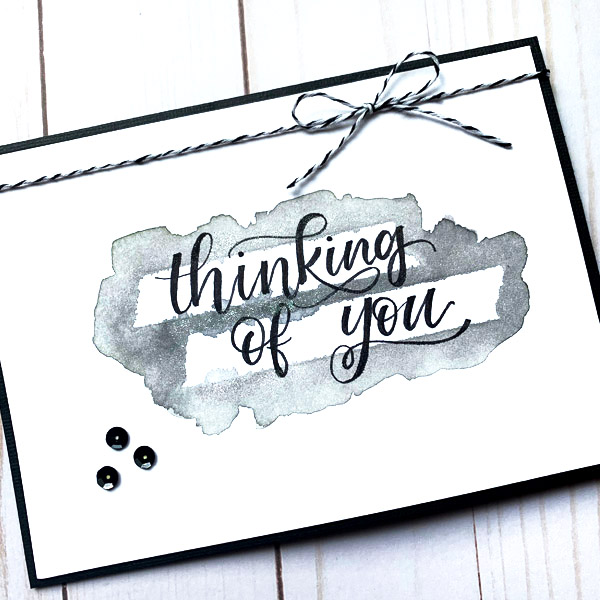
For my last card… I wanted to try a monochromatic color scheme and I added some of the shimmery Iridescent Watercolor Ink to the diluted Black ink (grey) to add some sparkle. You can’t tell from the photo, but it looks really elegant! I also didn’t mind that the watercolor ran a bit under the washi tape.
I hope you give this fun technique a try, and let your creativity take over! These were simple and fun to create with Kelly’s products. Please be sure to share what you create with us in our Facebook group or tag #kellycreates online. I just know you will come up with some fabulous alternatives to these!

Thanks for stopping by today! Stay safe and healthy!
For more inspirational crafting and lettering, follow Chasity on Instagram @chiciscre8tive.
Shop the supplies Chasity used by clicking the images below or visiting KellyCreatesStore.com.


PIN ME!

Melanie
June 25, 2020 at 4:24 pm (5 years ago)Love the cards and technique!!
Linda
June 25, 2020 at 4:40 pm (5 years ago)Love these cards and your ideas for them, Chasity. Now I have to buy more supplies. lol. Thanks for sharing.
Bonnie
June 25, 2020 at 10:11 pm (5 years ago)These are great Chasity!