
Melissa Clarkson (@letterbystarlight) is back with a beautiful watercolor holiday wreath & lettering tutorial!

Kelly Creates Supplies:
- Practice Dot or Grid Pad
- Black Fineliner #08
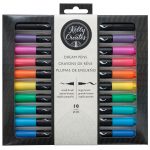
- Dream Pens Set 1
- Dream Pens Set 2
- Blending Kit (Palette)
Other Supplies:
- Mix Media or Watercolor Paper
- Small Bowl, glass or compass
- Pencil & Eraser
- Water brush or paint brush and water

Happy Holidays! The tutorial that I’m going to share with you today mixes three of my favorite things – lettering, illustration and watercolor! This holiday themed wreath combines simple winter botanicals such as leaves, holly and pine to create a piece that would make a lovely Christmas card, holiday décor, planner illustration or a beautiful accent to a scrapbook layout.
TIP: Before creating my final project, I like to lay out a draft in pencil on my Kelly Creates dot grid. It’s easier to make changes to your layout on this paper before finalizing it on your mix media paper.
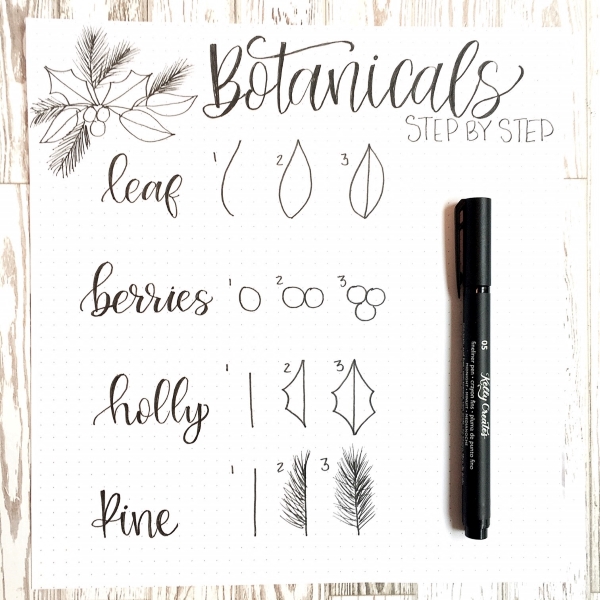
For this piece, we’re going to be drawing some simple greenery and florals. Here is a step by step guide on how to draw each of the botanical elements for our wreath. I recommend that you practice drawing these in pencil on your Kelly Creates paper pad before starting your final piece.
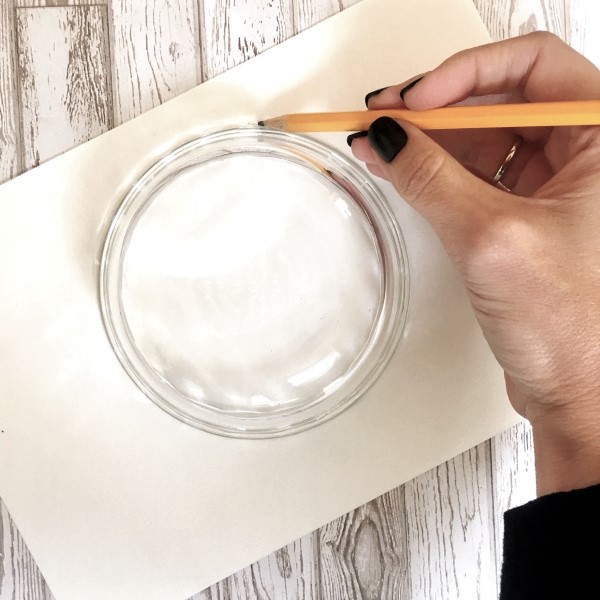
To begin, you’re going to lightly draw a circle on your mix media paper by tracing around a glass or bowl that is the size of the wreath you would like to make. You could also use a compass to create your circle.
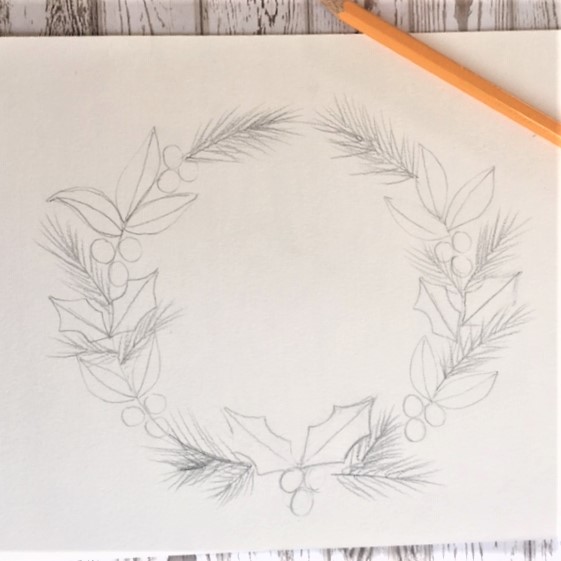
I like to start my wreath by sketching clusters of 2-3 leaves and berries with my pencil at four different points around the circle.

Next we’ll add some holly leaves with berries at the bottom of the circle as well as two on either the side of the circle.

The final element we’re going to add are some pine needle sprigs which we will use to fill in any empty spaces around the wreath.
Once all your wreath elements are completed, you will add your lettering into the centre. You can add any holiday message that you’d like. For this example, I’ve lettered “Joy to the World.” I’ve also added a small flourish under the lettering to fill in the empty space at the bottom.

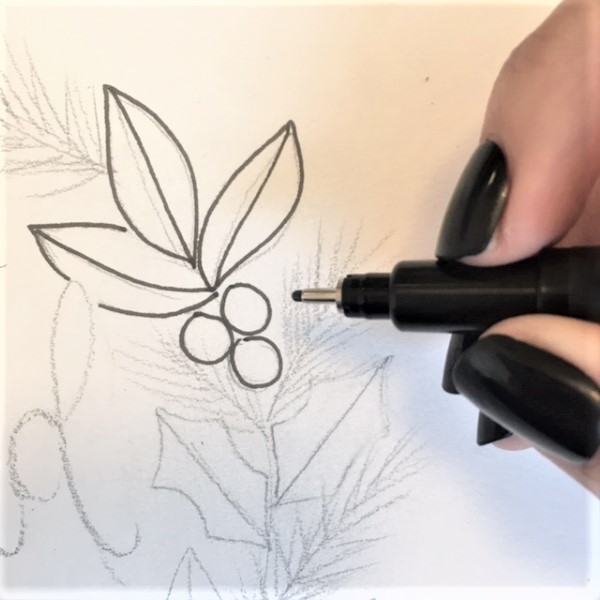
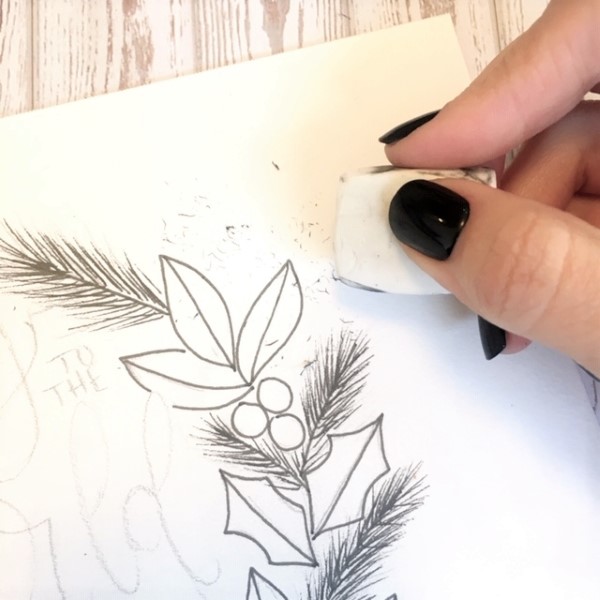
The next step is to ink your wreath with your Kelly Creates black Fineliner. I like to use the 08 size for these types of projects. Carefully trace over your penciled wreath design.

Once the ink has dried, you can erase any pencil marks. If you see any open space after erasing, add more pine sprigs with your fineliner to fill it in.
Next you’re going to “paint” your leaves using Kelly Creates Dream Pens as watercolor. To do this, you will scribble the pen’s ink onto your Kelly Creates Blending palette. Pick up the color using a waterbrush (or a paint brush lightly dipped in water) and paint the leaves and berries.

To paint the pine sprigs, I dip the tip of my paintbrush in the color and then with a light feathered motion flick out from the stem to mimic the same shape as the pine needles. It’s okay if the watercolor comes out further than the ink – that just adds an extra layer of dimension to your piece.

The Kelly Creates Dream pen colors that I used for this wreath are:
Holly Leaves – “EVERGREEN”
Berries – “CARDINAL”
Leaves – “STREAM” & “JUNGLE” mixed with “OCEAN”
Pine – “EVERGREEN”

Once the watercolor has dried, you will letter your saying in the centre of the wreath. For this piece, I chose to letter using faux-calligraphy with my fineliner.


I hope this tutorial inspires you to create your own holiday wreath! Use the hashtag #kellycreates on Instagram so we can see your creation!
I’ve watched Melissa’s videos on Instagram where she creates wreaths for all occasions from start to finish! I love how she uses Kelly Creates brush pens as her watercolour paint...lots of people don’t realize you can do this.
For more beautiful, artistic hand lettering ideas, follow Melissa on Instagram @letterbystarlight and her website http://www.letterbystarlight.com
Shop the supplies Melissa used by clicking on the product links below or visiting http://www.KellyCreatesStore.com


PIN ME!

Chasity
December 18, 2019 at 5:55 pm (7 years ago)Oh! I love this! Great tute!
Linda Epstein
December 20, 2019 at 7:01 pm (7 years ago)This is such a lovely wreath. Thank you so much for this tutorial, Melissa.