
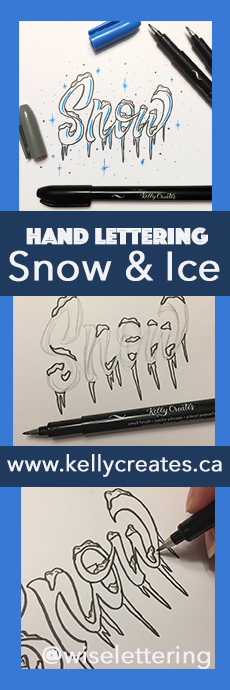
Let it Snow! Elizabeth Wise (@wiselettering http://www.wiselettering.com ) has a really ‘cool’ hand lettering tutorial to create snow & ice effects. Let’s see how it’s done! 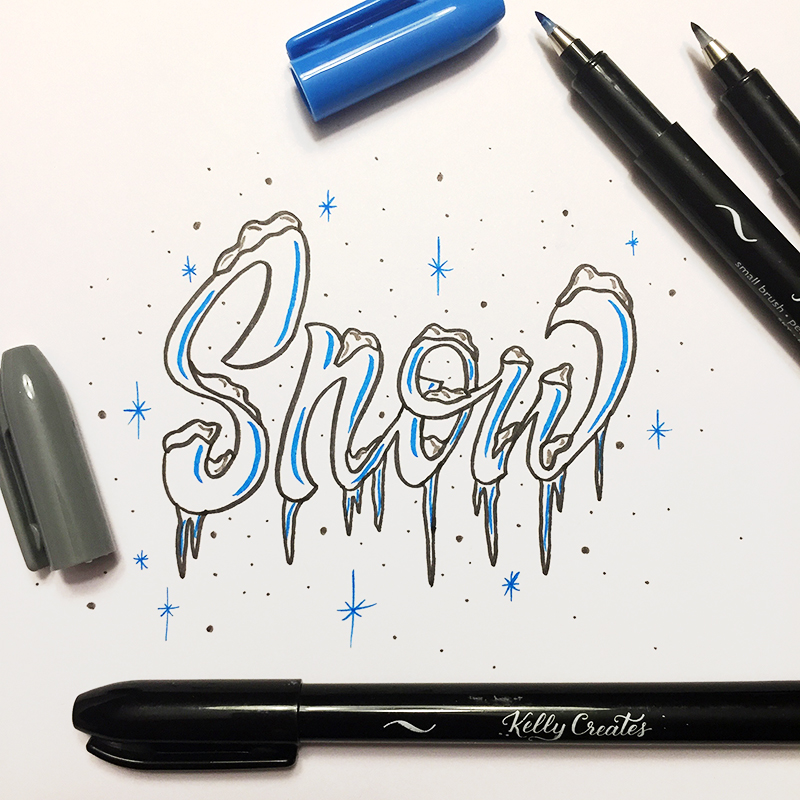
SUPPLIES you’ll need: Kelly Creates Multicolor Small Brush Pens (Midnight, Sky, Grey), a pencil and eraser (from the Deluxe Lettering kit) and white cardstock from the Kelly Creates Project pad or paper from the Blank Practice Pad. 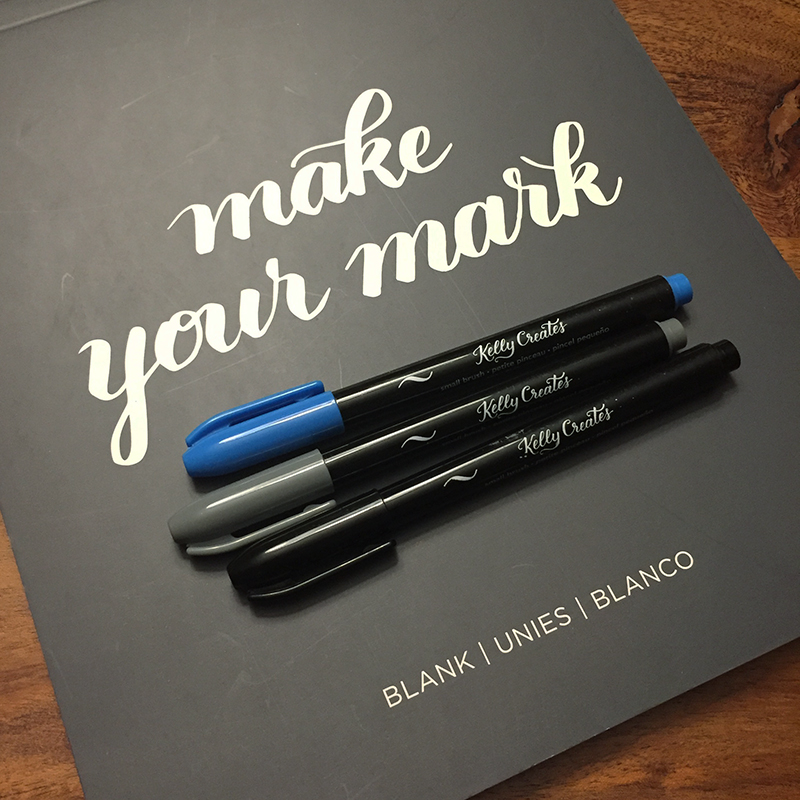
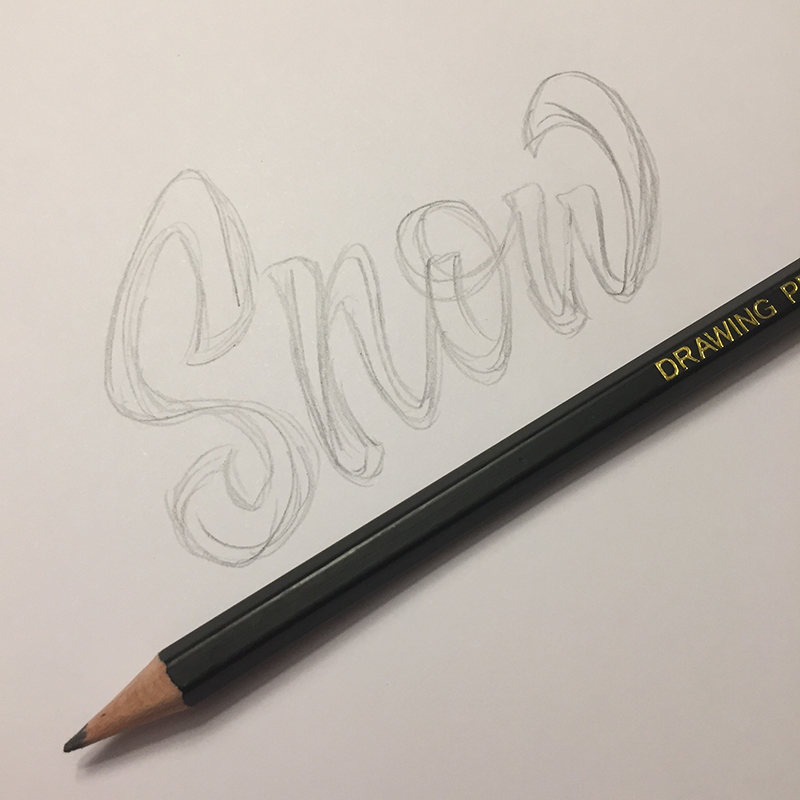
Step 1: Draw any word you’d like to give a chilly look to! Make a block letter style in order to give some depth to your word.
Step 2: On the top of all your letters and valleys, add a little pile of snow. You can vary in size and shape as much as you want…there is no correct way to do this!

Step 3: On the bottom edge of each letter, add the icicles hanging off. Once again, vary in length, frequency, amount since they should be as inconsistent as actual icicles! 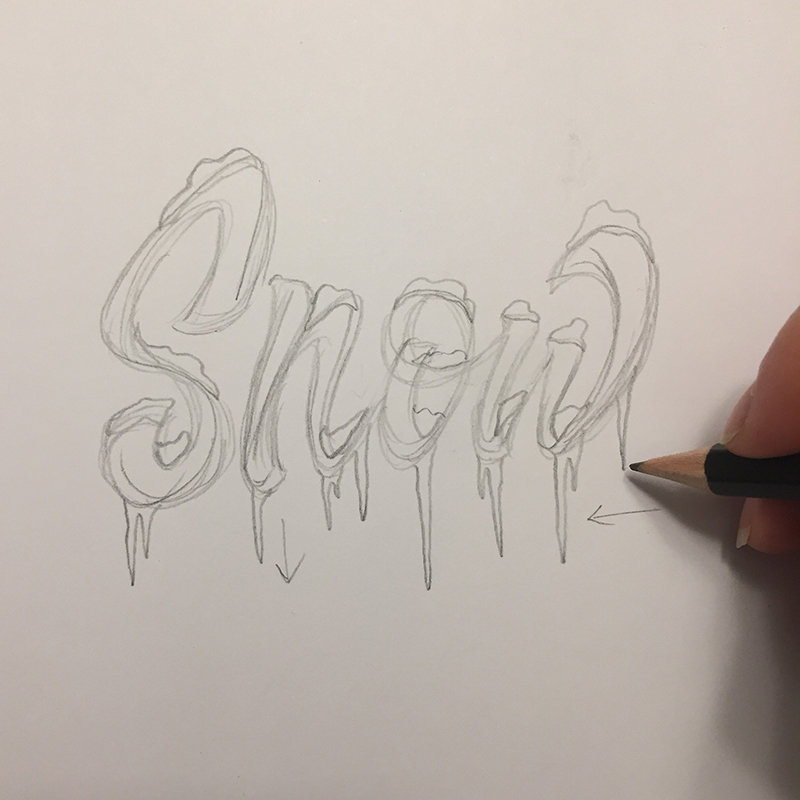
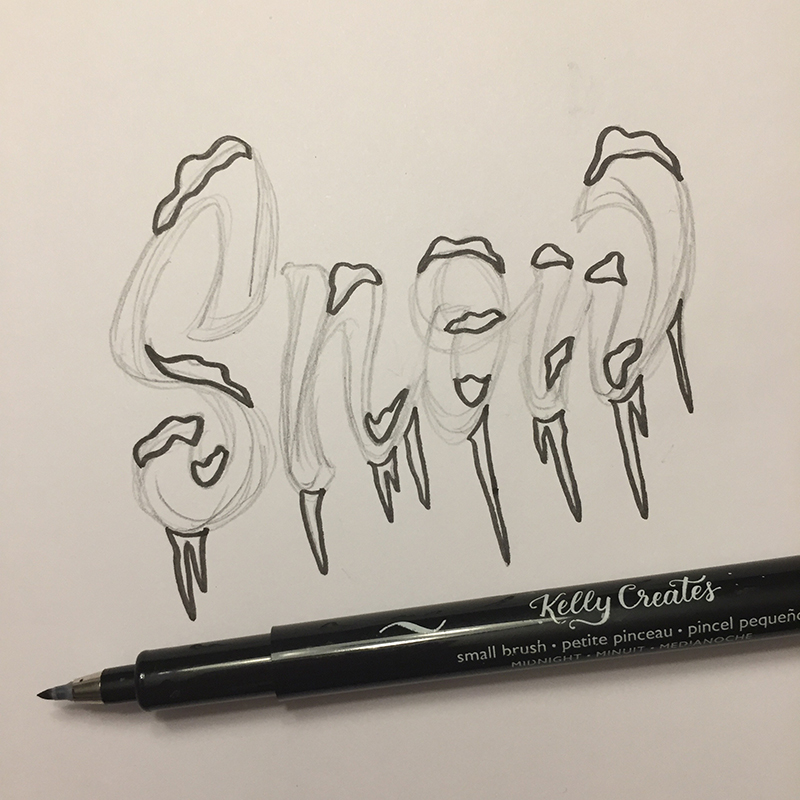
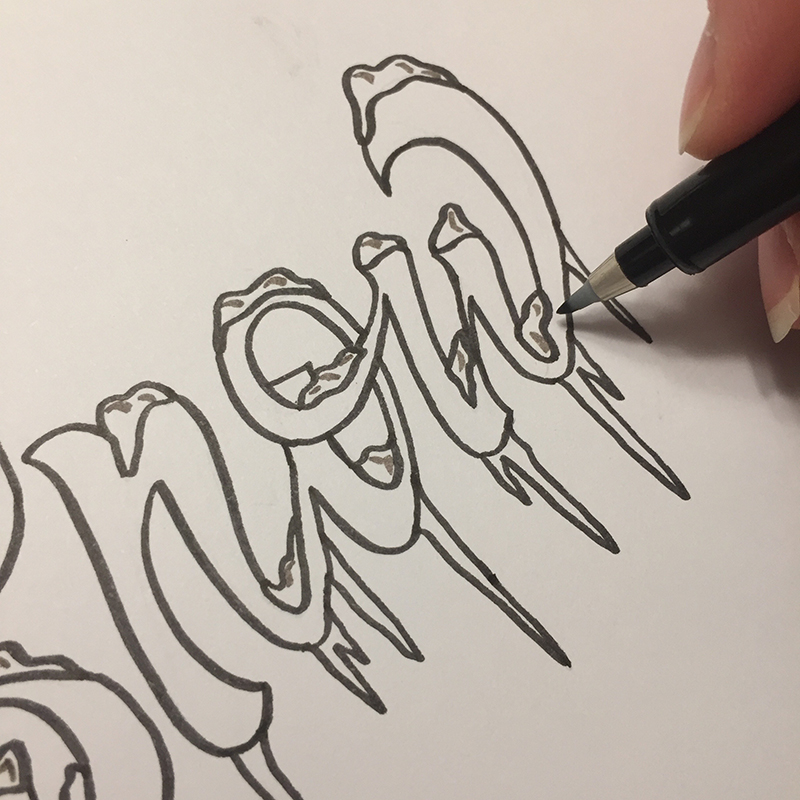
Step 4: Using the Midnight Kelly Creates Small Brush Pen, outline the snow and icicles first.
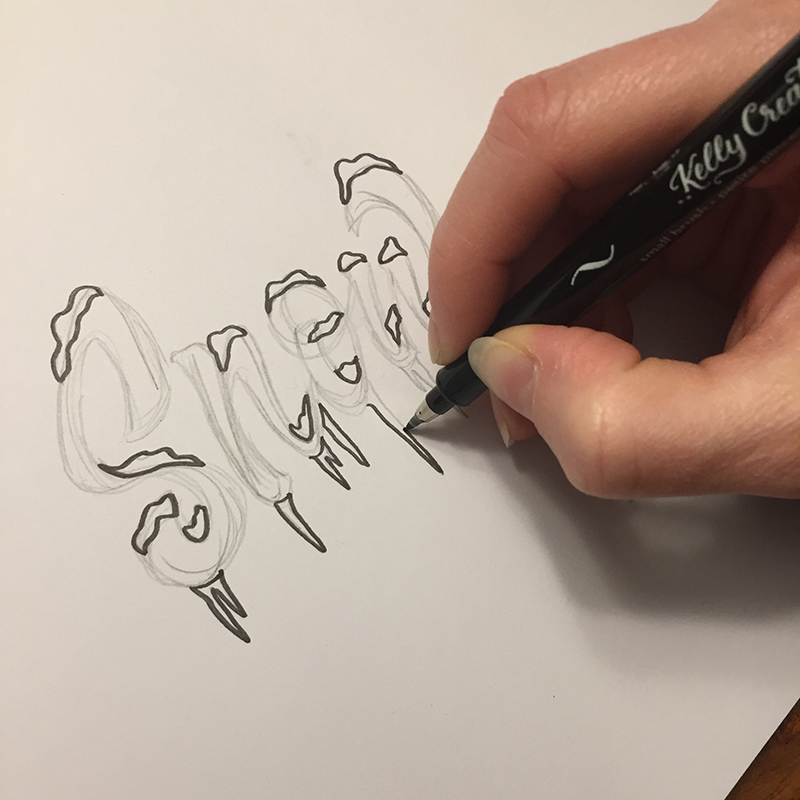
This will make sure that the shapes of the snow and icicles can overlap the outlined edges of the letters. The snow and ice should sit on top of the letters like they would in real life. If you were to outline the letters first before the ice and snow, it would look as if they were hiding behind the letters.
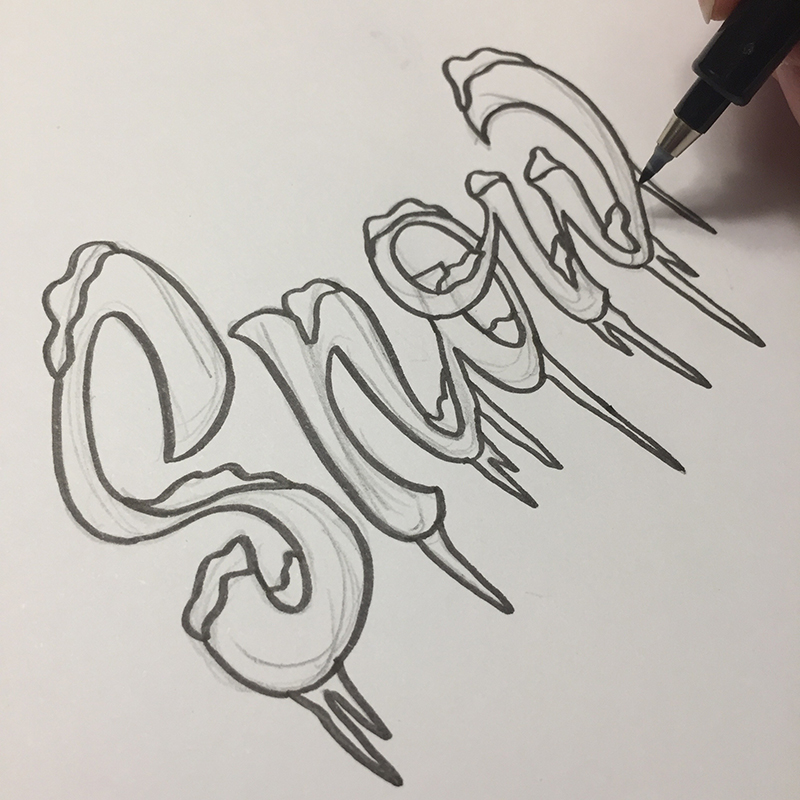
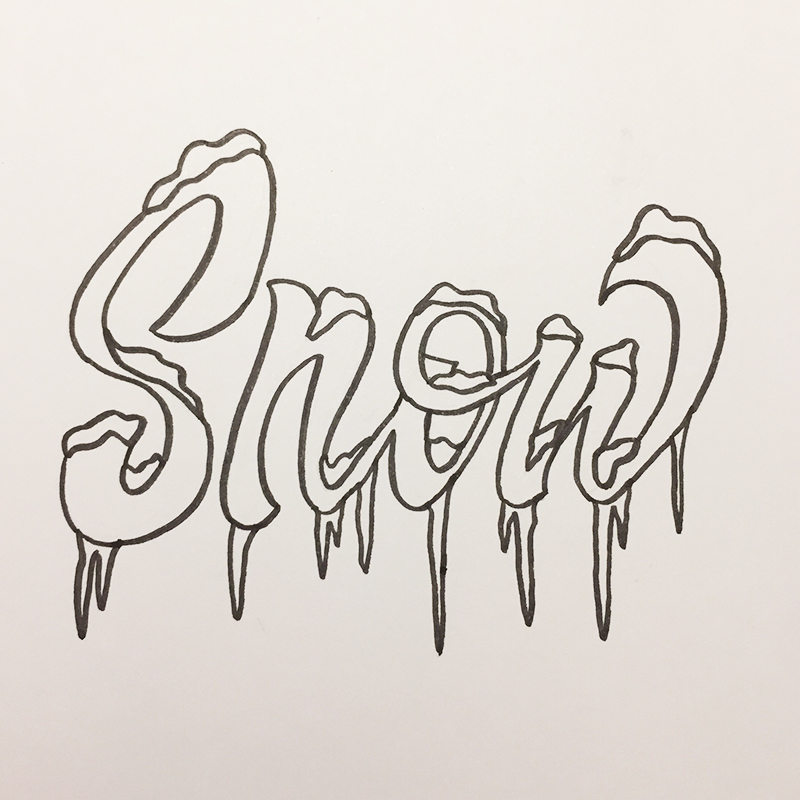
 After the snow and ice are outlined, trace over and connect the rest of the letter’s outlines and erase your pencil marks. TIP: Make sure to give enough time for your ink to dry before erasing!
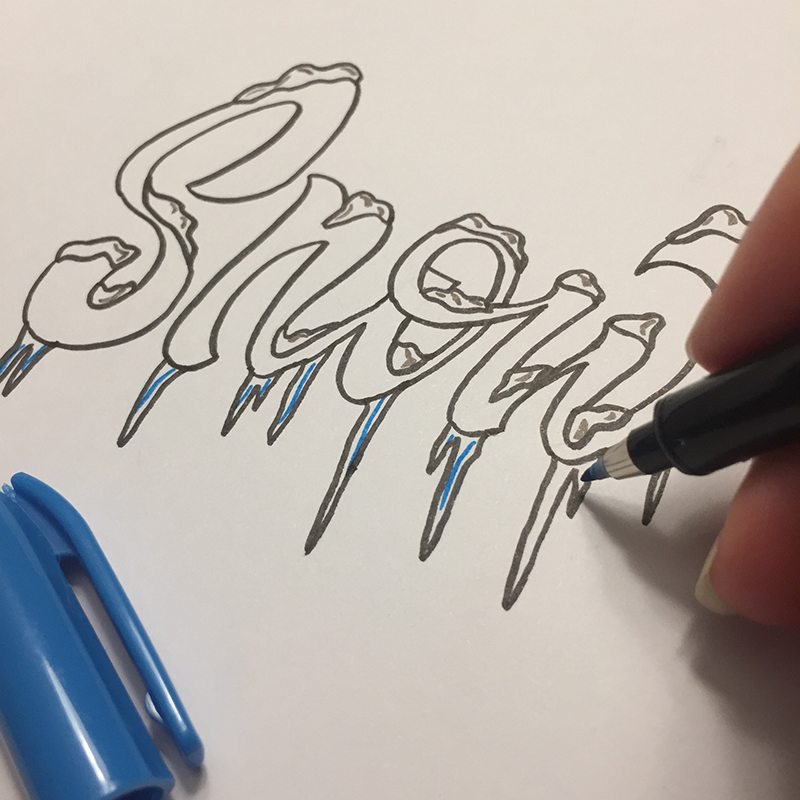
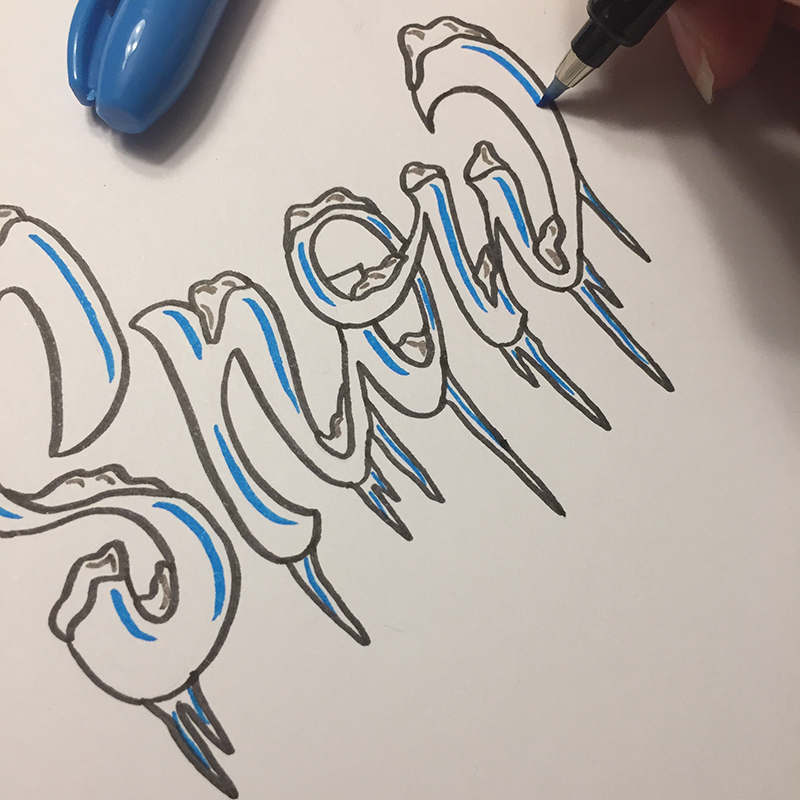
Step 5: Using your Grey Kelly Creates Small Brush Pen, add a small highlight to the top/right side of all the bumps in the snow.
Using your Sky Small Brush pen, add highlights to the right sides of all of your icicles, as well as your letters. These small highlights will add a little depth and colour to your piece while still allowing it to remain as white as possible.
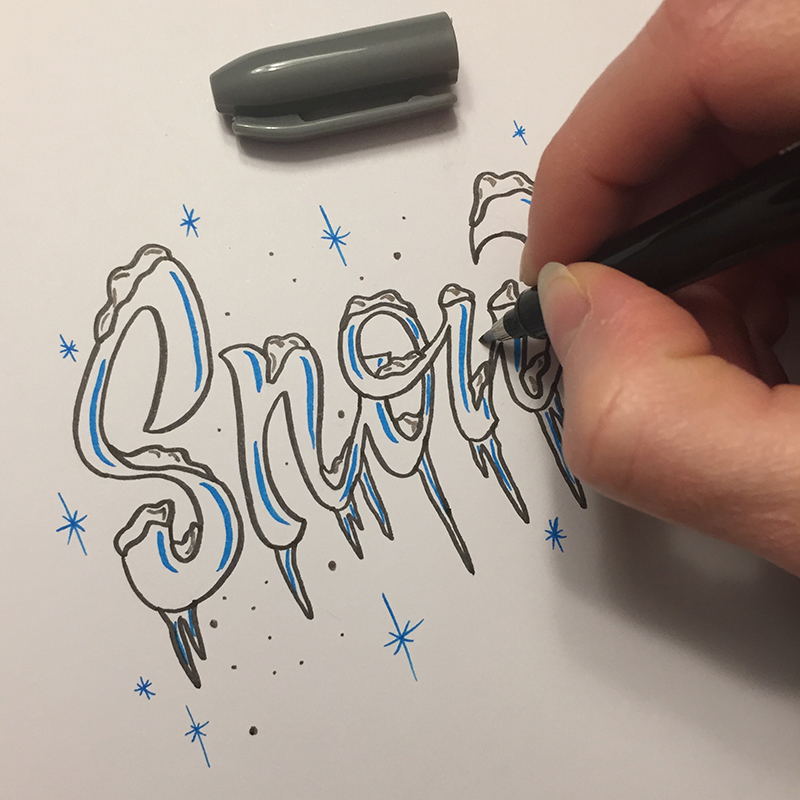
Step 6: This step is optional, but I always find adding a little bit of detailing around a word can really add attention and emphasis to the word itself. Using the blue Sky Small Brush pen, add a few sparkling floating snowflakes randomly around the word.
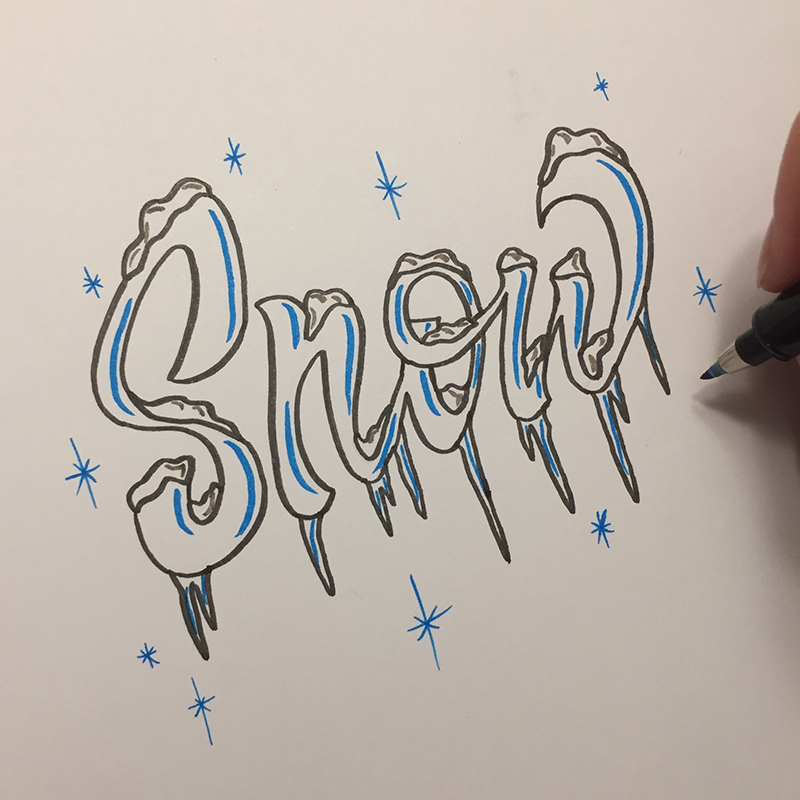
With your Grey Small Brush pen, add small dots floating between the snowflakes and the letters. Vary in size and spacing for both of these marks to give a playful look.
Hope you can use this tutorial on some holiday or winter artwork!
Thank you Elizabeth! I feel chilly just looking at this…and can think of a few seasonal projects where this ice and snow technique will come in handy.
For more lettering inspiration, visit Elizabeth’s Instagram @wiselettering and website http://www.wiselettering.com.
SHOP for SUPPLIES by clicking the affiliate links below:


Cheryl
December 6, 2018 at 2:02 pm (5 years ago)Thanks for sharing this fun tutorial ?
Laura
December 20, 2022 at 11:45 am (1 year ago)I love these. I’m going to have to try this project!
Thanks Kelly 😊