
The lovely “Palm Beach” collection from Webster’s Pages was in our staff challenge August kit at The Urban Scrapbook.

This pretty pastel colour palette could be used for a number of themes…summer, beach, ocean, travel, tropical….and so on.
I chose to scrapbook a photo of BabyOfTheFamily and her first kiss….with a dolphin 🙂

The background base is actually cream cardstock that I inked with Peacock Feathers Distress Ink (new Spring Limited Edition ink), and I wavy cut the bottom edge…

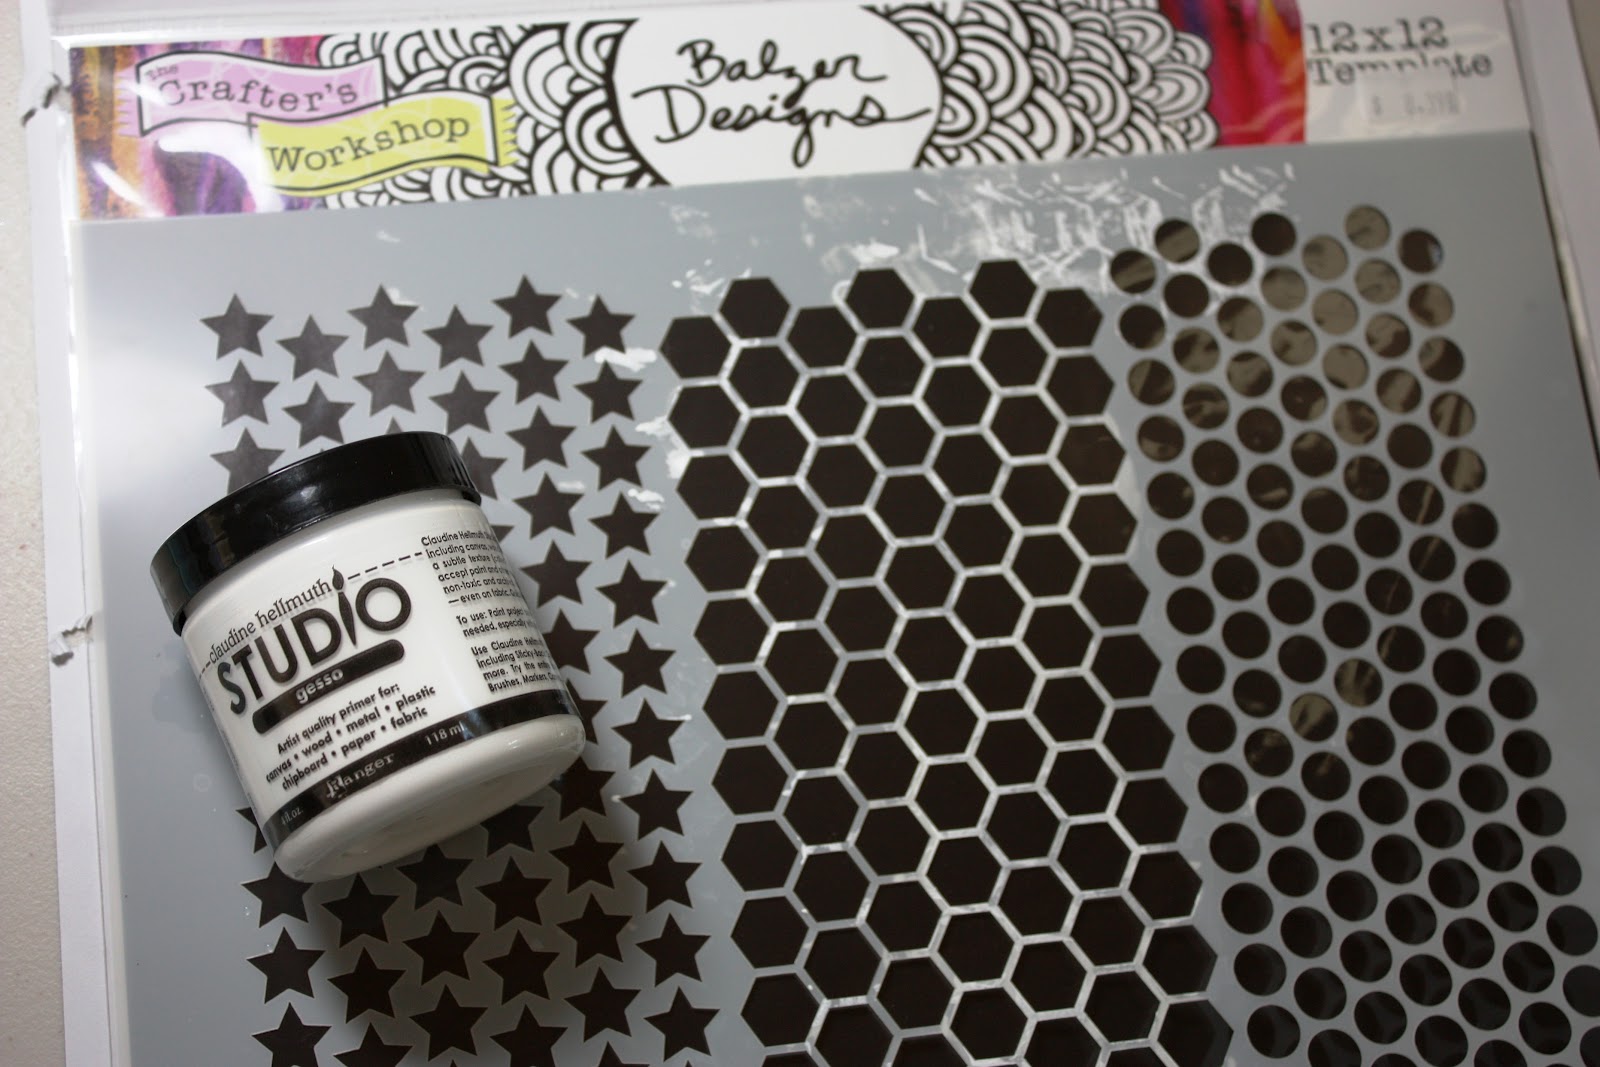
The second background layer is blue Bazzill cardstock, which I altered “mixed media” style with a Crafter’s Workshop Stencil and some Gesso (by Claudine Hellmuth/Ranger).
 |
|
| I used the centre hexagon shaped part of the stencil along the edges of the background and applied the gesso with a paint brush. |
Even my bathroom counter was altered with this hexagon stencil when I set it down to dry.
 |
| HINT: Wash off gesso carefully immediately after use. |
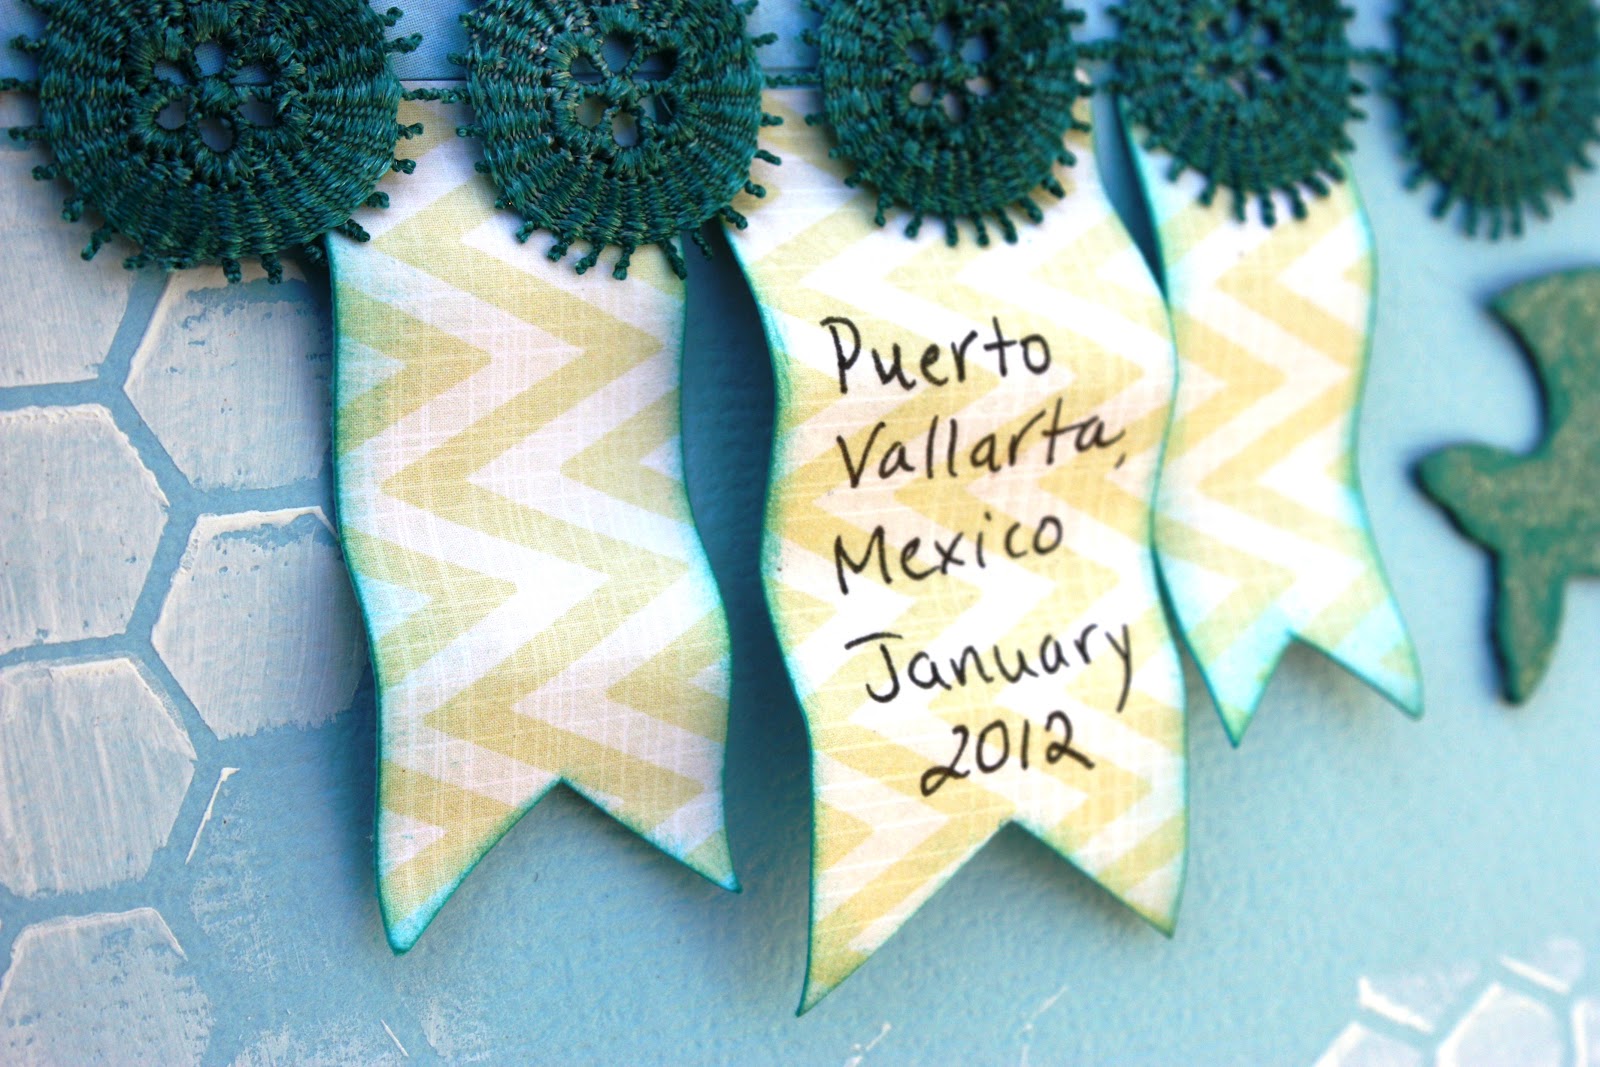
I cut these banners from the WP chevron patterned paper and edged with Peacock Distress ink, then curled into wavy shapes using a pencil.
The Distress Ink also helped me alter this WP pink ribbon…
 |
| A quick and easy colour change with ink. |
I used more ink, white paint and Clear Rock Candy Stickles to transform the chipboard fish…
 |
| The fish were cut from an Accucut die at The Urban Scrapbook. They have a huge assortment of dies for customers to use! |

 |
|
| The waves are cut freehand, edged with ink then curled slightly for dimension. |
 |
| This border is painted with Patina, which is an opaque ink that colours metal and non-porous elements. |
I wanted some of the gold gems to show through so I rubbed off some Patina before it was dry.
 |
| A fine-tipped paint brush helped me colour the WP gem border sticker with Ranger Patina “Verdigris” |
 |
| The umbrella is fussy cut from one of the Webster’s papers. |
The first part of the title is stamped onto white Bazzill cardstock with Graphic45’s Typewriter Alphabet stamp set…

The word “kiss” is created with DIY American Craft Thickers..
 |
|
| These Thickers have an adhesive top, which you can peel off and then add whatever you like to alter them…. |
I added Craft & Glitz Glitter….
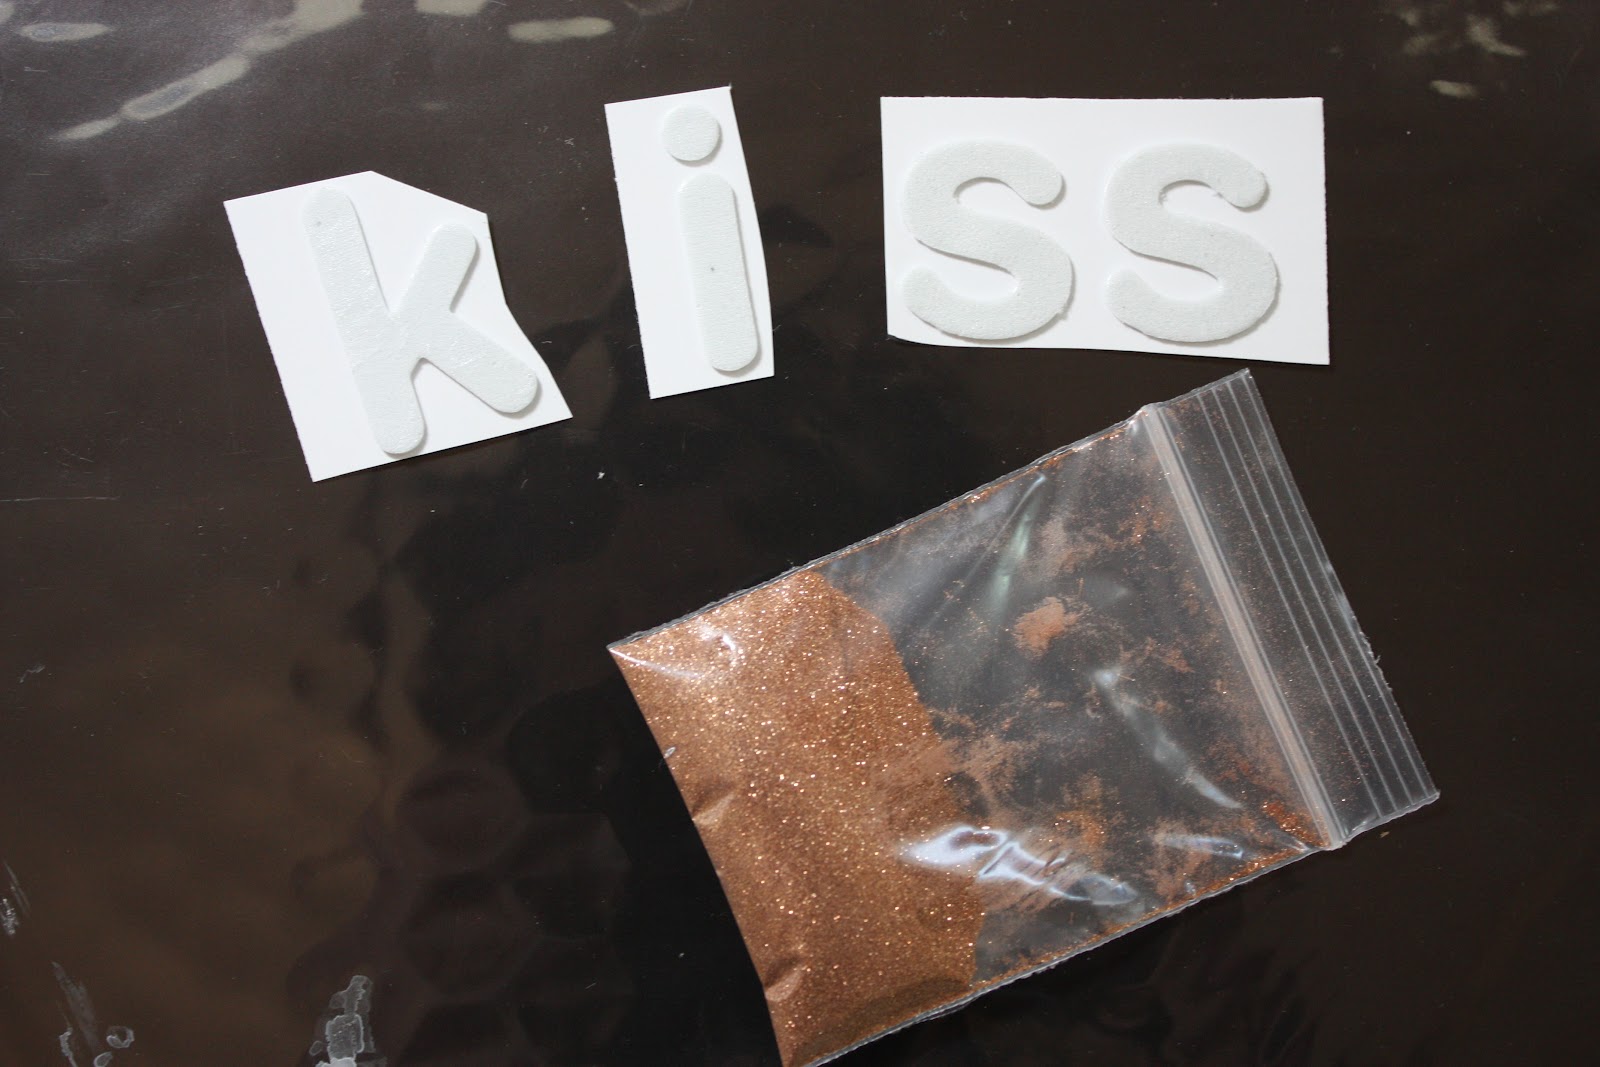 |
| First I cut apart the letters I wanted to glitter. |
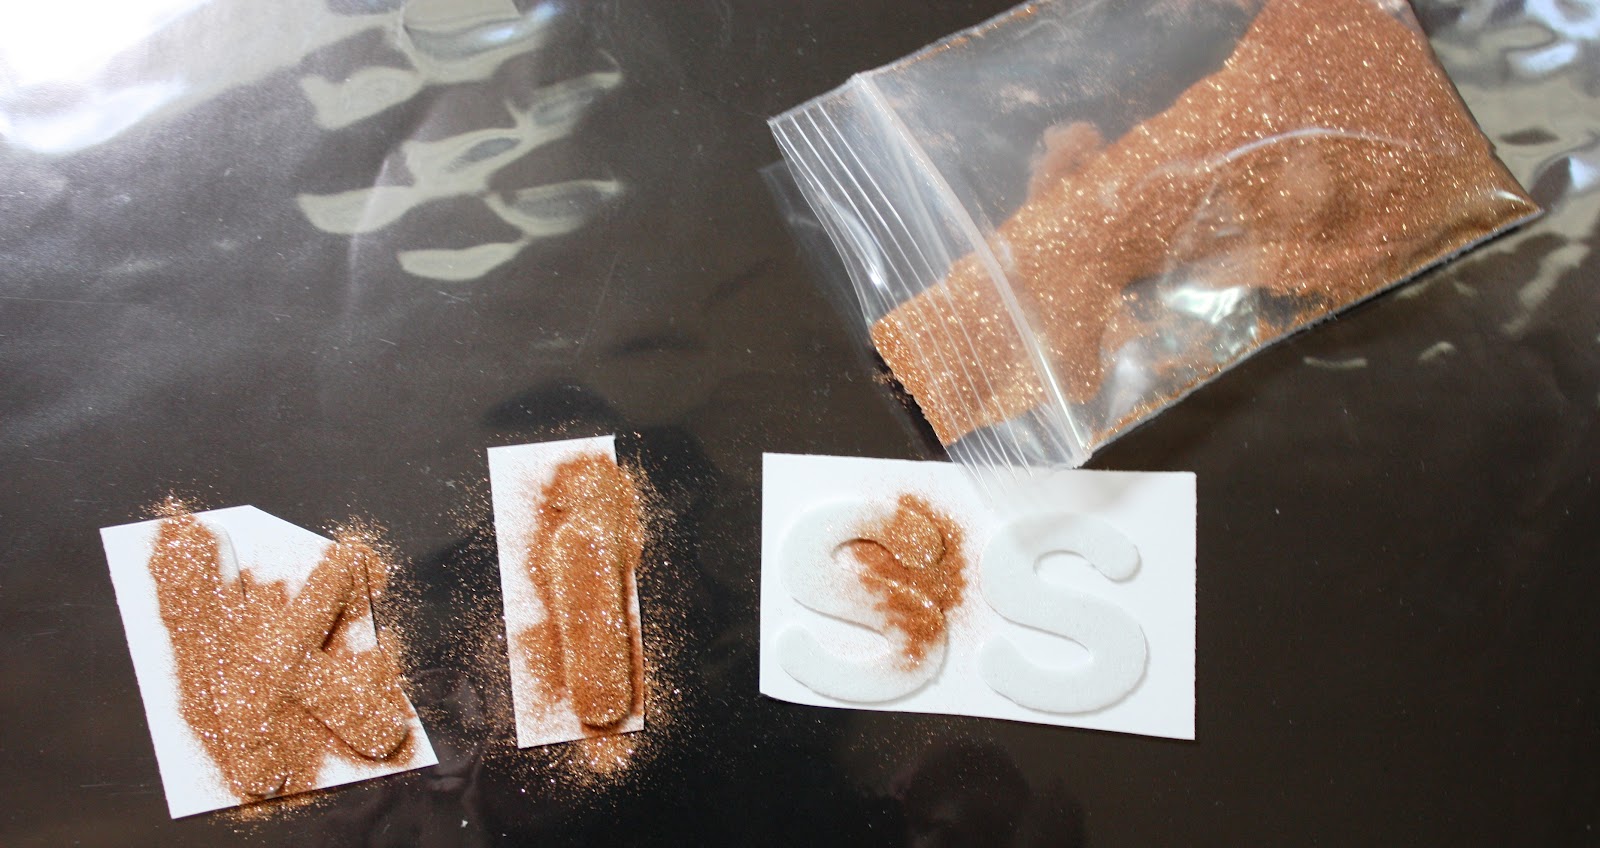 |
| Next, I removed the top adhesive backing and poured on the glitter. |
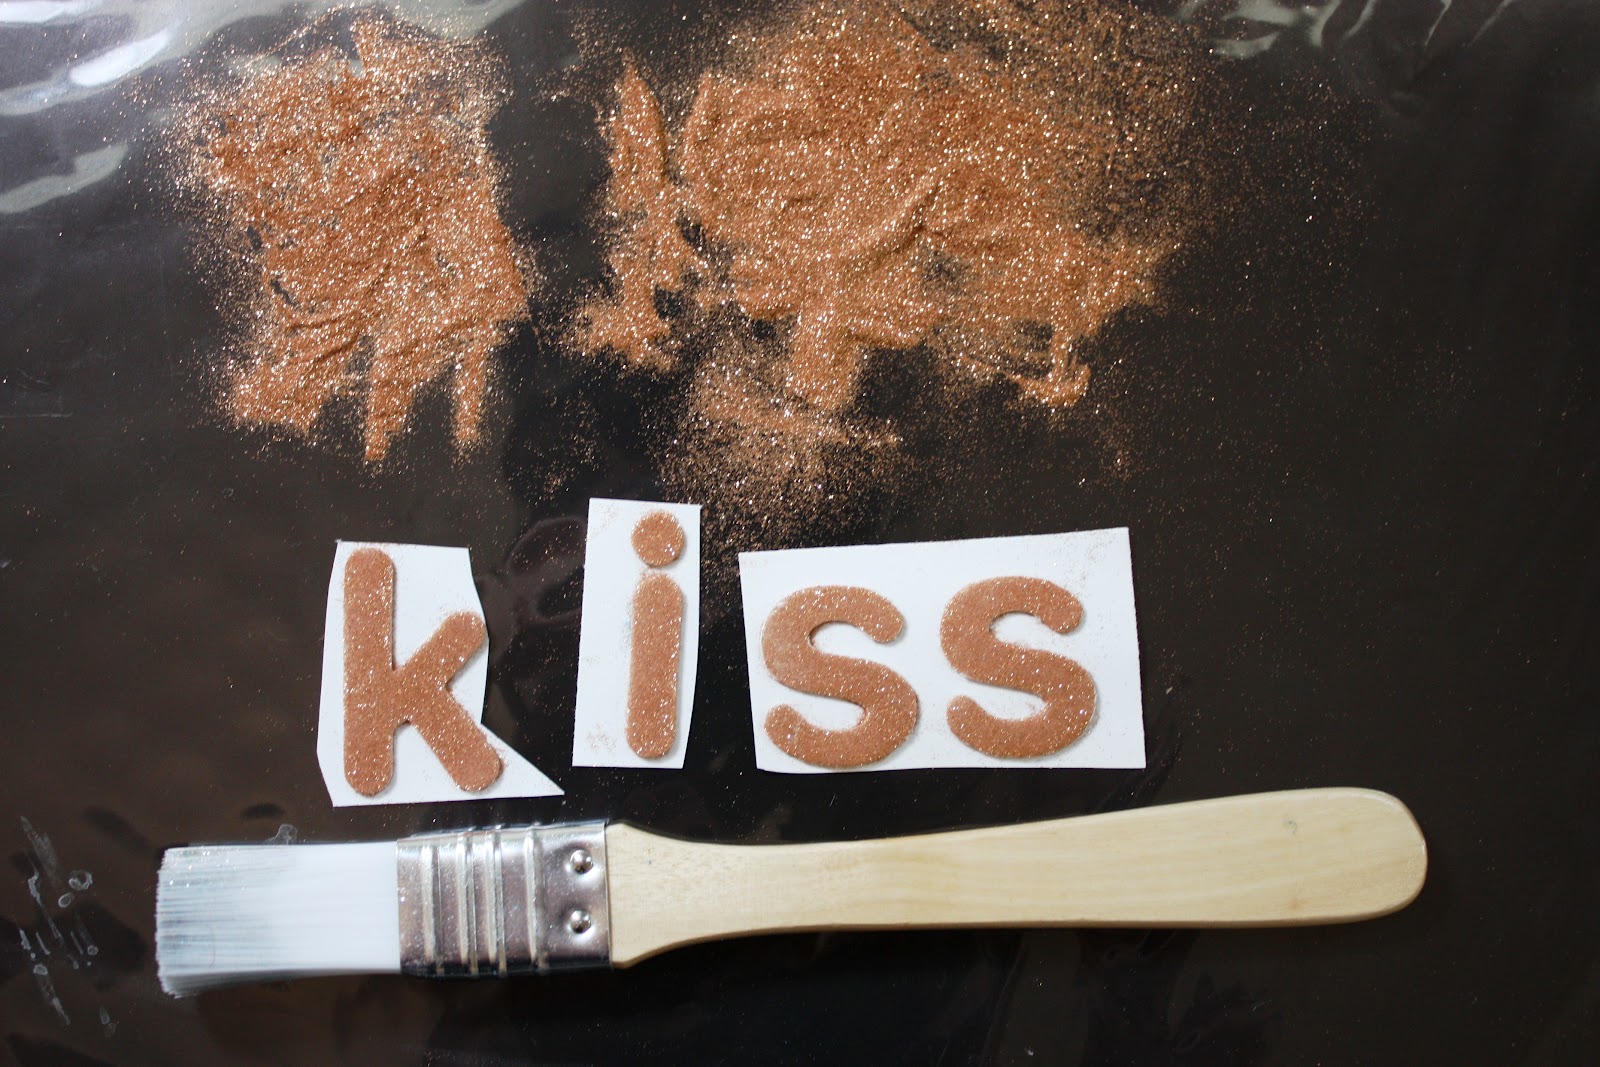 |
| After rubbing the glitter into the adhesive tops of the letters, I brushed them off completely. |
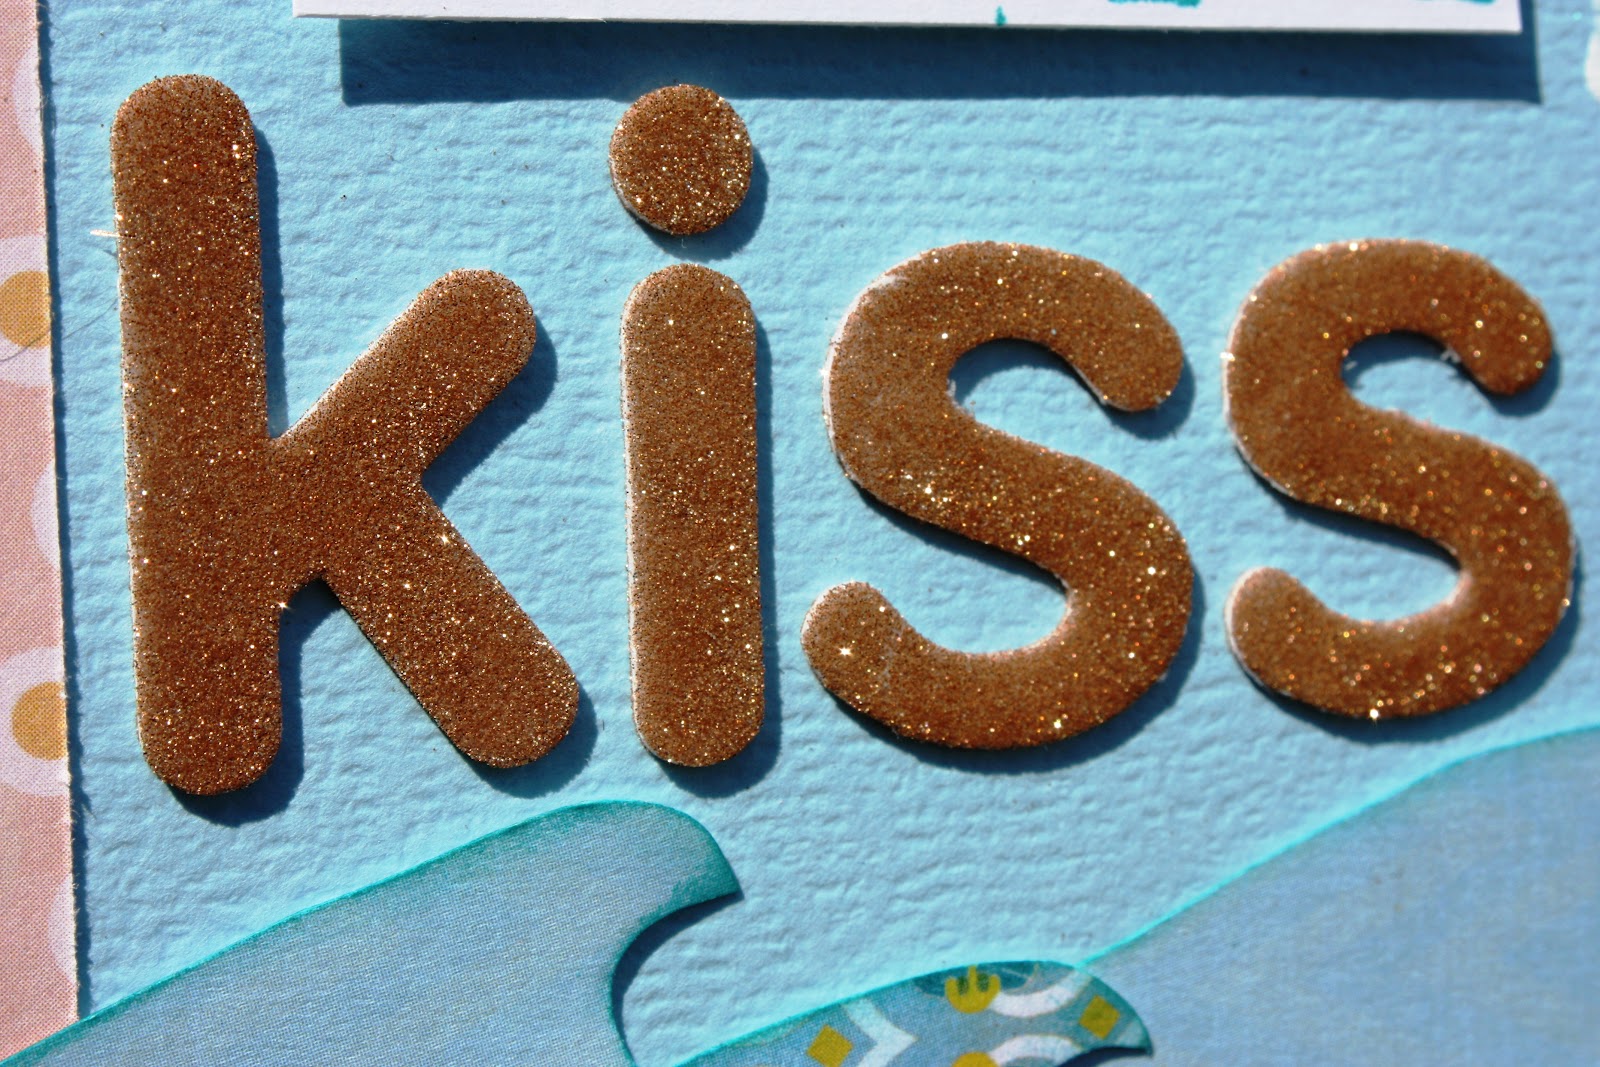 |
| ….And then stuck these gorgeous glittery letters onto my page! |
I think I will invent a Glitter Vacuum…to deal with the aftermath of microfine glitter sparkling EVERYWHERE in my studio 🙂
The clean-up is the worst part, isn’t it?
The Urban Design Team created so many fantastic layouts with this kit. Click HERE to visit their blog and see everyone’s beautiful work!
And drop by the store to pick up your own August kit that is filled with summery goodness 🙂
Charlotte Brochu
August 7, 2012 at 3:01 pm (12 years ago)So many great ideas Kelly! I love that you share your process while creating. I don’t know how many times I haven’t had the right color embellishment and just didn’t think to alter it! DUH! Thanks for the reminder that all those bottles of mists, sprays and inks aren’t just to look at! LOL!
Sandi Cl~
August 7, 2012 at 3:52 pm (12 years ago)Great page and lots of wonderful detail .. as always!
Cindy Gay
August 7, 2012 at 6:11 pm (12 years ago)I love the picture of your daughter! Great job Mom! All the altering is well done Kelly! Thanks for the visit and comment on the vintage scrapbook pages. I too cut pictures from magazines and pasted them into scrapbooks…..most of mine though were “celebrities”. Have a good evening!
Sandra D
August 7, 2012 at 6:59 pm (12 years ago)Another beautiful layout filled with your special touches. Your tutorial should be titled: “Don’t worry if the colour of your embellishment isn’t right – you can change it!” You have included so many ways to use the Distress Ink – Tim would be thrilled.
Michelle
August 7, 2012 at 8:46 pm (12 years ago)Wow Kelly. Loooove all the altering tips. I don’t know why I don’t think of doing that kind of stuff more often! Love all your close ups too. Great page!
Shona
August 7, 2012 at 10:04 pm (12 years ago)oh this is just amazing Kelly….and what a great photo!
Miae
August 7, 2012 at 10:14 pm (12 years ago)What a great “first kiss” 😉 I do love all wonderful alterations and details you’ve got here! Thanks for sharing all those how to photos!
Sandi Smith
August 8, 2012 at 4:55 am (12 years ago)Thanks so much for sharing how you created this gorgeous layout.Love all you awesome techniques and that ribbon turned out beautiful!
Renee
August 8, 2012 at 5:01 am (12 years ago)This is gorgeous Kelly!! I love how you break down each element of your page and show pictures!! It is super helpful, I usually never have a question about what product you used or how you did it. I just started playing with Gesso so I know what you mean about the mess!!! And love the hand cut waves and the way you curled the banners, so cute!!
cnelson
August 8, 2012 at 6:28 am (12 years ago)What a FANTABULOUS pic and DELIGHTFUL lo you have created to showcase it!! LOVE!!!
Sharon Fritchey
August 11, 2012 at 3:28 am (12 years ago)So awesome and fun! You are always the teacher – telling us how you did all of your wonderful details here! I love the photo and that special moment you scrapped, Kelly!