
It’s perfect timing for Erica’s “Hope” lettering tutorial. Let’s learn how to make this pretty hand lettered project with stamping and watercolor blending! It would look perfect as a framed piece of home decor for a gift or make a smaller design for a card.
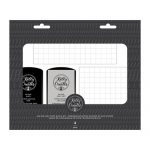
 Kelly Creates Supplies: Wreath Stamp, Ink Pads & Stamping Block Set, Watercolor Paper, Black Fineliner 08, Watercolor Inks Set 1 Warm (Deep Yellow), and Watercolor Inks Set 2 ‘Cool’ (Blue), Brushes (1, 4), Palette

2020 has not been kind to the world in many ways so far. I thought we could use a little HOPE that things will start to turn around soon.
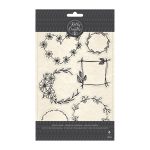
Begin by stamping the leaf wreath using the Kelly Creates Black Ink Pad and Stamping Block on the Kelly Creates Watercolor paper. OPTION: You can also draw the wreath using your Kelly Creates Fineliners.
This wreath will become the letter O in ‘HOPE.’

Side note….I am in LOVE with Kelly’s new Watercolor Paper Project Pad. It is so smooth and feels more like regular paper than typical watercolor paper does.

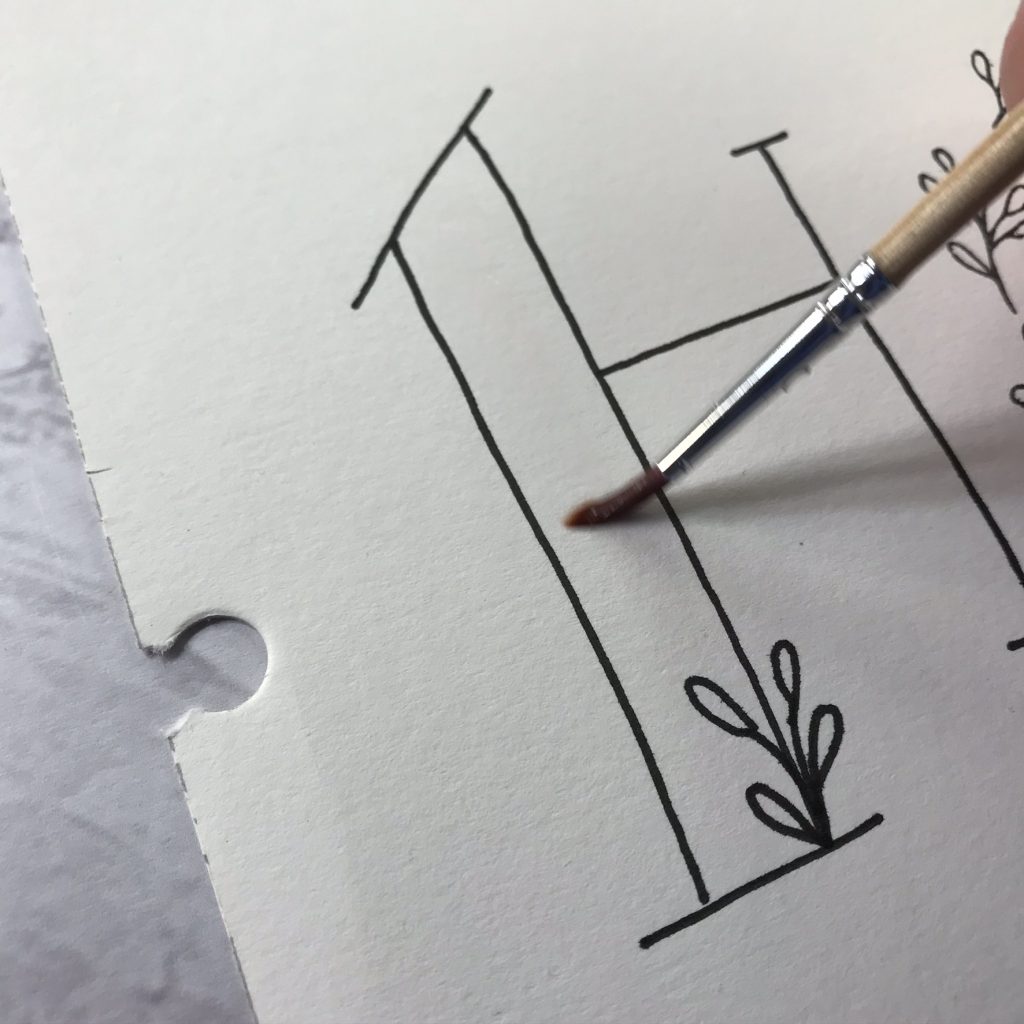
To the left of the O wreath, draw the letter H using the Kelly Creates Black 08 Fineliner. Draw P and E to the right of the O wreath using the same Kelly Creates Fineliner. For the H, P and E, I used a wide bar for the left stroke, with the top featuring a slanted line rather than a level one. You can certainly use a level top if you like. Add a serif to the thinner lines of each letter.

To unify the wreath details with the letters, use the Kelly Creates Black Fineliner to draw leaves on the H, P and E letters that mimic the leaves in the wreath. Add as many or as few leaves as you like, in any position on the letters.


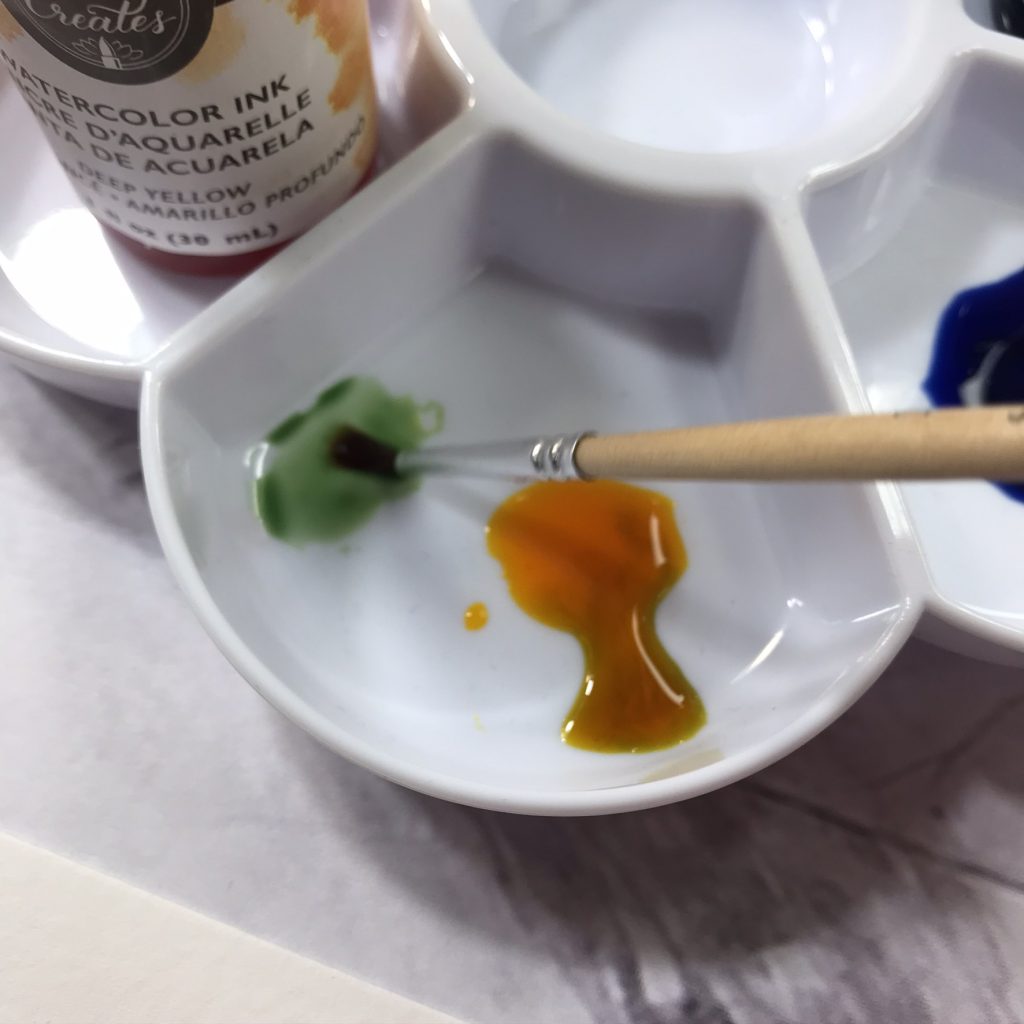
Add a drop of Kelly Creates Deep Yellow Watercolor Ink into one well of the Kelly Creates Watercolor Palette, and add a drop of Kelly Creates Blue Watercolor Ink into a separate well. Add only a drop or two of water using your pipette to dilute the ink. NOTE: Choose other colours of ink that you prefer and dilute as much as you like.

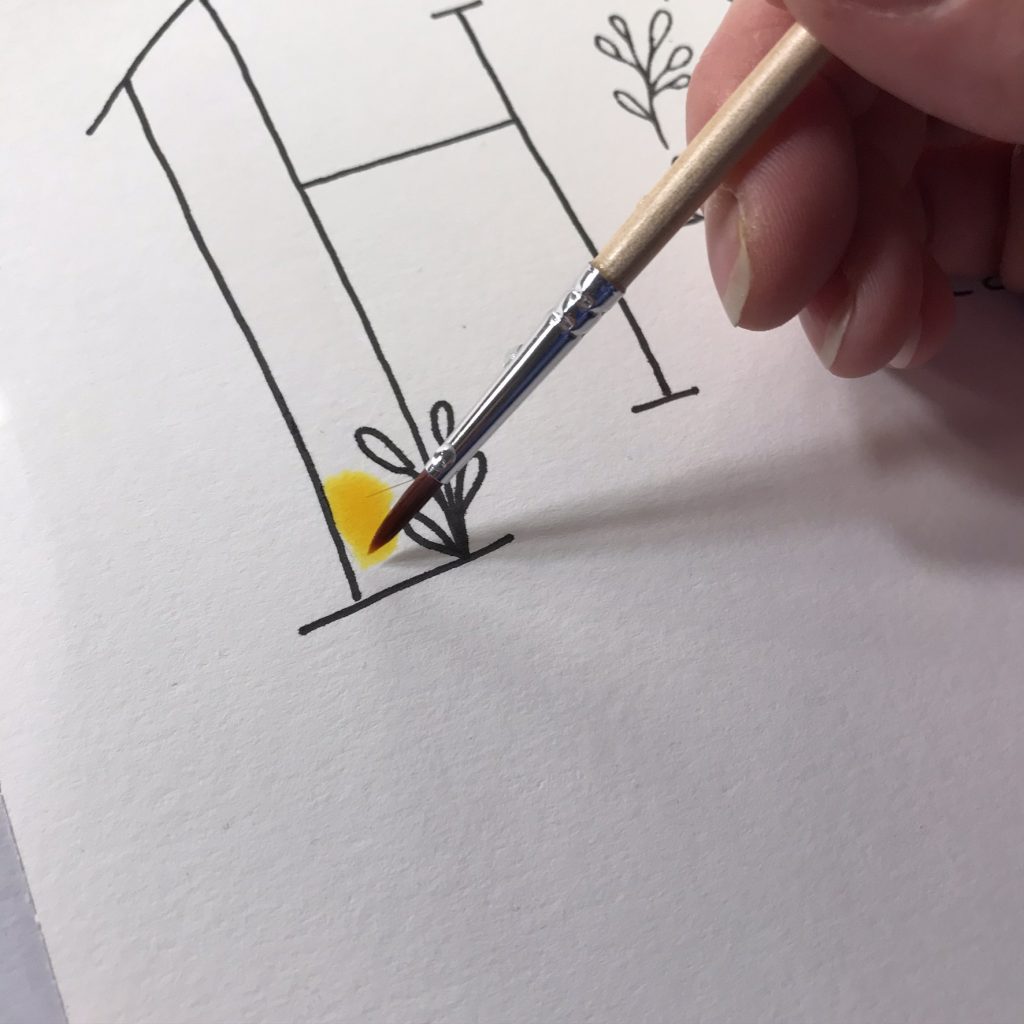
“Paint” the thick bar of the H with the Kelly Creates Watercolor Brush 4 using only water, ensuring you miss the leaves and paint water around them. (NOTE: This blending has to be done fairly quickly so the paper and ink stay wet while you work with them.)
Place your Kelly Creates Watercolor Brush 4 in the Kelly Creates Deep Yellow Watercolor and touch it to the bottom of the area you painted with water. The color will travel through the water you have placed on the paper. Lightly brush the yellow upwards from the bottom, but only go halfway up.
Clean your brush in water, and then place your Kelly Creates Watercolor Brush 4 in the Kelly Creates Blue Watercolor and touch it to the top of the area you painted with water. Lightly brush the blue from the top down.

Where the Deep Yellow and Blue Inks meet, blend the colors to create green. Repeat this process for the P and E.

Because only a small amount of green is needed for the leaves of the wreath and those drawn on the H, P and E, I opted to mix the Kelly Creates Blue Watercolor Ink and Kelly Creates Deep Yellow Watercolor Ink I already had in the palette. Use the Kelly Creates Watercolor Brush 1 to paint all the leaves.
At this point, the wreath looks unidimensional to me. Using the Kelly Creates Black 08 Fineliner, add a curved line to the inside of the wreath. Add color to this new area using the same process you used to color the H, P and E.

And with that final touch you are finished….a simple project fit for framing that will bring a little hope to your day!

For more lettering creativity, visit Erica on Instagram @ericalligraphy2
Shop the supplies Erica used in this project in my online store http://www.KellyCreatesStore.com or click the affiliate links below.
Find Kelly Creates products in stores around the world! Click HERE for Store Locations.


PIN ME!
