
Bonnie (@diamondandwillow) always amazes me with her ‘off the page’ lettering and illustration designs. Today she is sharing some alternative ways for you to letter on unusual surfaces and objects.

While this isn’t a particular tutorial of one technique, my hope is to inspire to “think outside of the box,’ and encourage you to try lettering or illustrating on other surfaces .
While some of the Kelly Creates pens may not necessarily be recommended for certain surfaces, I have had very little trouble doing so. I will mention that you may find some extra wear on them, so consider that if it’s a concern to you. I have noticed very little damage on my markers, and I’m pretty adventurous about what I write on.
So let’s get started….with fabric.

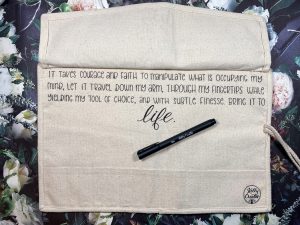
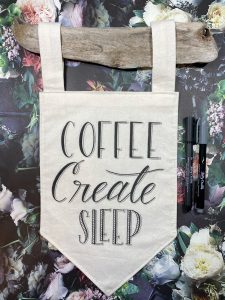
First off, I have a real love for illustrating with the set of Kelly Creates Black Fineliners, and that’s what I used on this Deluxe Lettering Kit, the pencil case, and on the muslin, fabric banner I sewed.
I also used the Kelly Creates Fine Tip Black Brush Pen to fill in some of the larger letters more quickly.
On the the fabric banner I used the Kelly Creates Multicolor Grey Small Brush Pen, to add shadow lines.
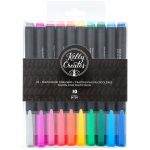
On the canvas sneakers, I used the Kelly Creates Multicolor Fineliners. Now to give them a little added protection, I lightly sprayed them with a Scotchguard water repellent.
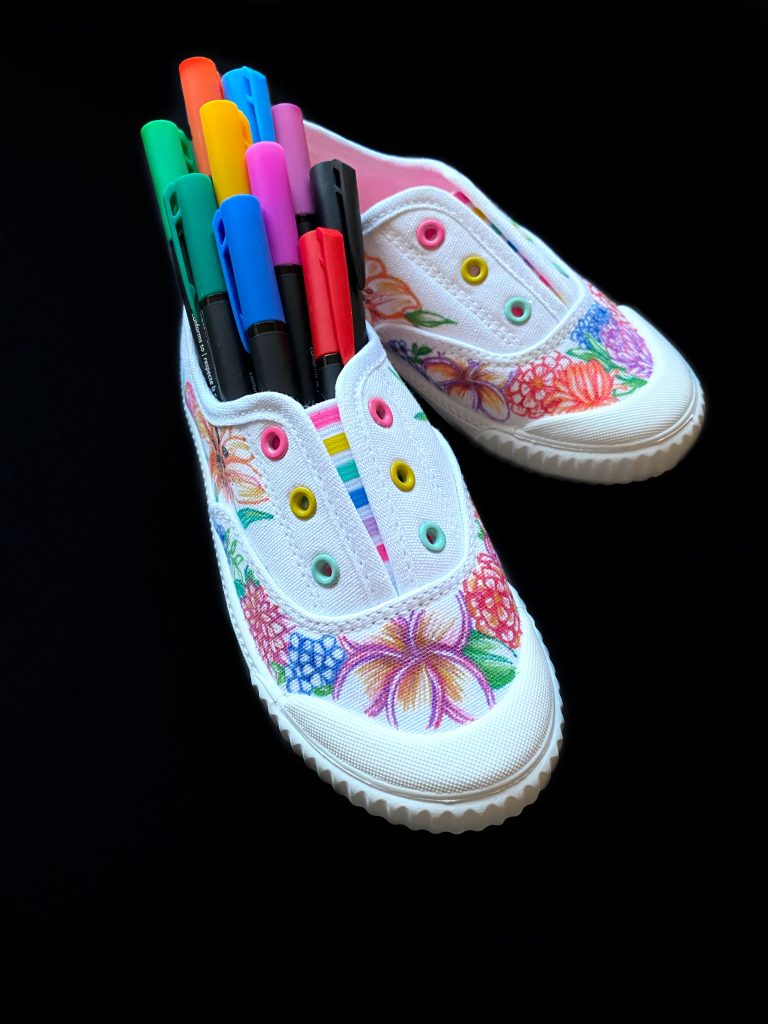
With the Black Fineliners I had no colour bleeding, but on the coloured shoes I did have some, which resulted in a watercolor effect. I figured that the children’s sneakers are going to get dirty and show signs of wear, so I might not always spray the protectant.

Dressing up mail with hand lettering is a lot of fun. Previously, I’ve done a tutorial HERE about envelope art, but I encourage you to consider any packaging. Be it mail or gifts, a little illustration makes the delivery extra special, and using a variety of lettering styles on one piece makes it visually interesting. The lettering on the package in the above photo was done on Kraft wrapping paper. Don’t want to illustrate? Use Kelly Creates stamps and colour those in or leave them plain.

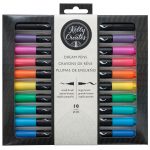
Designing with dark papers always has dramatic results. White on black, and black on white…. that’s what I did here. I used the Kelly Creates Moonlight Marker on black cardstock to draw the pumpkins and lettering. Then I came back in with a Kelly Creates Black Fineliner and drew the leaf design on top of the pumpkin.
My tutorial last month featured the Moonlight Marker on a chalkboard which is another option. Click HERE to check that one..

Have you tried lettering on a window or glass surface? It’s easier than you think. To letter on the glass in this picture frame, I placed a blank piece of card stock on the inside portion of the frame, then lettered directly onto the glass using the Kelly Creates Metallic Small Jewel Pens. TIP: Place lined or grid paper behind the glass while lettering to keep your lettering straight.
You could letter a daily inspirational quote. I used to do that when I homeschooled my children to help expand our vocabulary. You could post supper plans, or make a pretty grocery list as you need supplies and take a photo to reference once you’re out shopping.
Use a wet cloth to wipe the glass clean and you’re ready for the next idea.
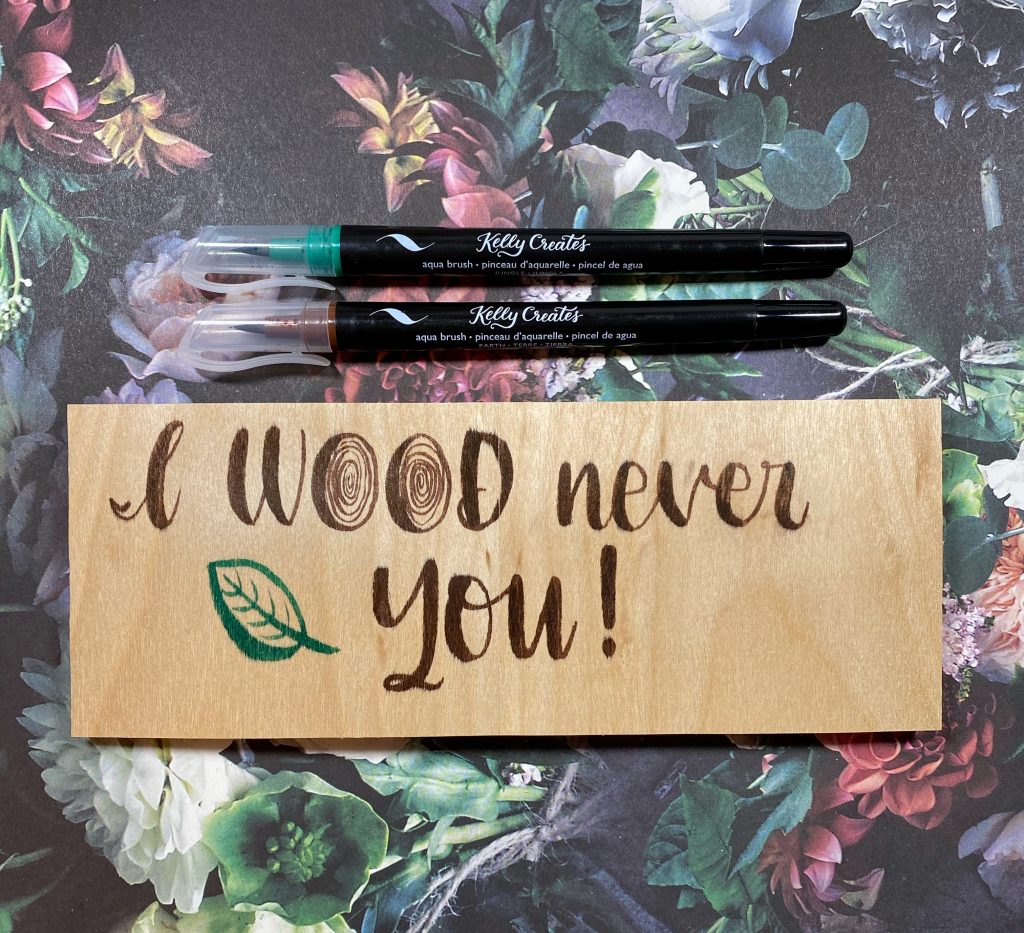
Want to try something more adventurous? This is a piece of wood veneer, and the Kelly Creates Aqua Brushes work perfectly on here because of the bristle type tip. No fraying to worry about.
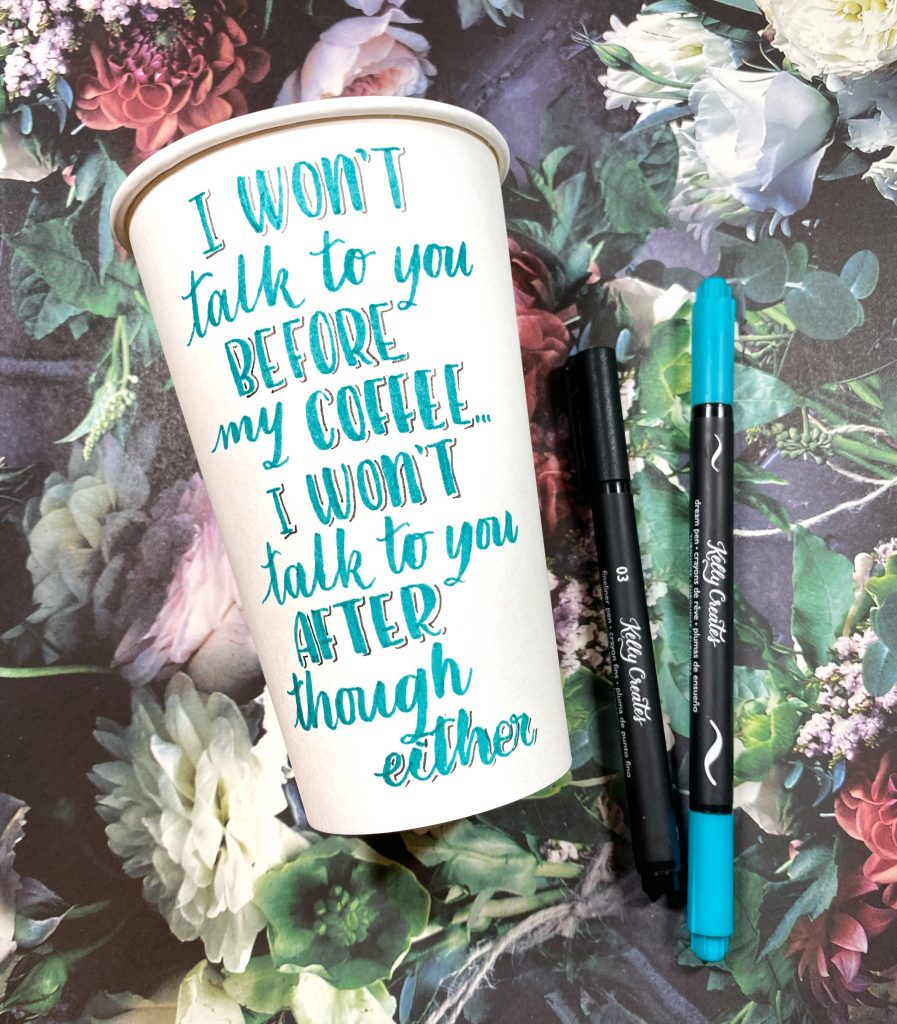
Paper coffee cups, which I love to illustrate, can also be lettered. Think parties where each guest can have a personalized cup. You could letter their name on it or include something funny about how you know them, or what you appreciate about them. On this particular cup pictured above, I used the Kelly Creates Turquoise Dream Pen for the main lettering and the 03 Black Fineliner for an extra shadow line.

Leaves…I pressed these ones from my recent trip to Maui and decided to letter on them using the Kelly Creates Metallic Jewel Bullet Tip Pen. Then you could add them into a photo album or along with a display of souvenirs you acquired, such as a bowl of seashells. Another option is to letter on fake leaves and greenery. This is often done at weddings.

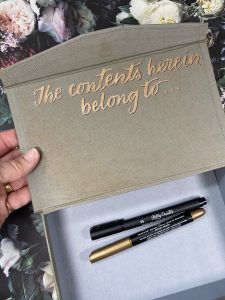
If you have a nice plain gift box or gift bag, letter on it! This was a cardboard box found at the dollar store, but look how quickly and you can personalize it, inside and out. Kelly Creates Metallic Jewel Brush Pens work well on these types of surfaces.
I used the Kelly Creates Bronze Large Metallic Jewel Brush Pen for the lettering and a Black 05 Fineliner for the shadow line. Use the box as storage and fill it with your stash of pens on your desktop.


I also use Kelly’s Black Fineliners in many of my watercolour journals for drawing the outlines. The ink is permanent and waterproof so they can be used to illustrate with, before or after the painting is done.
Well, there you have it! My hope is that I have inspired your creativity, and you will begin to discover new opportunities for hand lettering besides a flat piece of paper.
For more art and lettering inspiration, follow Bonnie on Instagram @diamondandwillow and on Facebook Diamond and Willow ArtWorks.
Shop the supplies Bonnie used by clicking these affiliate links below or visiting my online store http://www.KellyCreatesStore.com


Lisa Bekele
April 23, 2020 at 1:36 pm (6 years ago)These are amazing creations and thank you for sharing them.
Lisa Anderson
April 23, 2020 at 2:41 pm (6 years ago)love this! so creative!!!