
I desperately need help organizing my pens, so Erica’s tutorial came just at the right time. It’s also a good idea to get organized with pen storage for the new year. I really love crafty ideas that upcycle household items!
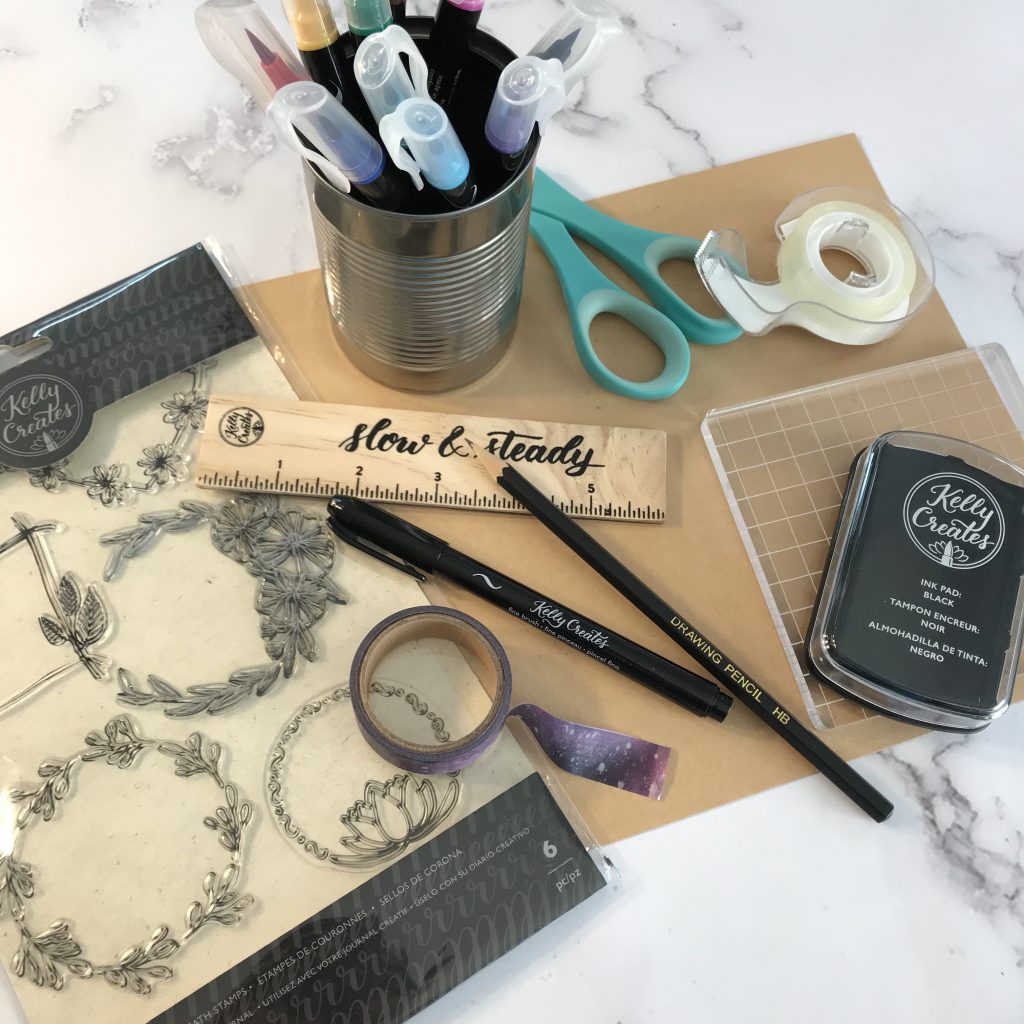
Kelly Creates Supplies: Aqua Brushes, Fine Brush Pen, Wreaths Stamp set, Stamp Block & Ink Pad set, Washi Tape, Project Pad (Kraft card stock), Deluxe Lettering Kit (Ruler, Pencil, Eraser)
Other Supplies: clean soup/vegetable can, scissors, tape/ adhesive
I once semi-jokingly made a sign early in my lettering journey that said I need a “PENtervention.” My pen and marker collection was starting to rapidly grow; I was hooked!
And I quickly realized that with more pens, new storage options are needed. But storage can be expensive and difficult to find exactly what you want.
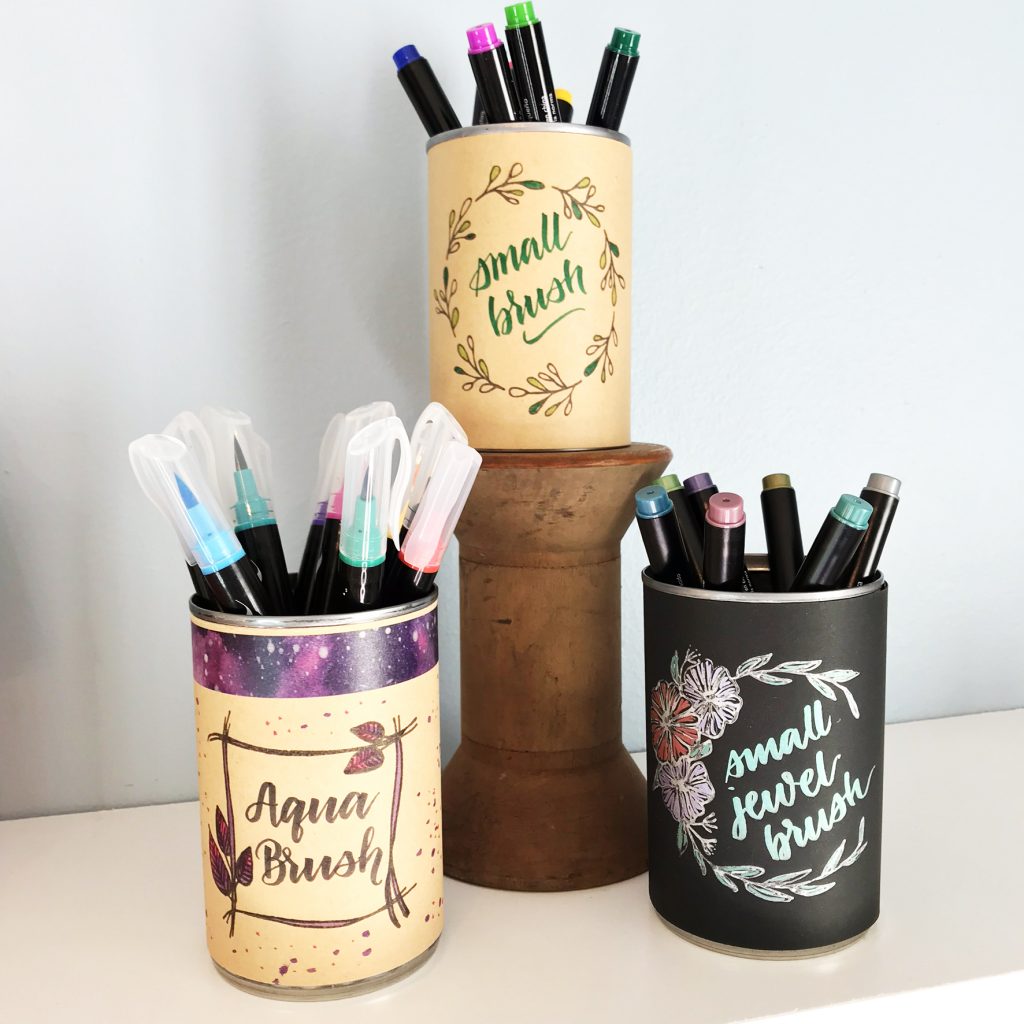
Today, I’m going to show you how to make inexpensive, customizable storage for the Kelly Creates line of pens and markers.
Start by cleaning an empty soup or vegetable can and remove the lid and label. Don’t worry about the glue that will be left on the can from the original label. And be careful that there aren’t sharp edges!

Measure the space between the top and bottom rims; this will be the height of your new label.

Then mark the height on both the shorter ends of your Kelly Creates cardstock and cut from one mark to the other.
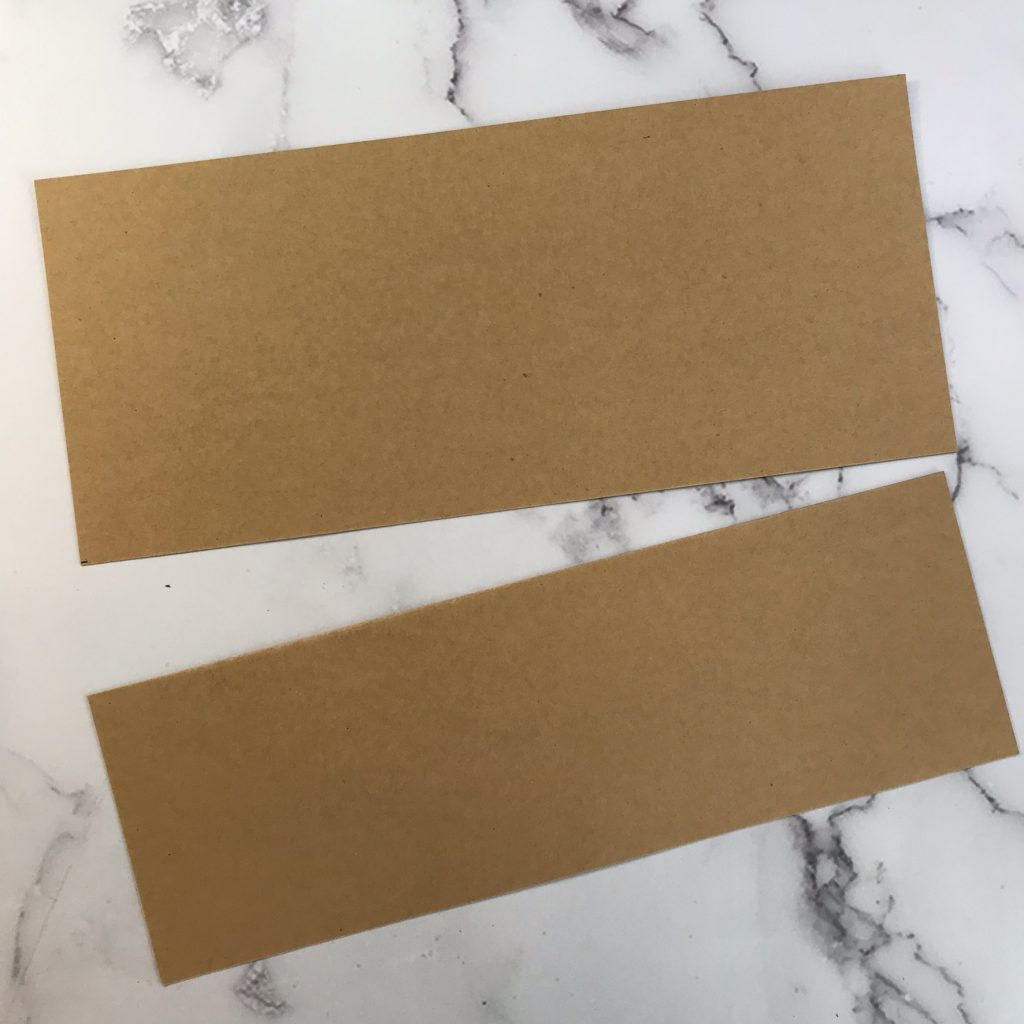
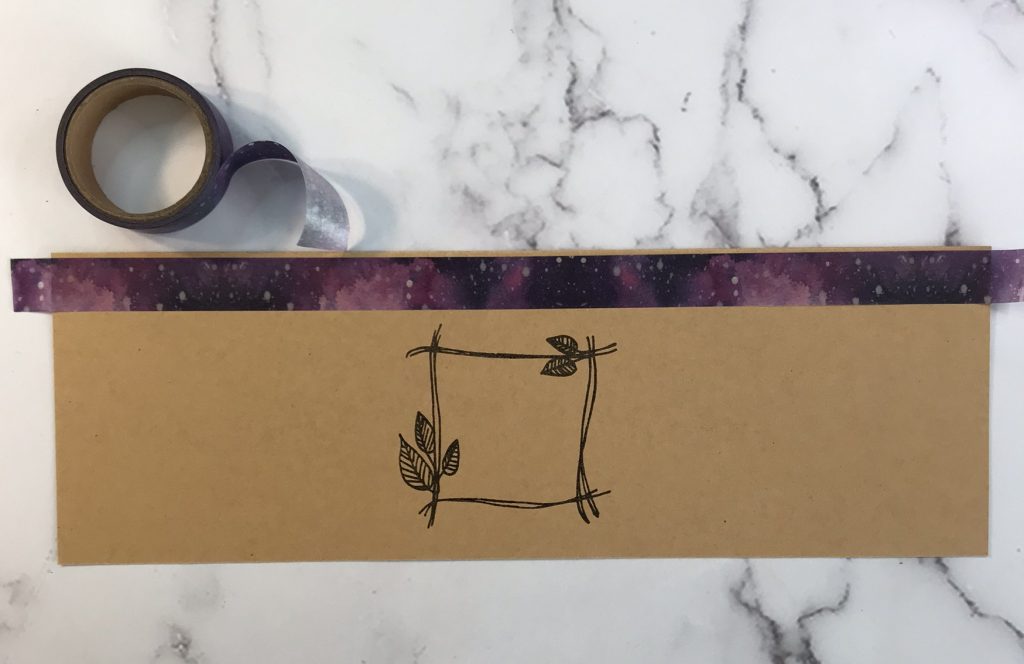
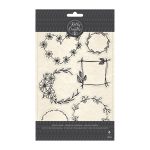
You can get 2 labels out of one sheet of paper! I decided to use the Kraft color silky smooth card stock from the Kelly Creates Project Pad, but you could choose white too. 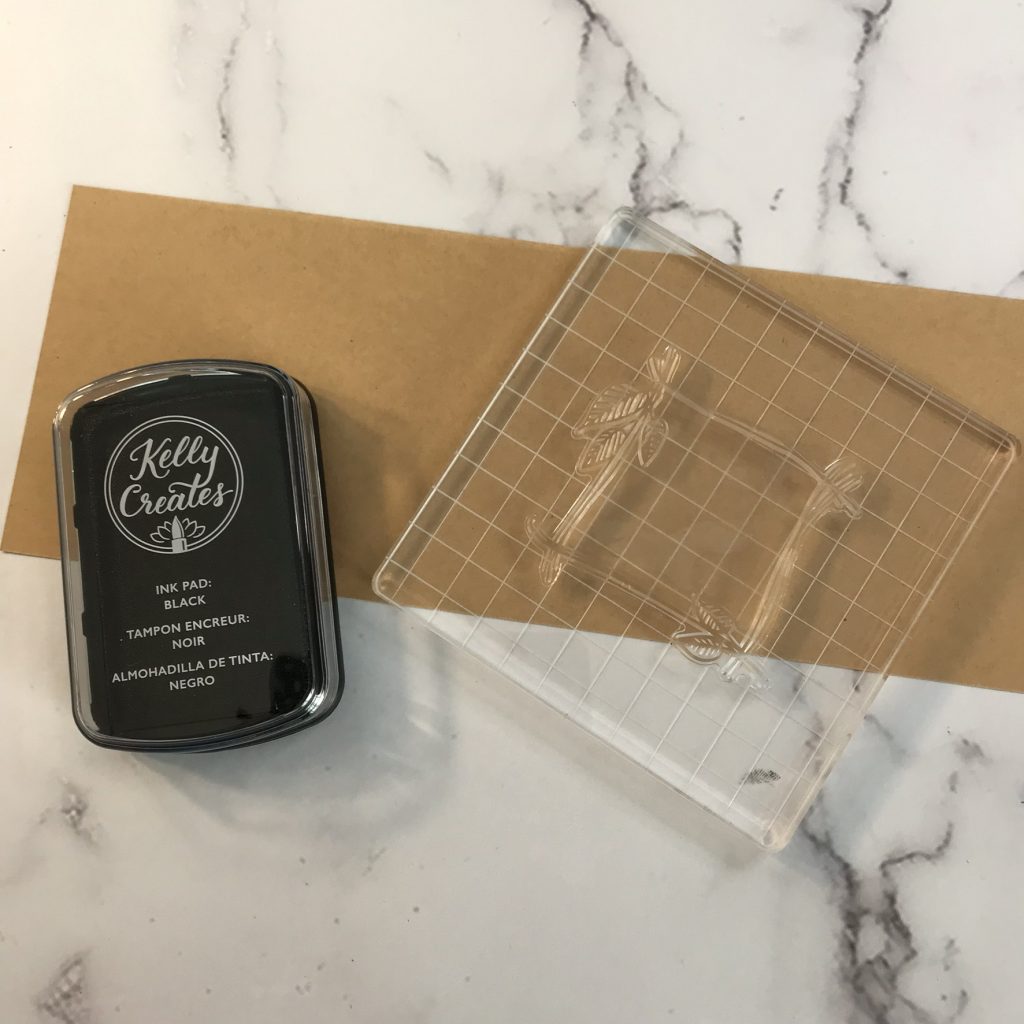 Select your favorite Kelly Creates Wreath Stamp, and using the Kelly Creates stamp block & Black Ink Pad, stamp the center of the paper label.

I wanted an extra pop of color, so I added a strip of Kelly Creates Galaxy Washi Tape at the top of the label.
Next, add some color to the stamp. I used the Kelly Creates Aqua Brushes in purple and pink to match the colors in the Kelly Creates Washi Tape I selected.
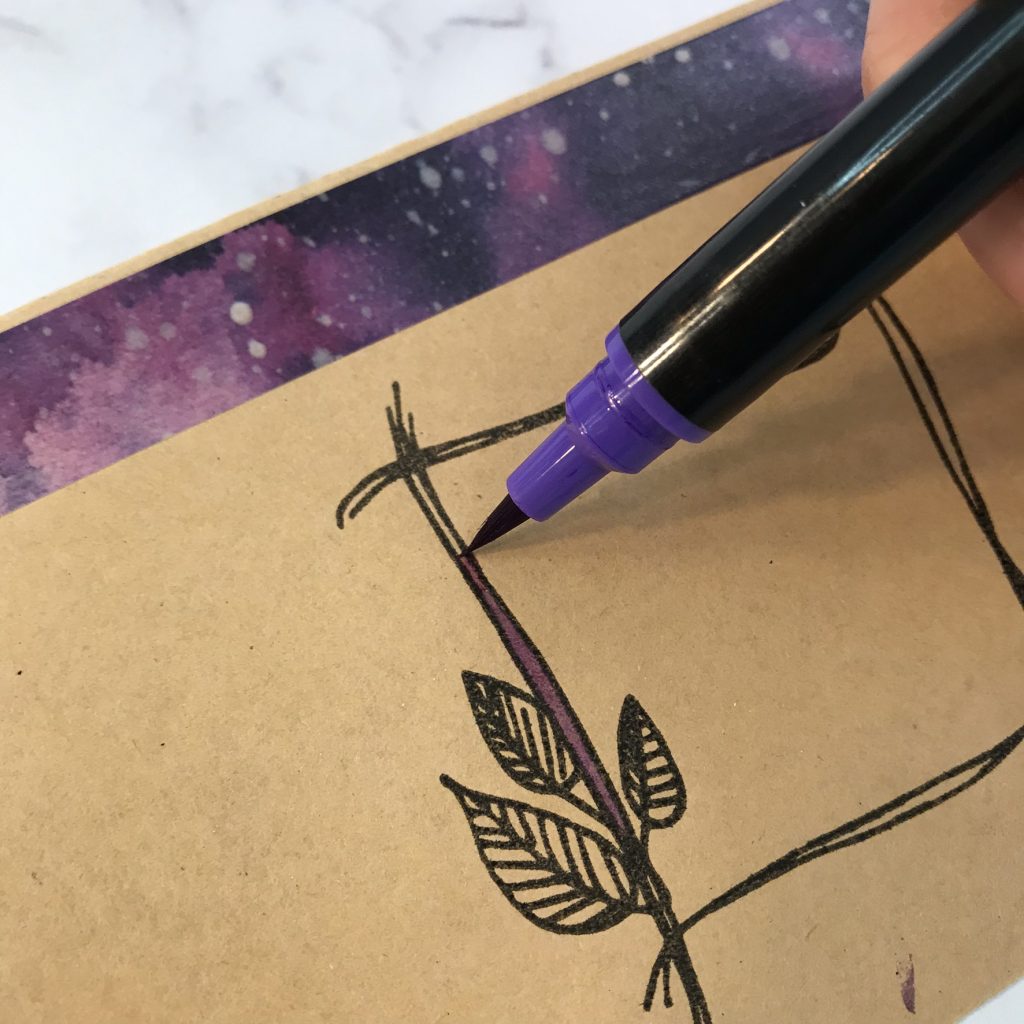 I blended the two colours together inside the leaves for a pretty ‘galaxy’ effect.
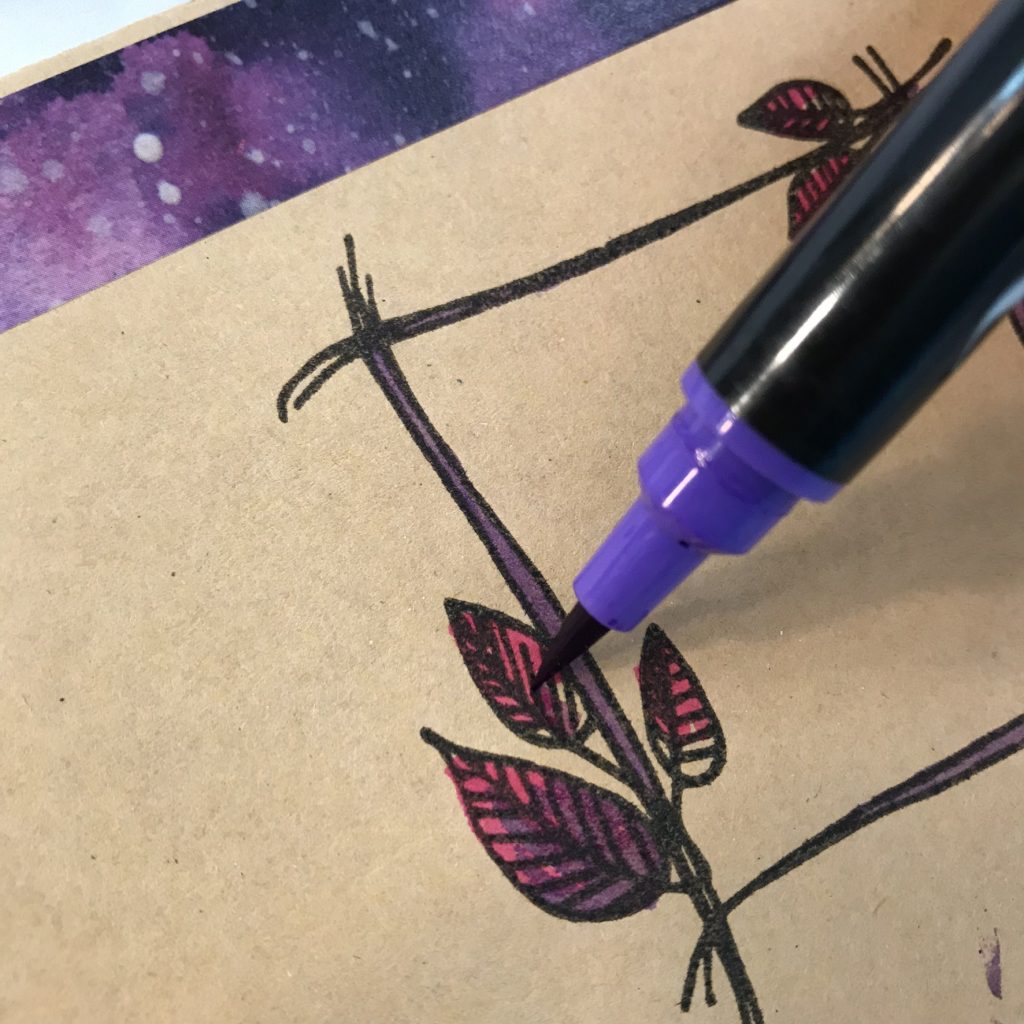
The label still felt a little plain, so I added dots in various sizes using the same Kelly Creates Aqua Brushes in purple and pink
 Now it’s time to write the name of the Kelly Creates pens that will be stored in this can using the Kelly Creates Fine Brush Pen in black.
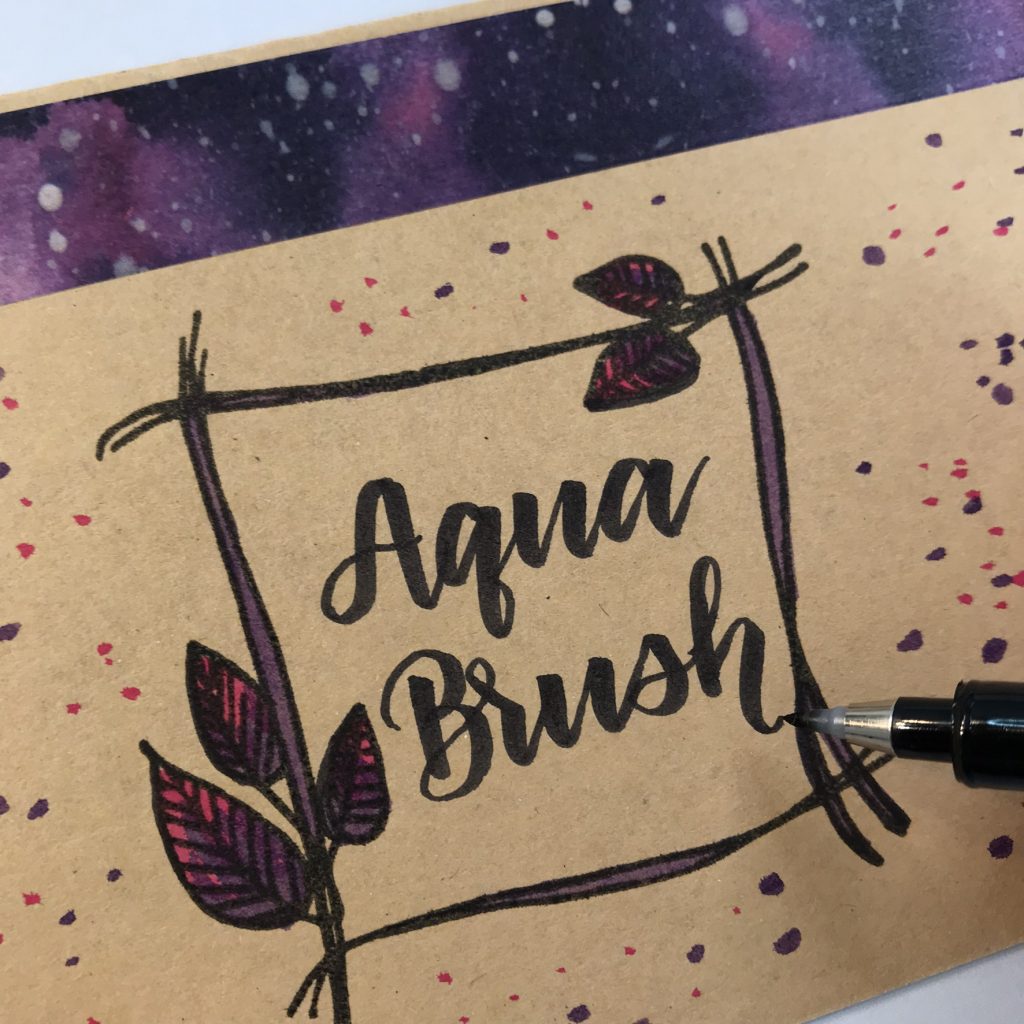
Wrap the label around the can and secure with adhesive. I opted to use a double-sided tape, but regular scotch tape or glue will work as well.

Now, the only thing left to do is add your pens….

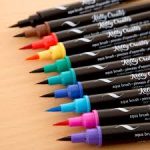
Do you know how to store all the different Kelly Creates pens? Here is a handy visual reminder. Each pen set should be stored according to how they look in the packaging.

Remember that the Kelly Creates Dream Pens should be stored horizontally, so you will have to turn the can on its side. The Kelly Creates Aqua Brushes should be stored brush tips up, but all other Kelly Creates markers and pens should be stored tips down.
I love how these cans look when you set them together. I also love a good recycling project! Let us know if you decide to create this storage project, and show us how you organize your Kelly Creates pens.
Time to buy some canned soup! This is a fantastic way to stay organized and design environmentally friendly storage. Thanks, Erica!
For more wonderful lettering and creative ideas, follow Erica on Instagram @ericalligraphy2.
To shop the supplies Erica used, click the affiliate links below or visit http://www.KellyCreatesStore.com :


PIN ME!

Linda Epstein
November 25, 2019 at 4:50 pm (7 years ago)Another great tutorial, Erica. Thanks.
Leisy Navarro
December 1, 2019 at 6:20 am (7 years ago)Thank you so much for this, Erica!!! I’m going to try this. I’m definitely in need of pen space.