
Are you ready for some AMAZING Halloween hand lettering ideas from Chasity? She is going to show you how to make some cute designs for your Halloween projects.

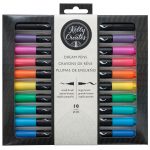
Kelly Creates Supplies: Deluxe Lettering Kit, Aqua brush pens, Dream Pens Set 1, Dream Pens Set 2, Blending Kit, Black Fineliner, Moonlight Marker, Multicolor Small Brush Pens, Small Metallic Jewel Brush Pen, Project Pad
OTHER SUPPLIES: Watercolor paper, water, paint brush, canvas bag
OCTOBER IS FINALLY HERE!!! I love the entire month of October. I love pumpkin patches, the changing of the leaves, cooler temps, hot apple cider and all things Halloween. I love decorating for Halloween to celebrate the holiday. I miss my kids’ school parties and costume parades when they were little. October means I’m all about the BOO’s!
Today, I am sharing a few fun techniques for your Halloween projects. To start, I am showing a blending technique that looks like Candy Corn and is created with the Kelly Creates Blending Pen.

First, sketch out the word “BOO!” with the Kelly Creates Deluxe Lettering Kit. This truly is my go-to kit. I love the drawing pencil and how easily the clickable eraser completely erases lines. I am using watercolor paper, which is really good for blending.
TIP: This is a simple ‘outline’ block style of lettering which you can learn from Kelly’s YouTube video by clicking HERE.
 Next step is to add colors to the letters and start blending. I used the Kelly Creates Dream Pens Sunshine and Sunset to mimic candy corn.
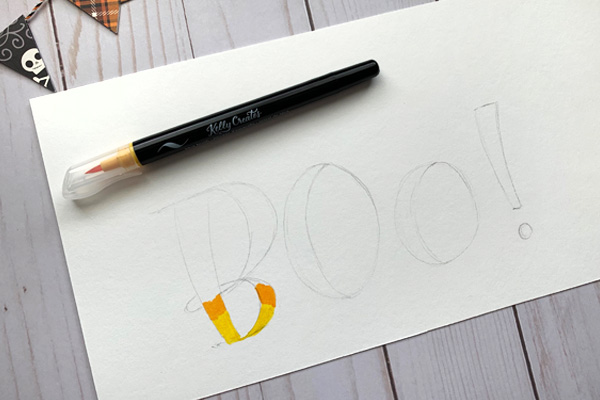
I also used the Kelly Creates Aqua brush Sunshine as a good transition color between the yellow and orange. Layer the colors in each letter, and then get ready to blend! 
The Kelly Creates Blending Pen has clear ink that lets you blend two or more inks together. Lightly stroke the edges of the colours together. You can adjust how much of each color shows based on how much of the ink you use in your layers. I love this look for all my fall projects, not just Halloween. TIP: Use as few strokes as possible to blend to avoid tearing or pilling the paper.

Then, I outlined the letters with the Kelly Creates Fine Black Brush pen from the Kelly Creates Deluxe Lettering Kit. This really helps define the letters and makes them pop. You could also use a Black Fineliner for this.

If you desire, use the smaller end of the Kelly Creates ‘Stone’ Dream Pen to add shadows to each letter. This gives it a little more dimension.
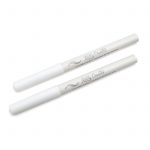
 And if you like a little more detail, you can use the Kelly Creates Moonlight Marker and add some white highlights to each letter. I had to go over these a few times to get them to really stand out.

TIP: Let the Moonlight Marker white ink dry before layering more on top for solid coverage.

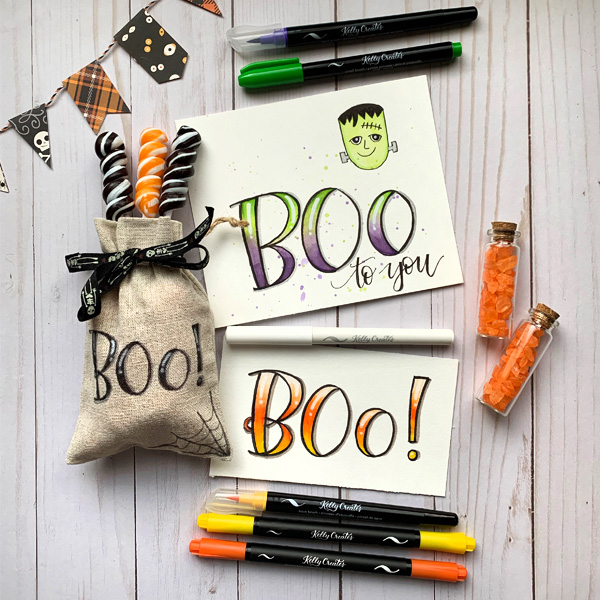
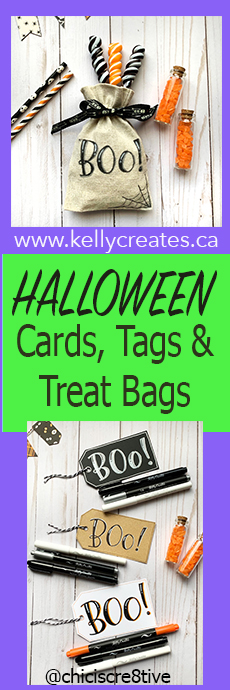
Now comes the creative part! You can turn this into a card, or create a tag and tie it on to treat bags, teacher gifts and more!
So, now that you have tried the Candy Corn lettering technique, give this Frankenstein lettering a try!
 This is also done on watercolor paper, but this time I used water and a brush to blend the colors together. TIP: You can use water and a paint brush to blend water based inks together.
Following the same steps as above, sketch out the word “BOO!” You can add a simple, cute Frankenstein drawing too, just like mine. 
I used Kelly Creates Aqua Brush Pen “Lilac” and Multicolor Small Brush Pen “Sage” to design my “Franken-letters.” Color in the bottom of the letter with the Lilac and the top of the letter with the Sage.
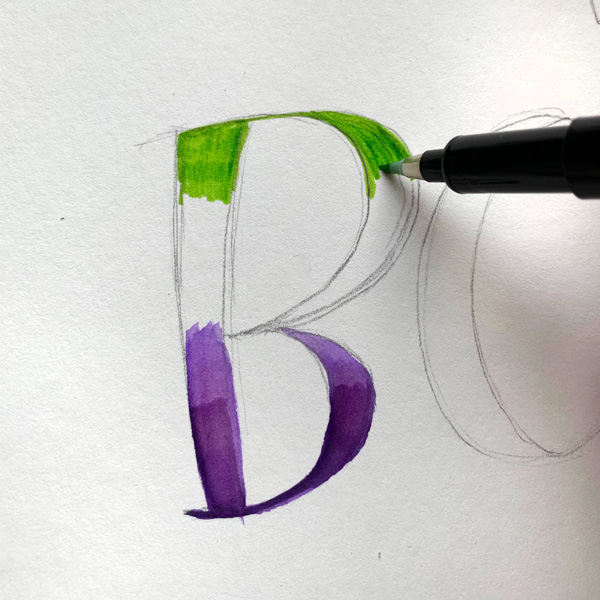
Leave the center of each letter blank. With the water and paint brush, blend the 2 colors towards the center of each letter. 
I drew a cute Frank to go along with the lettering and used the Kelly Creates Multicolor Small Brush Pen “Sage” and water to color his face.

Finish off the BOO and Frank by outlining the letters and adding details to Frank with the Kelly Creates Small Brush Pen or Black Fineliner. If you desire, also add a shadow with the Kelly Creates Small Metallic Silver Pen and the highlights with the Moonlight Marker. The Silver goes great with Frank’s bolts! 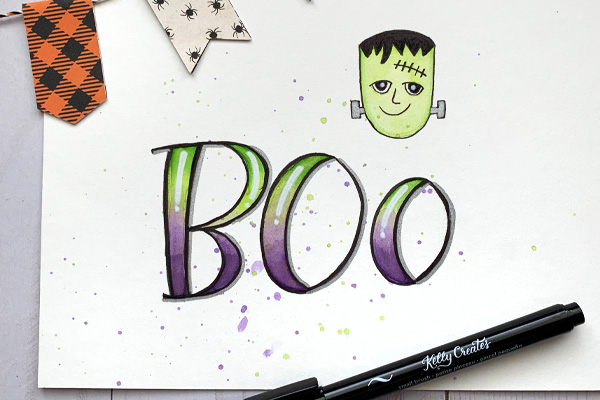
It’s fun to experiment with different colors to get different effects. I added a few paint splatters for a playful background.
Think of other ways to use Kelly’s pens to create SPOOKY lettering. I kept the same lettering style throughout, and focused on how to achieve different looks with different pens. I really like how the Moonlight Markers on black give a ghostly look!

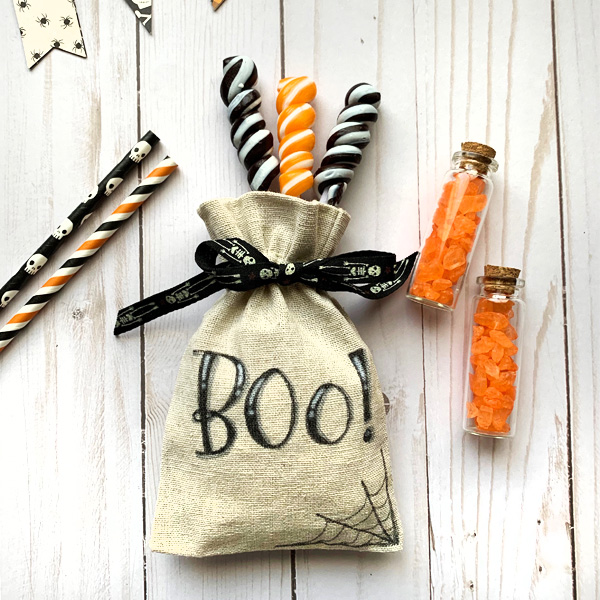
I am slightly obsessed lately with canvas bags and love the way this treat bag turned out using these same simple lettering techniques. Using Kelly Creates Black Fineliner, I drew a little spider web in the corner of the bag that just finished it off.
I can’t wait to see what devilishly fun lettering you come up with for your Halloween projects! Please share your designs with us, on Facebook or Instagram, ( tag #kellycreates ) and thanks so much for stopping by today!
I don’t know about you, but I need Chasity to come over to my house and ‘Halloween-o-fie EVERYTHING!
To follow Chasity on Instagram, click HERE and be inspired by her crafty ideas!
SHOP the supplies Chasity used by clicking on the affiliate shopping links below or visiting my online store http://www.KellyCreatesStore.com:


PIN ME!
Linda Epstein
October 16, 2019 at 3:09 pm (7 years ago)As always, Chasity, a great tutorial. Thanks.
Chasity
October 16, 2019 at 9:00 pm (7 years ago)Awe! Thanks so so much!!!