
Chasity (@chiciscre8tive) has created the perfect hand lettering project for all of us who love pens and enjoy the ‘Back to School’ season! Don’t know where to keep your pens while on the go? Design this pen pouch!

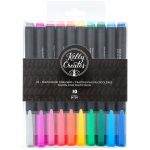
Kelly Creates Supplies: Deluxe Lettering Kit, Aqua Brush Pens, Black Fineliners, Multicolor Fineliners, Blending Kit
Other supplies: Canvas Pencil Pouch (OR use your Deluxe Lettering kit canvas roll!)
September is in full swing, and it brings back so many memories of school supply shopping when my kids were younger. Oh, how I loved shopping for new crayons, notebooks and pencil pouches. Not that I miss the crowds and lines or clothes shopping with 2 girls!
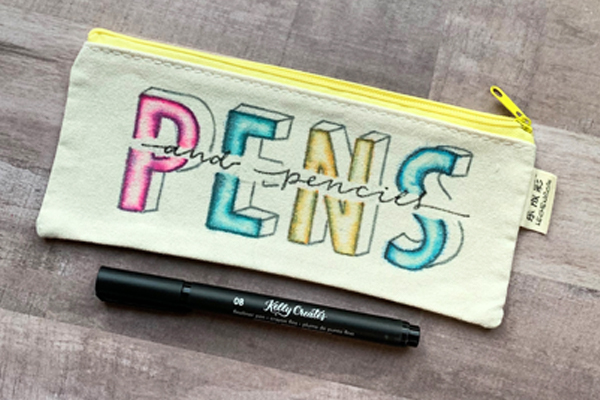
Today, I want to share an easy tutorial for customizing a pencil pouch. I created a hand lettered front that says “pens and pencils,” but you could letter a name or any other words. Start with a canvas fabric pouch, grab your Kelly Creates Aqua Pens (you know they are my favorite as of late) and let’s get lettering!

First step, use a pencil and ruler to draw very simple block letters with a shadow. I like sketching with a pencil first because if I make a mistake, the pencil is pretty forgiving if I keep my pencil lines light.
TIP: Use a Kelly Creates Practice Pad and design your pen pouch lettering on paper first.

If you want to add lettering across the center of the block letters, cut a piece of card stock approximately ¼” wide and the length of your pouch. I laid this strip down and drew my letters around the strip to create an empty space for adding lettering later.
Next, choose the colors you want to use from the Kelly Creates Aqua Pen set. Trace the letters with the Aqua Brush, making sure to go over the pencil line to cover it. I drew a few lines extending into the letter a little.

Then, using the Kelly Creates Blending Pen, blend the color toward the center of the letter. Make sure to blend all the way around each letter.
TIP: You could also use a fine tip paint brush and water to blend the colours inward from the edges of the letters.

Use this same technique with each letter, adding more Aqua Brush pen colour if needed. Its fun to blend on something other than paper!
Once the blending is complete with each of the letters, grab the Grey Dream Pen from the Deluxe Lettering Kit, and outline the letters and shadow. I like using the grey because it’s a little more subtle than black with the lighter background.

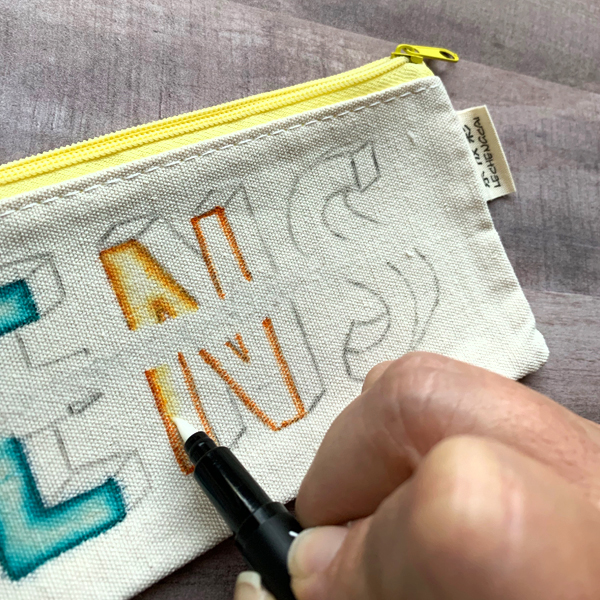
Next, use your pencil to add lettering in the blank stripe… or if you did a name, this is a great place to add a last name, or a grade. The possibilities are fun! Then use the Black Fineliner 08 to go over the pencil lines.
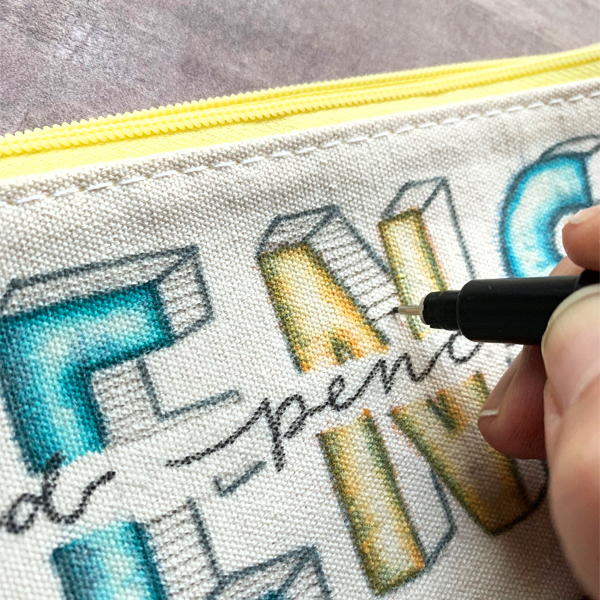
The last step is to add lines to the shadows on the block letters. For this step, I used the Kelly Creates Fineliner Storm. I wanted a thin tip so I could create thinner lines and make them closer together.
The final Step is to put some Kelly Creates pens inside the pouch! These are a great way to take your favorite pens with you for lettering on the go!

Thanks for stopping by today! I hope that you give this technique a try and show us what you create!
For more crafty inspiration and creative lettering, follow Chasity on Instagram @chiciscre8tive.
Shop the supplies used in this project by clicking on the affiliate links below:


PIN ME!

Linda Epstein
September 15, 2019 at 2:36 pm (5 years ago)Great tutorial, Chasity. Where would I find a Canvas Pencil Pouch for this? Thanks for sharing.
Kelly
September 26, 2019 at 3:43 pm (5 years ago)Linda, you can try searching for a canvas pen pouch on Amazon.
Brinda Coble
September 19, 2019 at 9:44 pm (5 years ago)This is amazing!
Cathy Root
October 15, 2019 at 12:31 pm (5 years ago)This looks really interesting, as I quilt. One question, can this be heat set, so the ink will not run if put in the washer?
Kelly
October 16, 2019 at 5:51 pm (5 years ago)There are ‘waterproof’ inks for fabric that you could use instead.