
A warm welcome to Erica Marcum (@ericalligraphy2) who has returned with another blog post but this time as one of our Dream Team designers! You can read about her in her first guest tutorial by clicking HERE. Her lettering tutorial will definitely brighten your day….with lots of yellow ‘sunshine.’

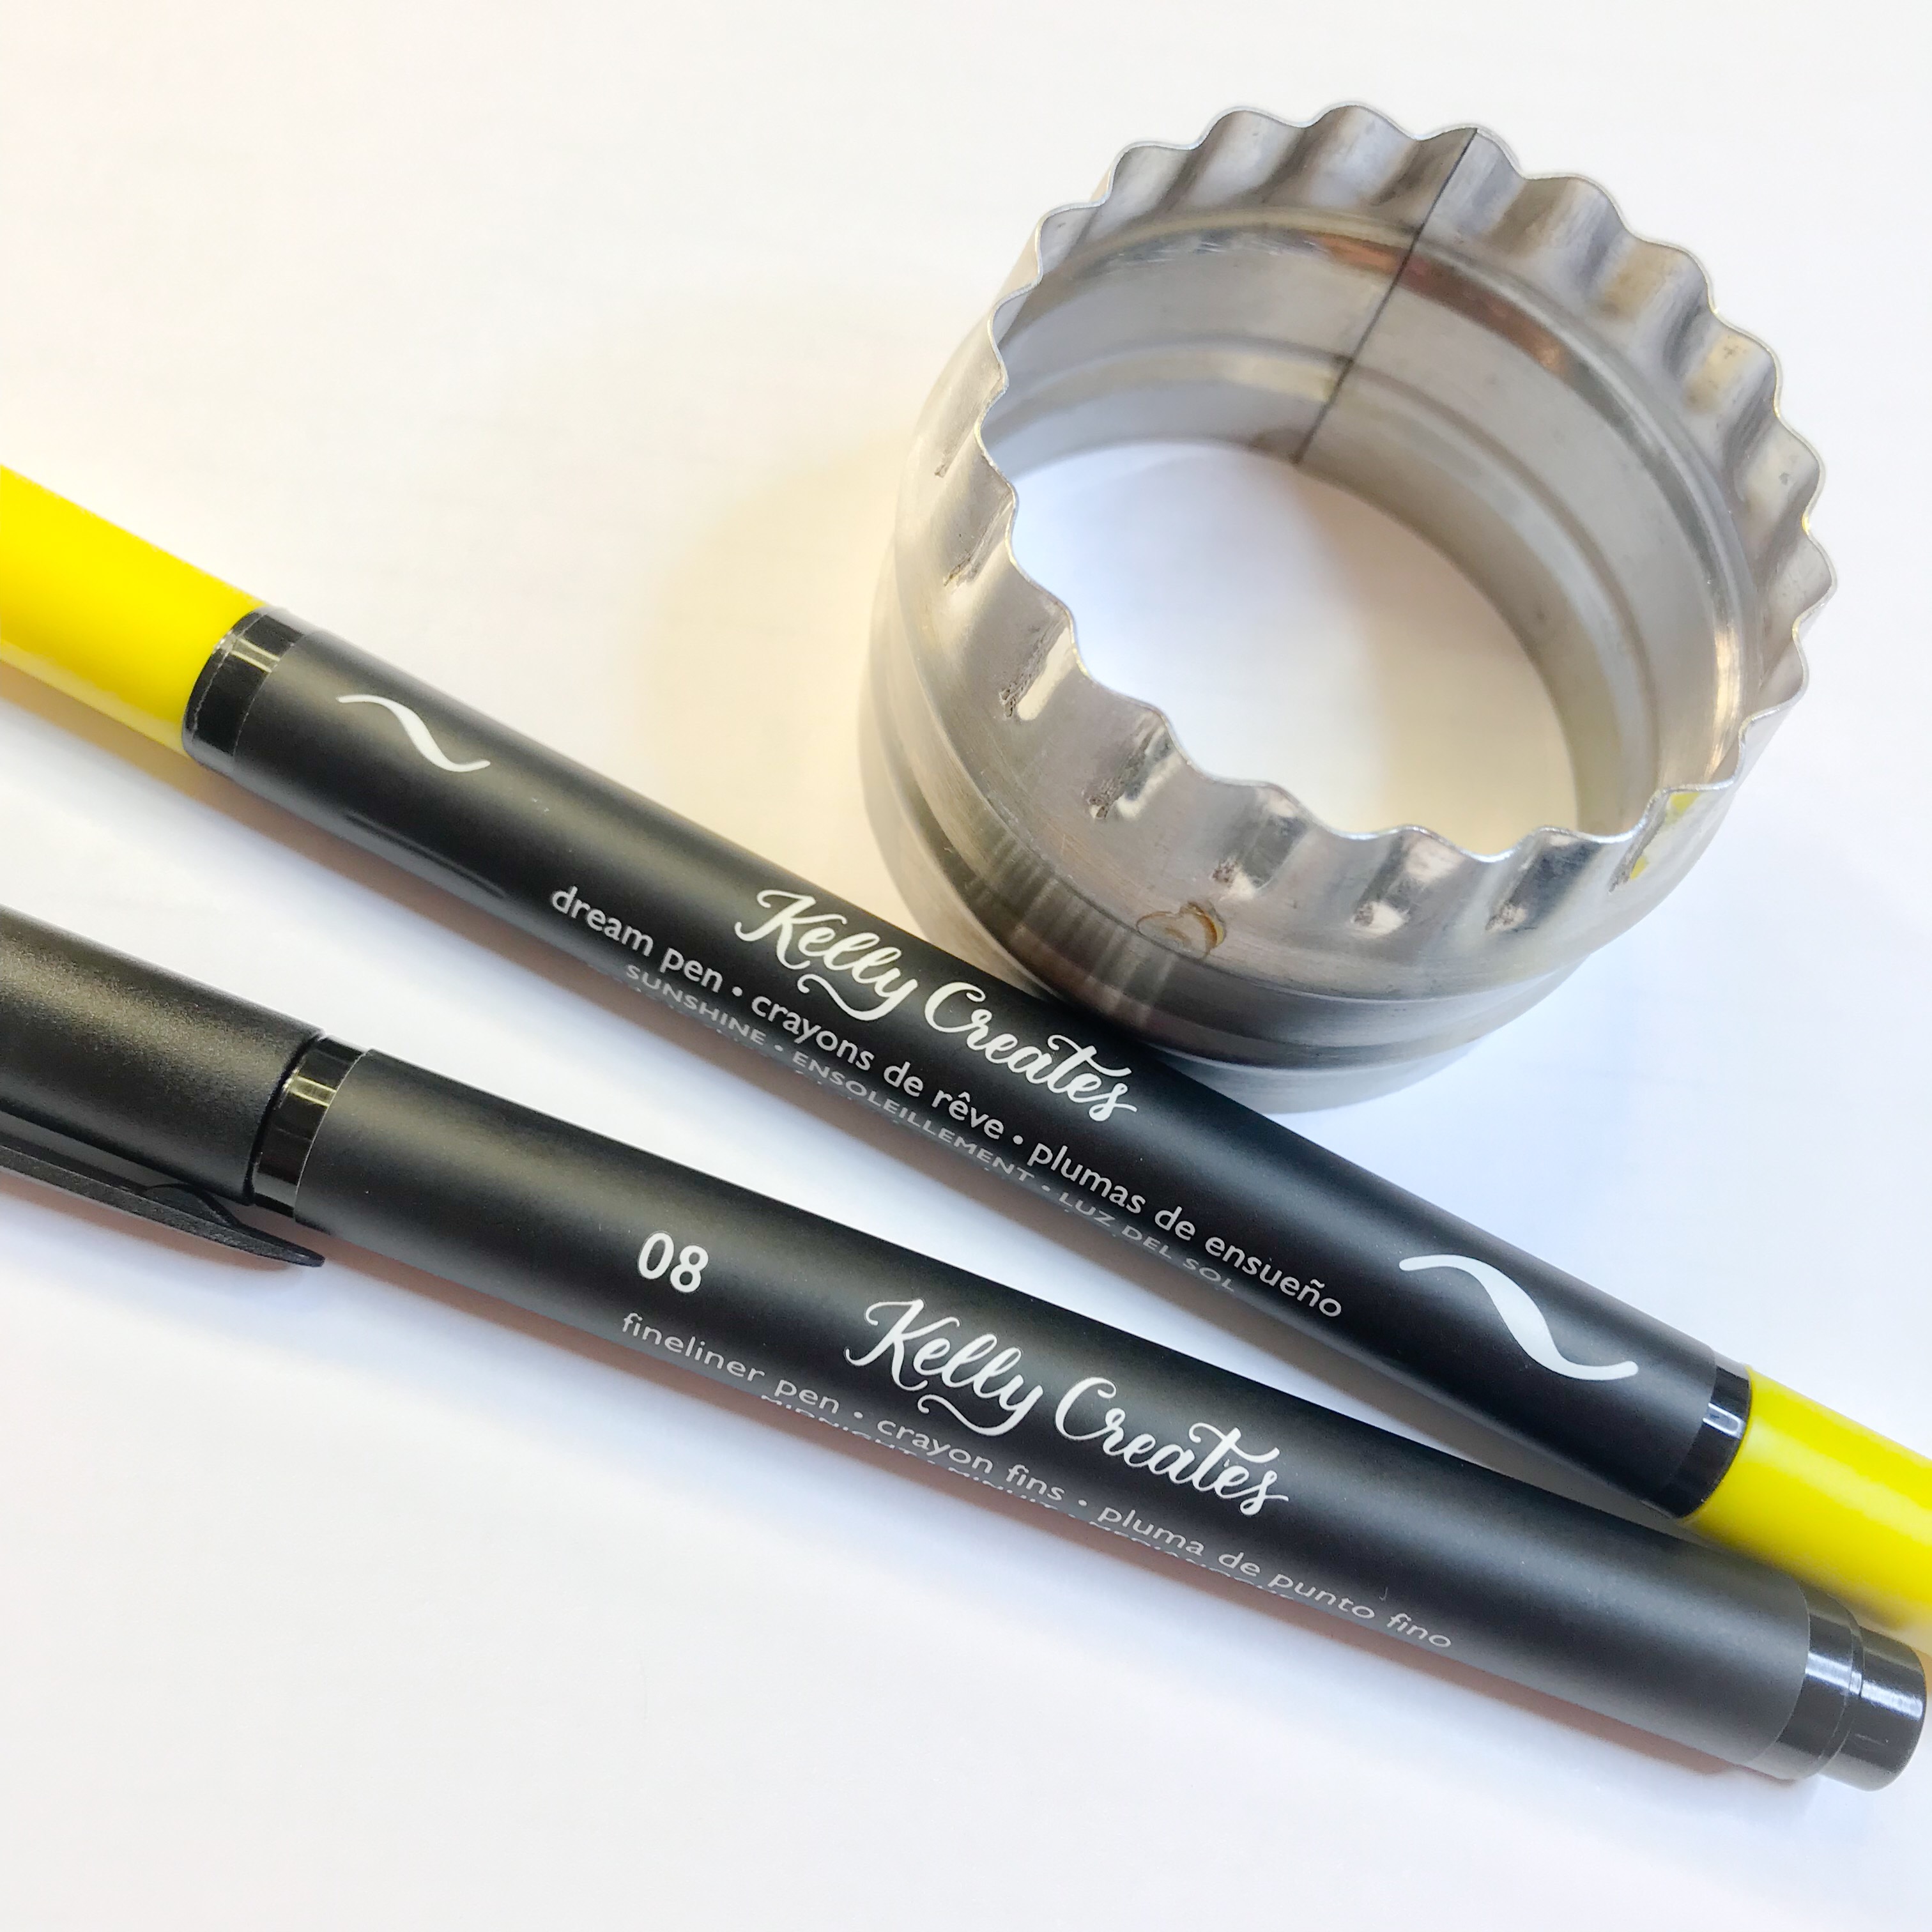
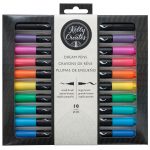
Kelly Creates Supplies: Fine Black Brush tip Pen, Dream Pens set 1, Black Fineliners, Blank Paper Practice Pad
It’s summer north of the equator, and it’s hot. (For those of you who are south and experiencing winter right now, please send some cool air this way.)
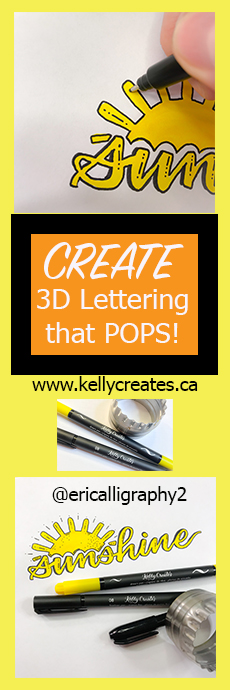
And with summer comes sunshine! Today I’m going to show you how to make your ‘sunshine’ lettering pop with a few simple details. If you read my last post, you might remember how I explained that adding details is a layering process, and this project is no different in that aspect. Take it one layer at a time!
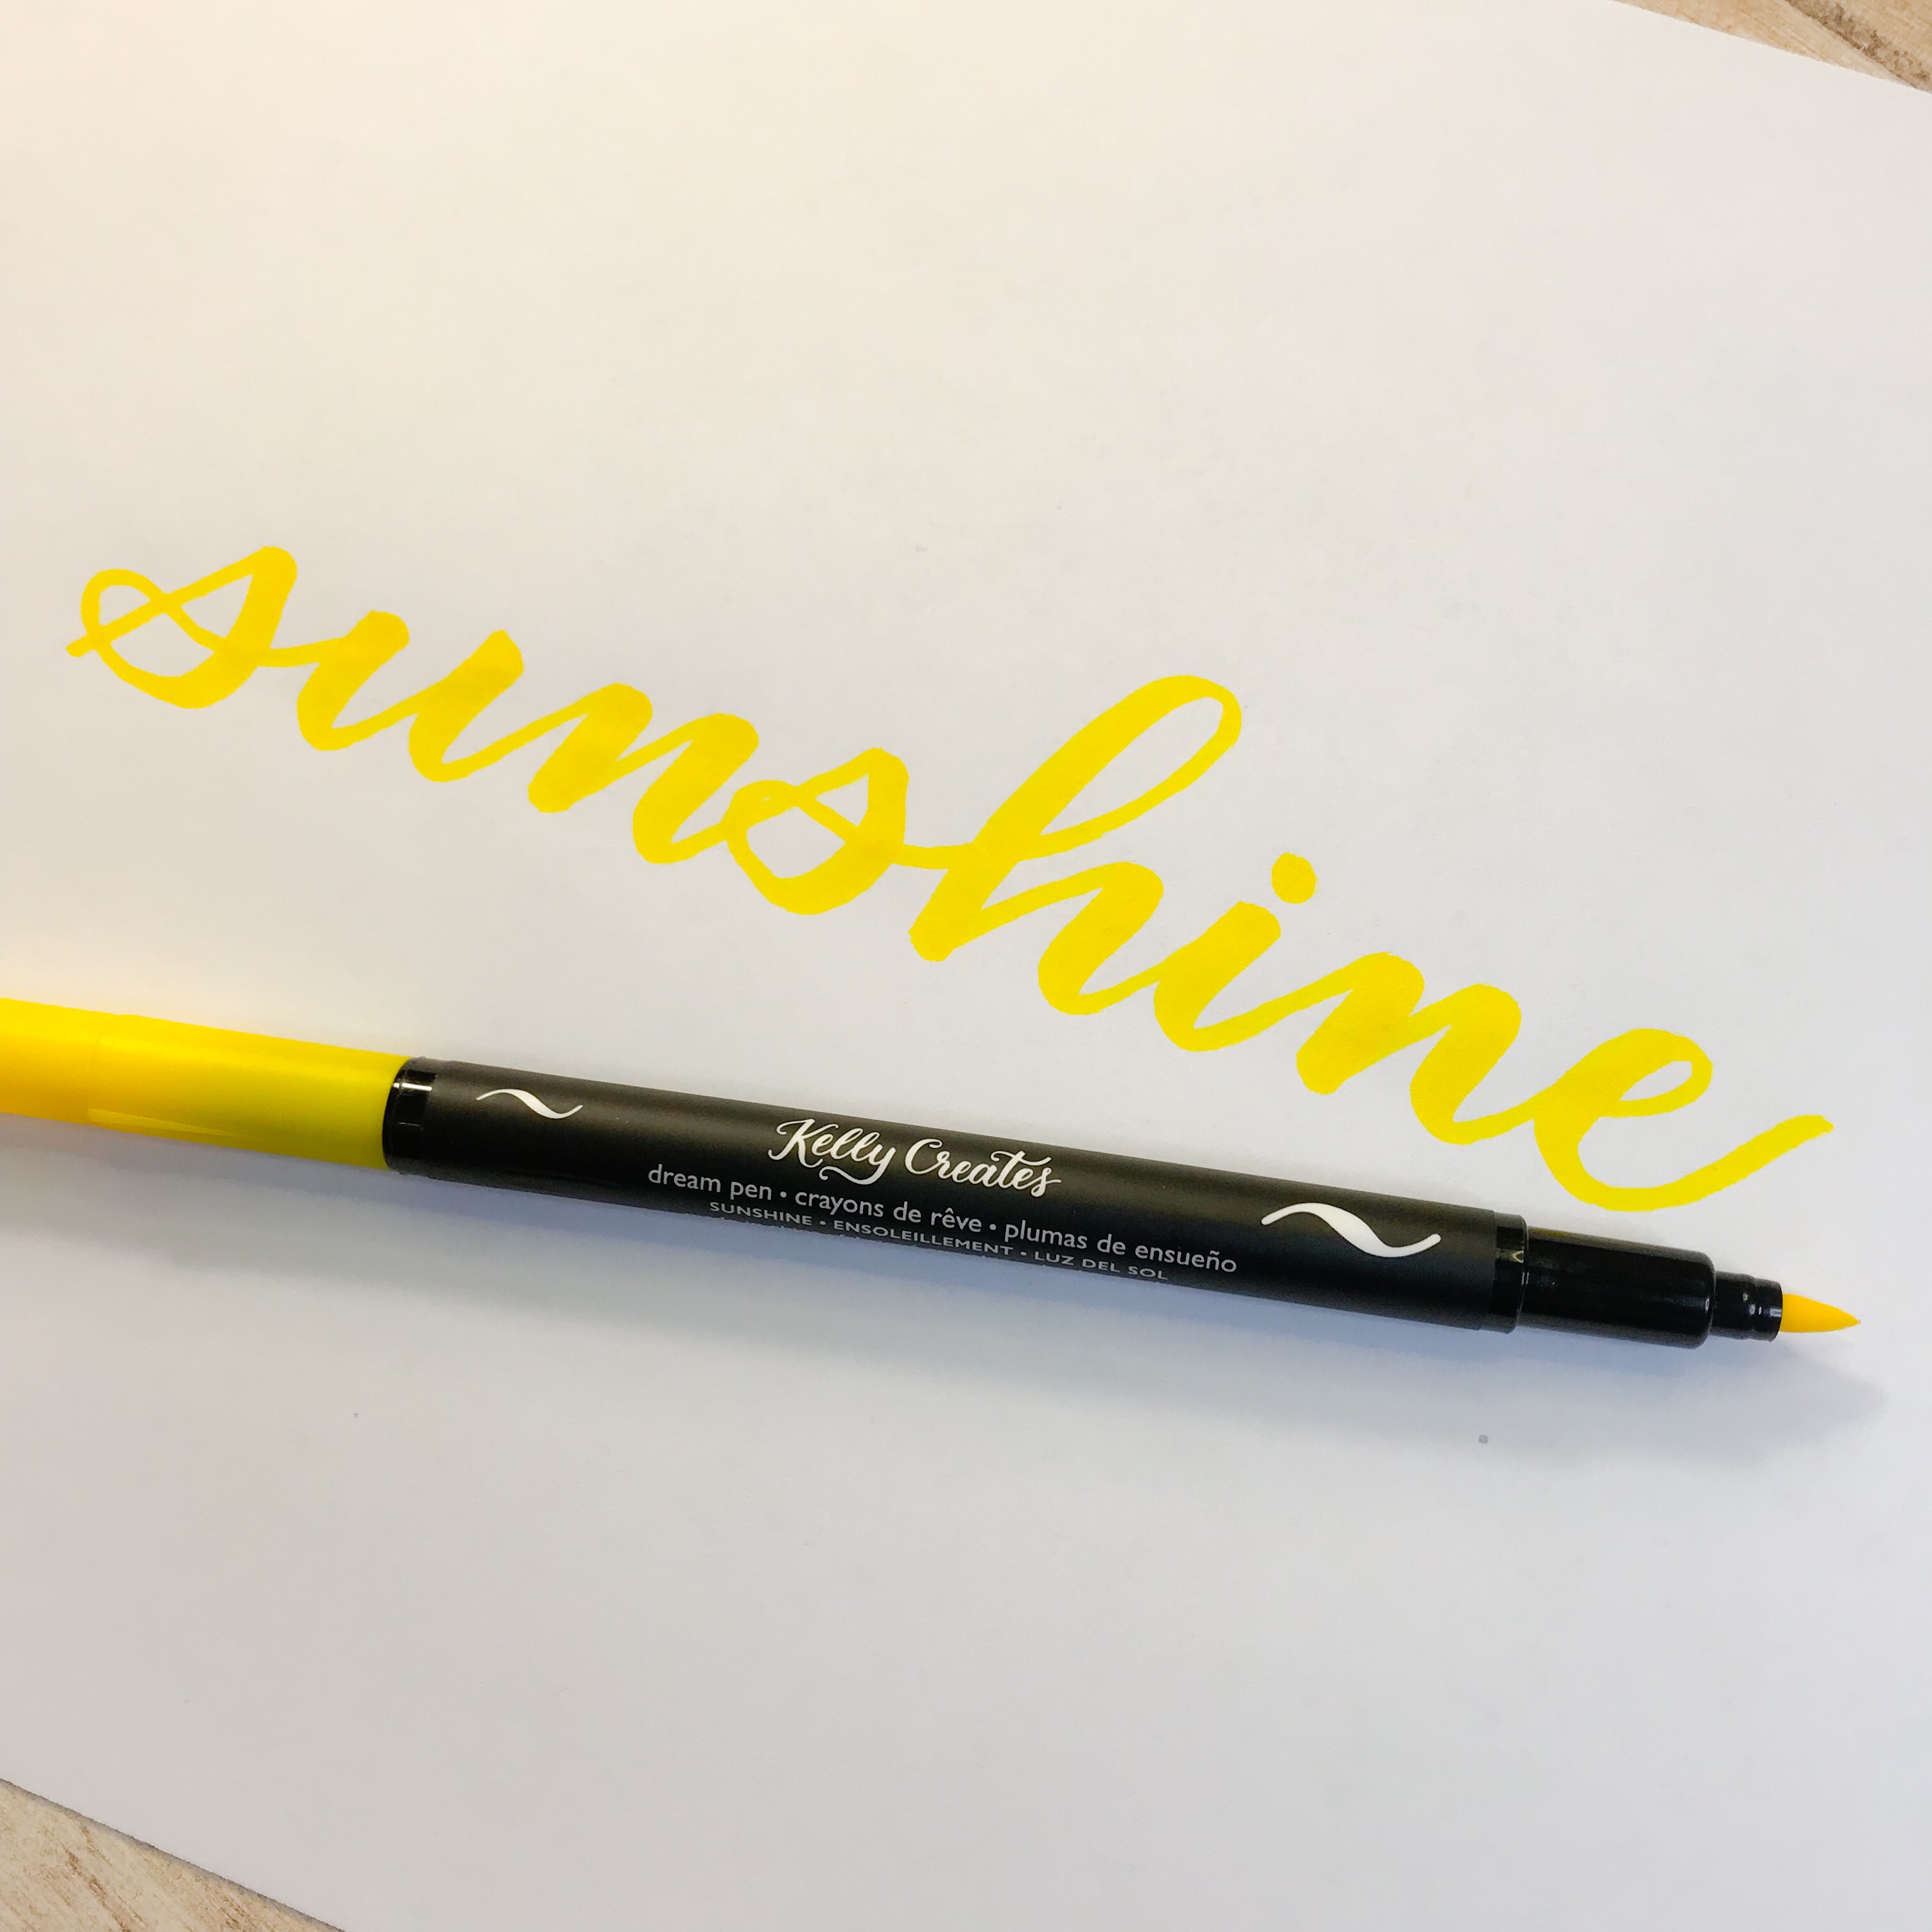
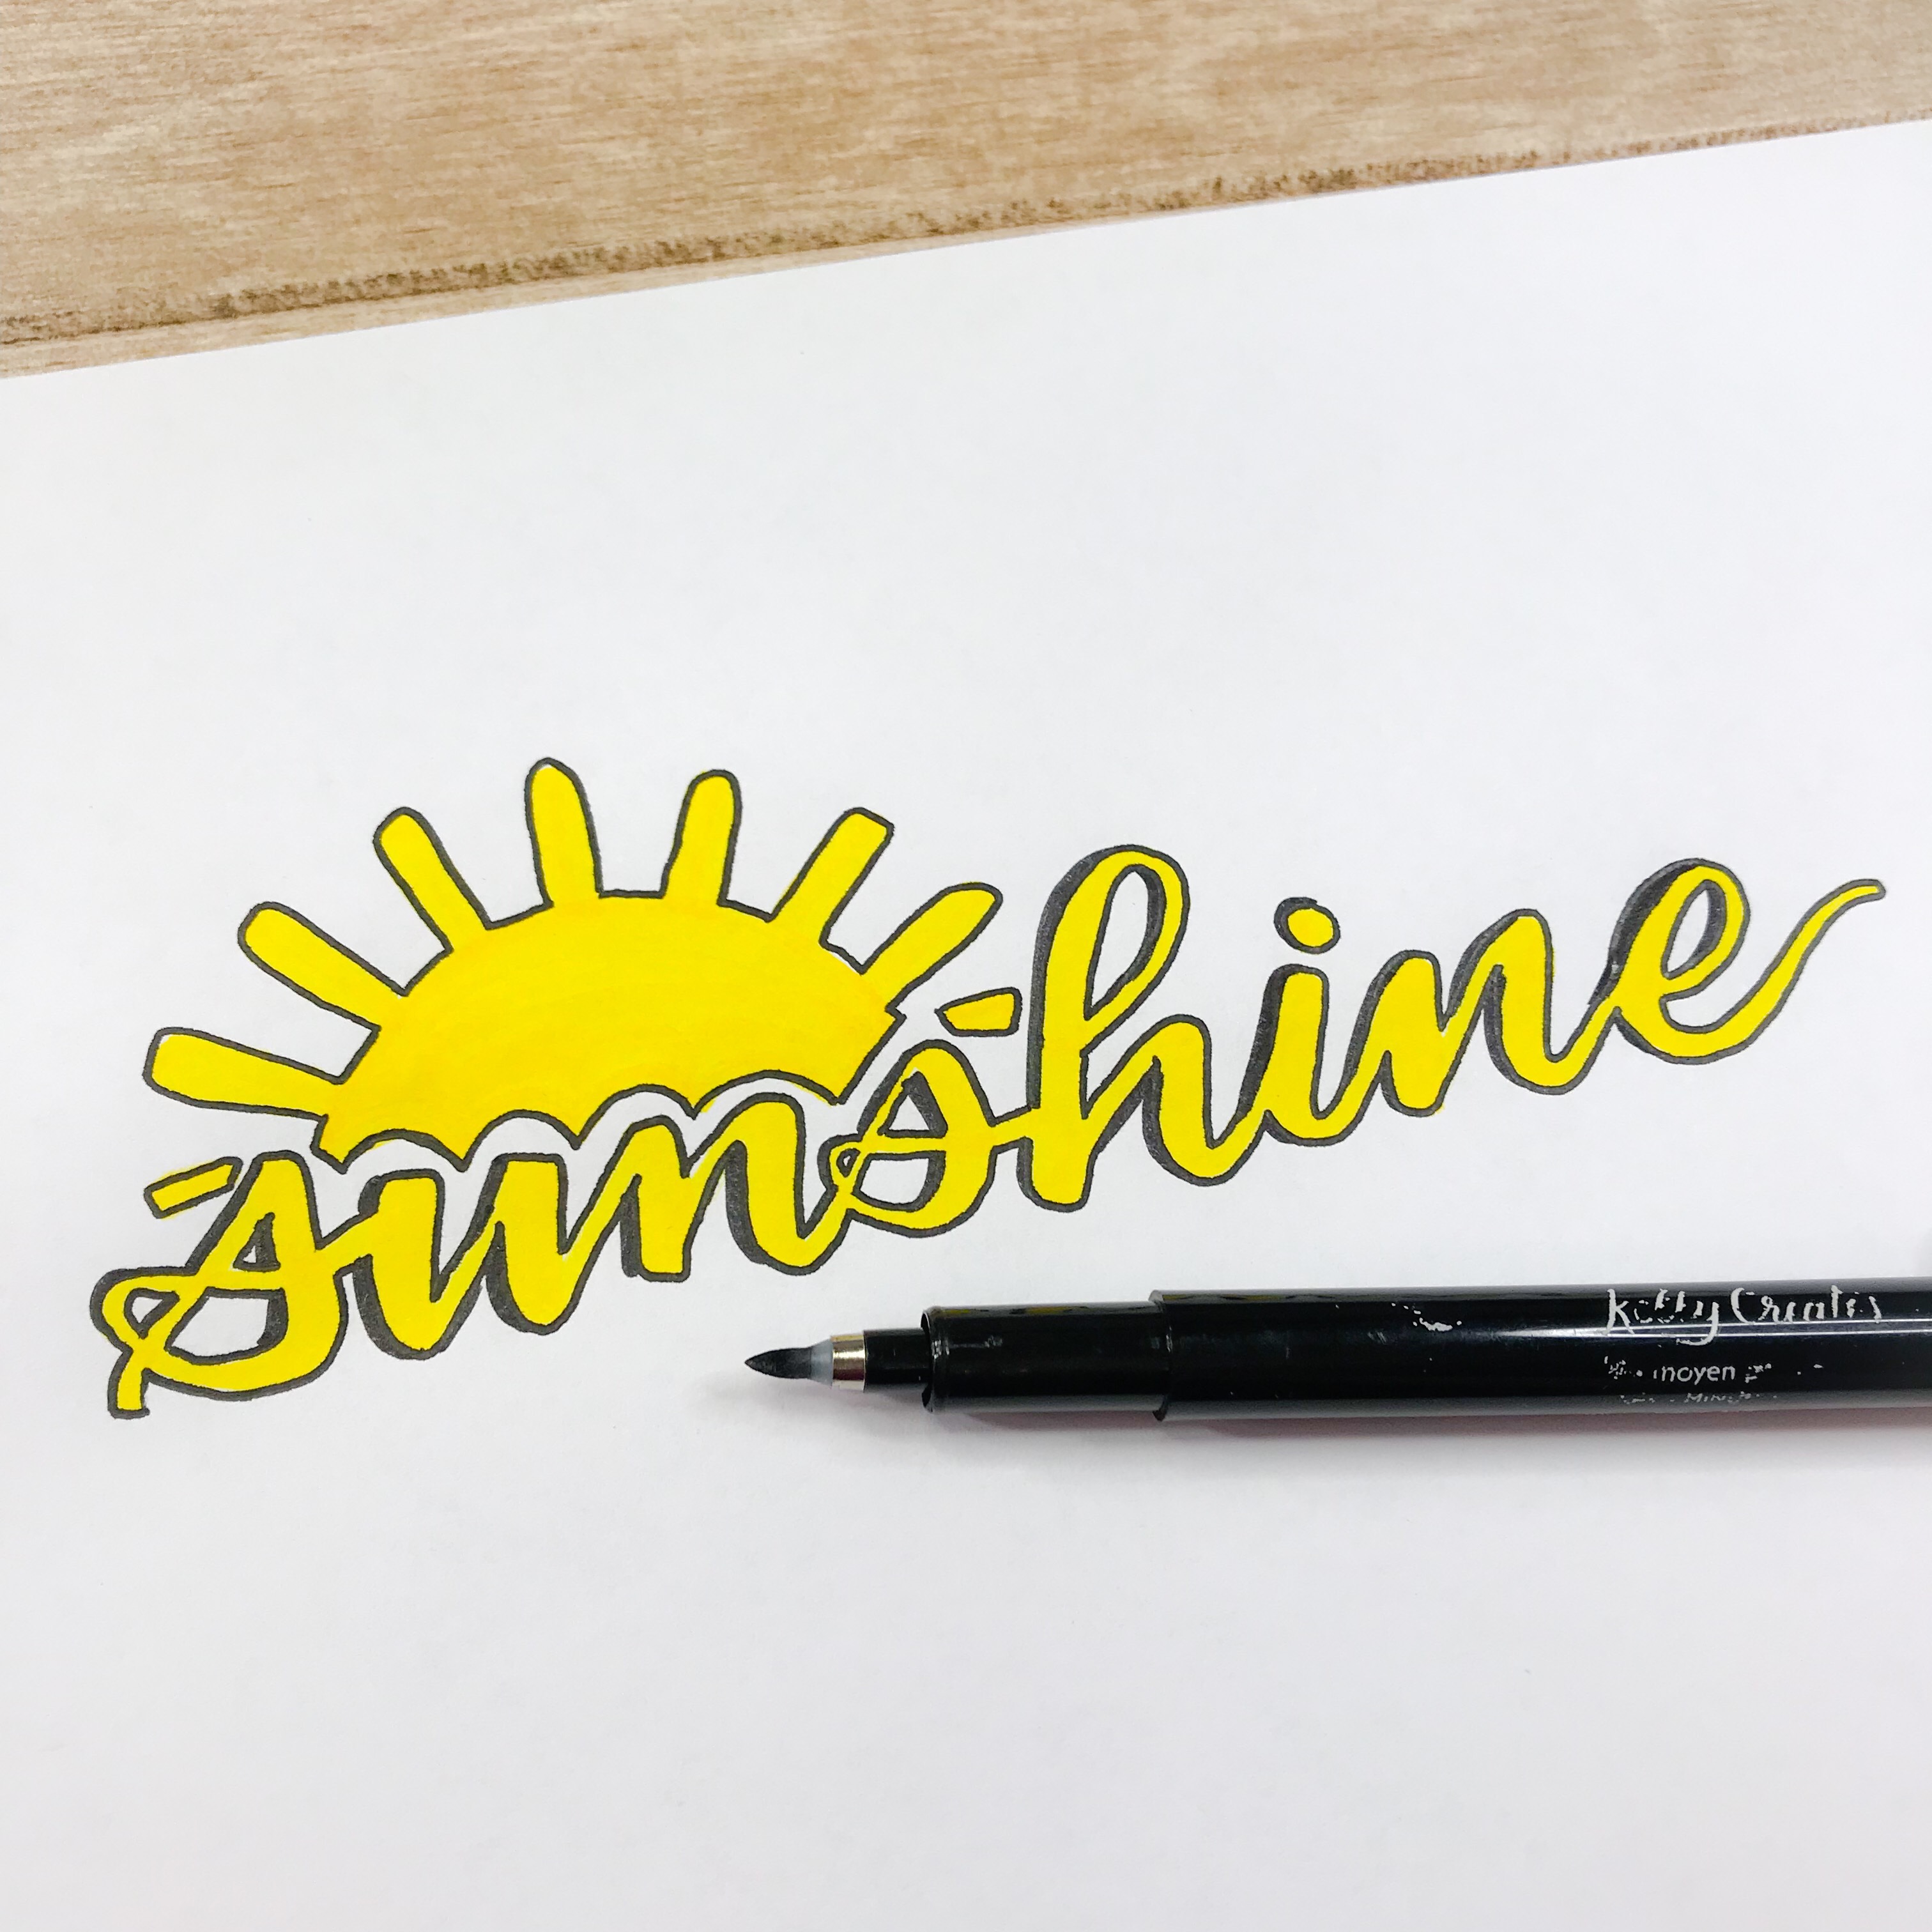
I’ve started this project by writing “sunshine” in a standard brush lettering style using the Sunshine Dream pen from Set 1. This is the only color marker I used.
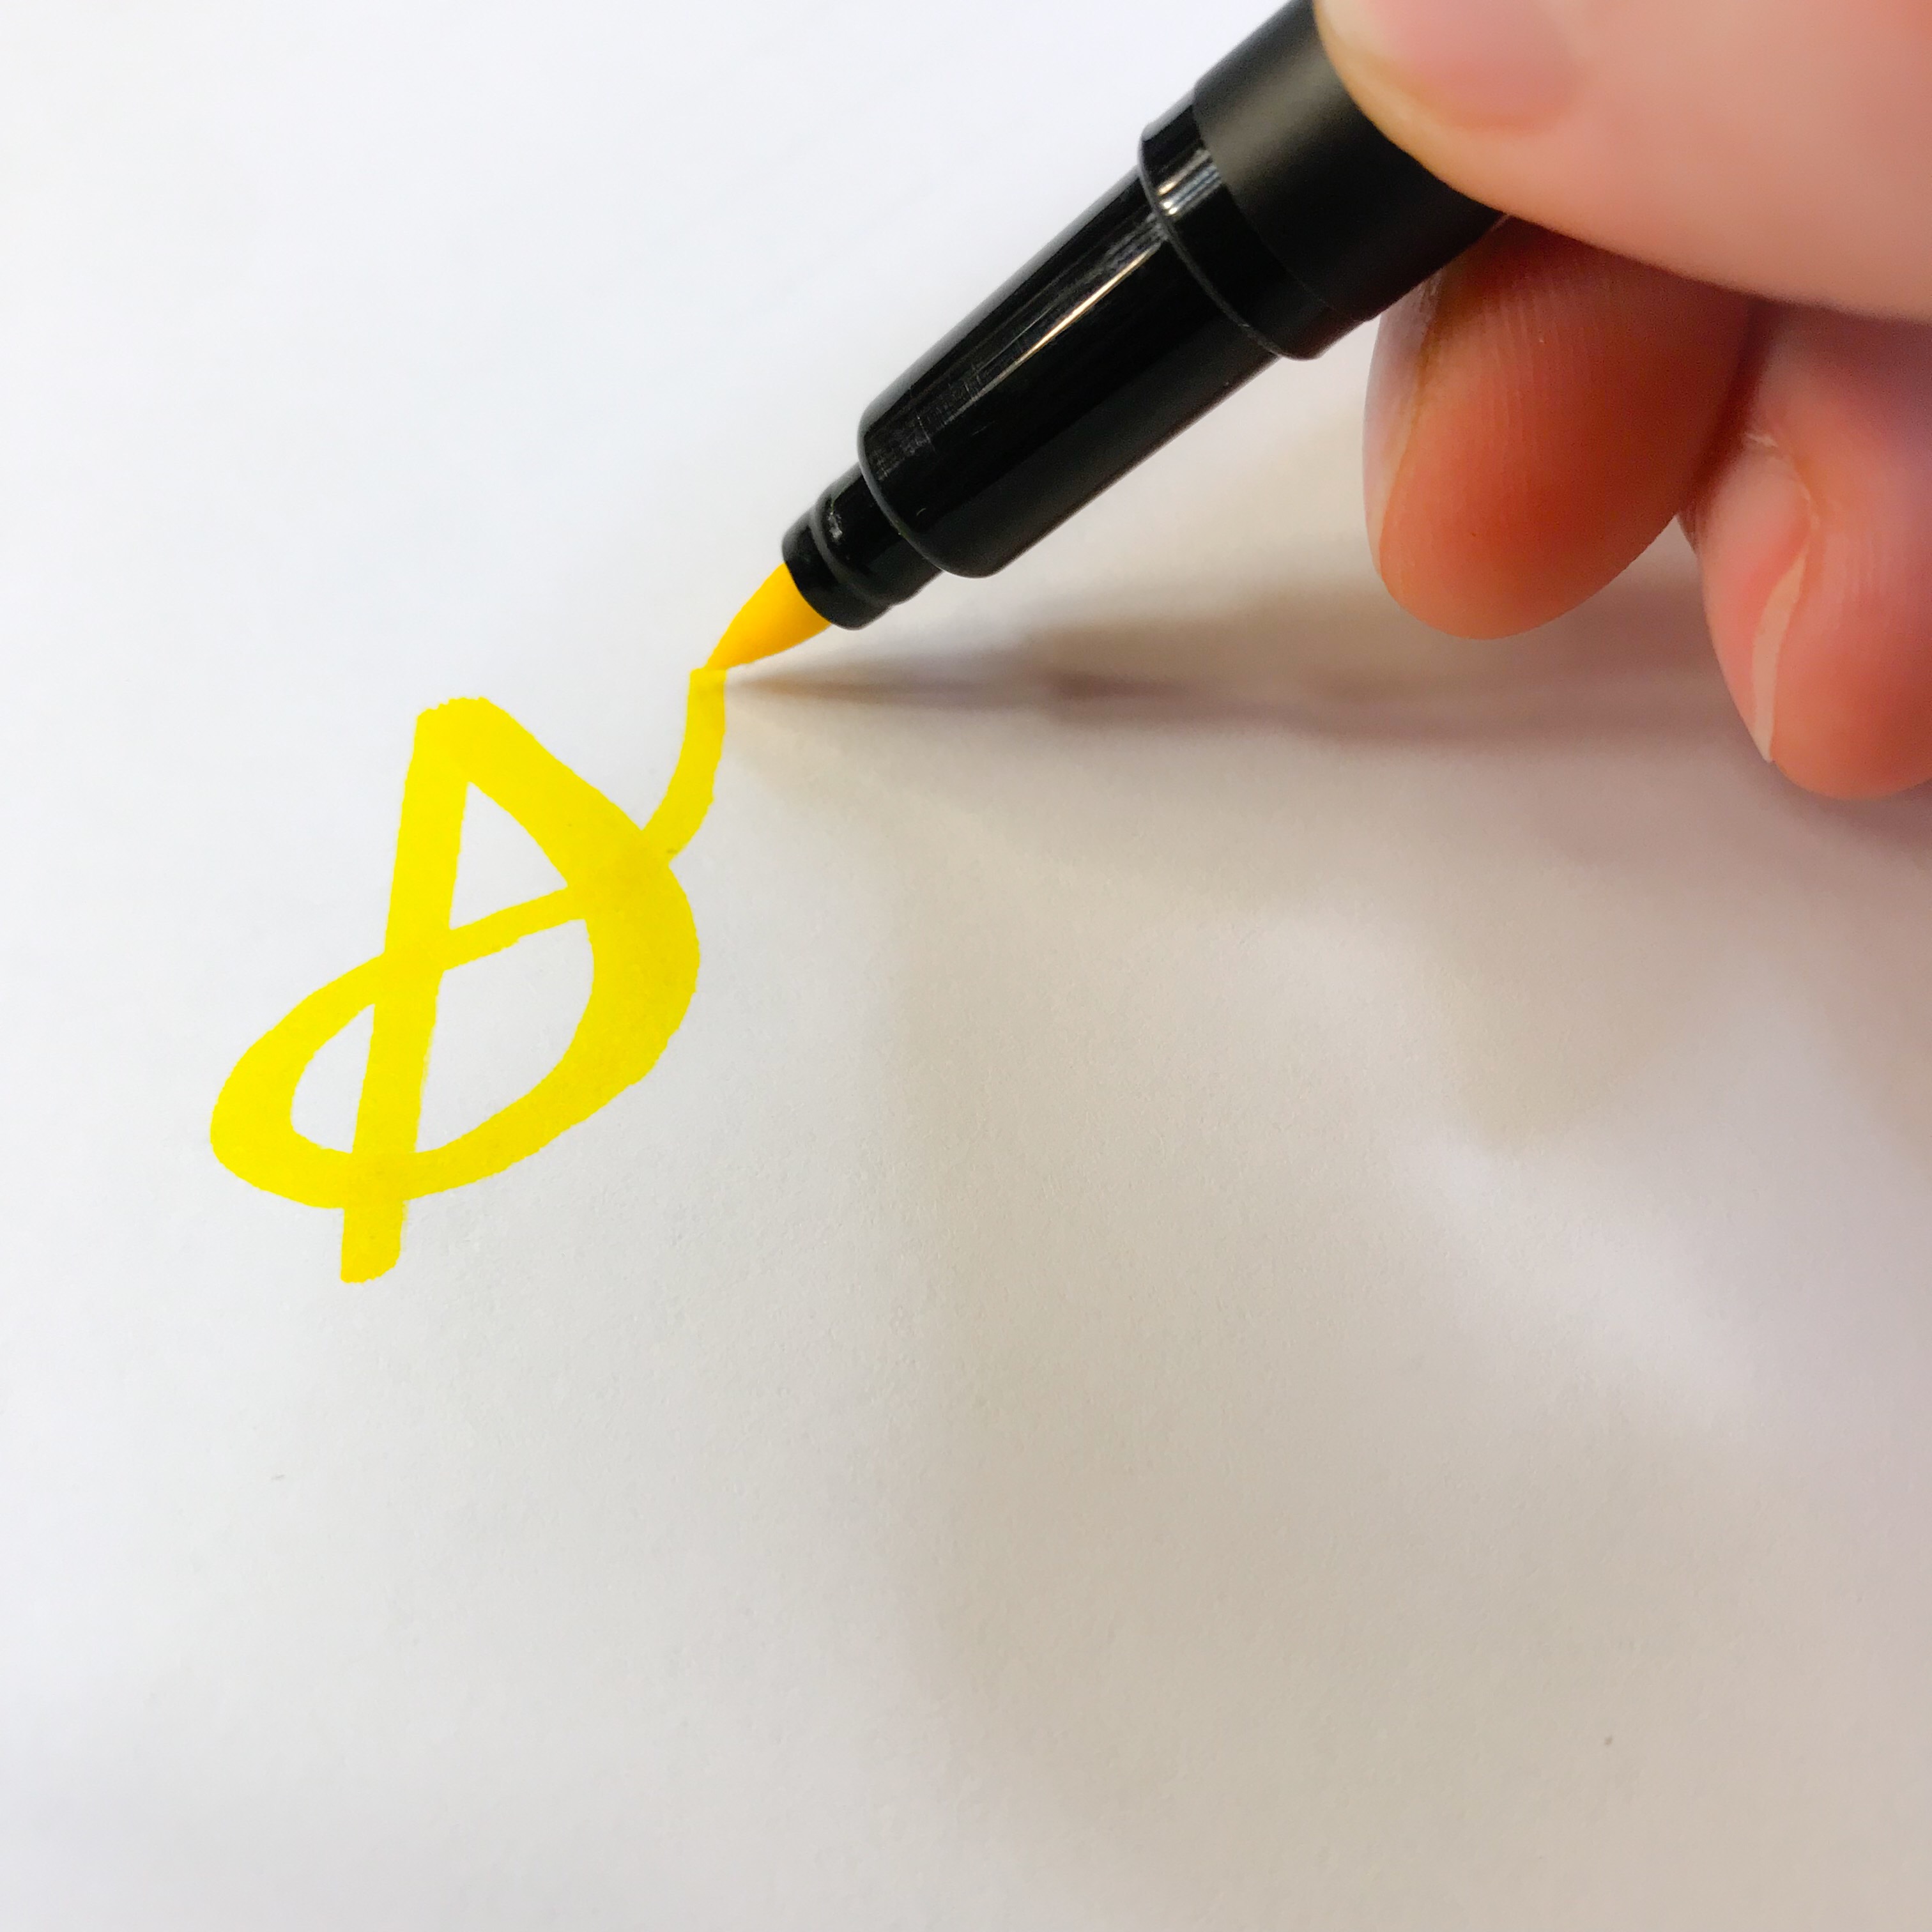
This Dream pen ink color is just like the sun shining because it is so bright and fresh on paper! Actually, it can be hard to see, so using black as an accent outline will really make it pop off the page.
We are going to add a sun rising above the letters today. I can’t draw a non-wonky circle to save my life, so I have several circular objects I keep close by to use as a guide: coins, random toys my kids don’t play with anymore and my favorites…biscuit cutters…yes, like those from the kitchen.

Sometimes I trace the inside of the guide, sometimes the outside. I traced the inside this time because it was easier to see where I needed to start and stop the arc. Leave space between the letters and where the arc starts and stops. 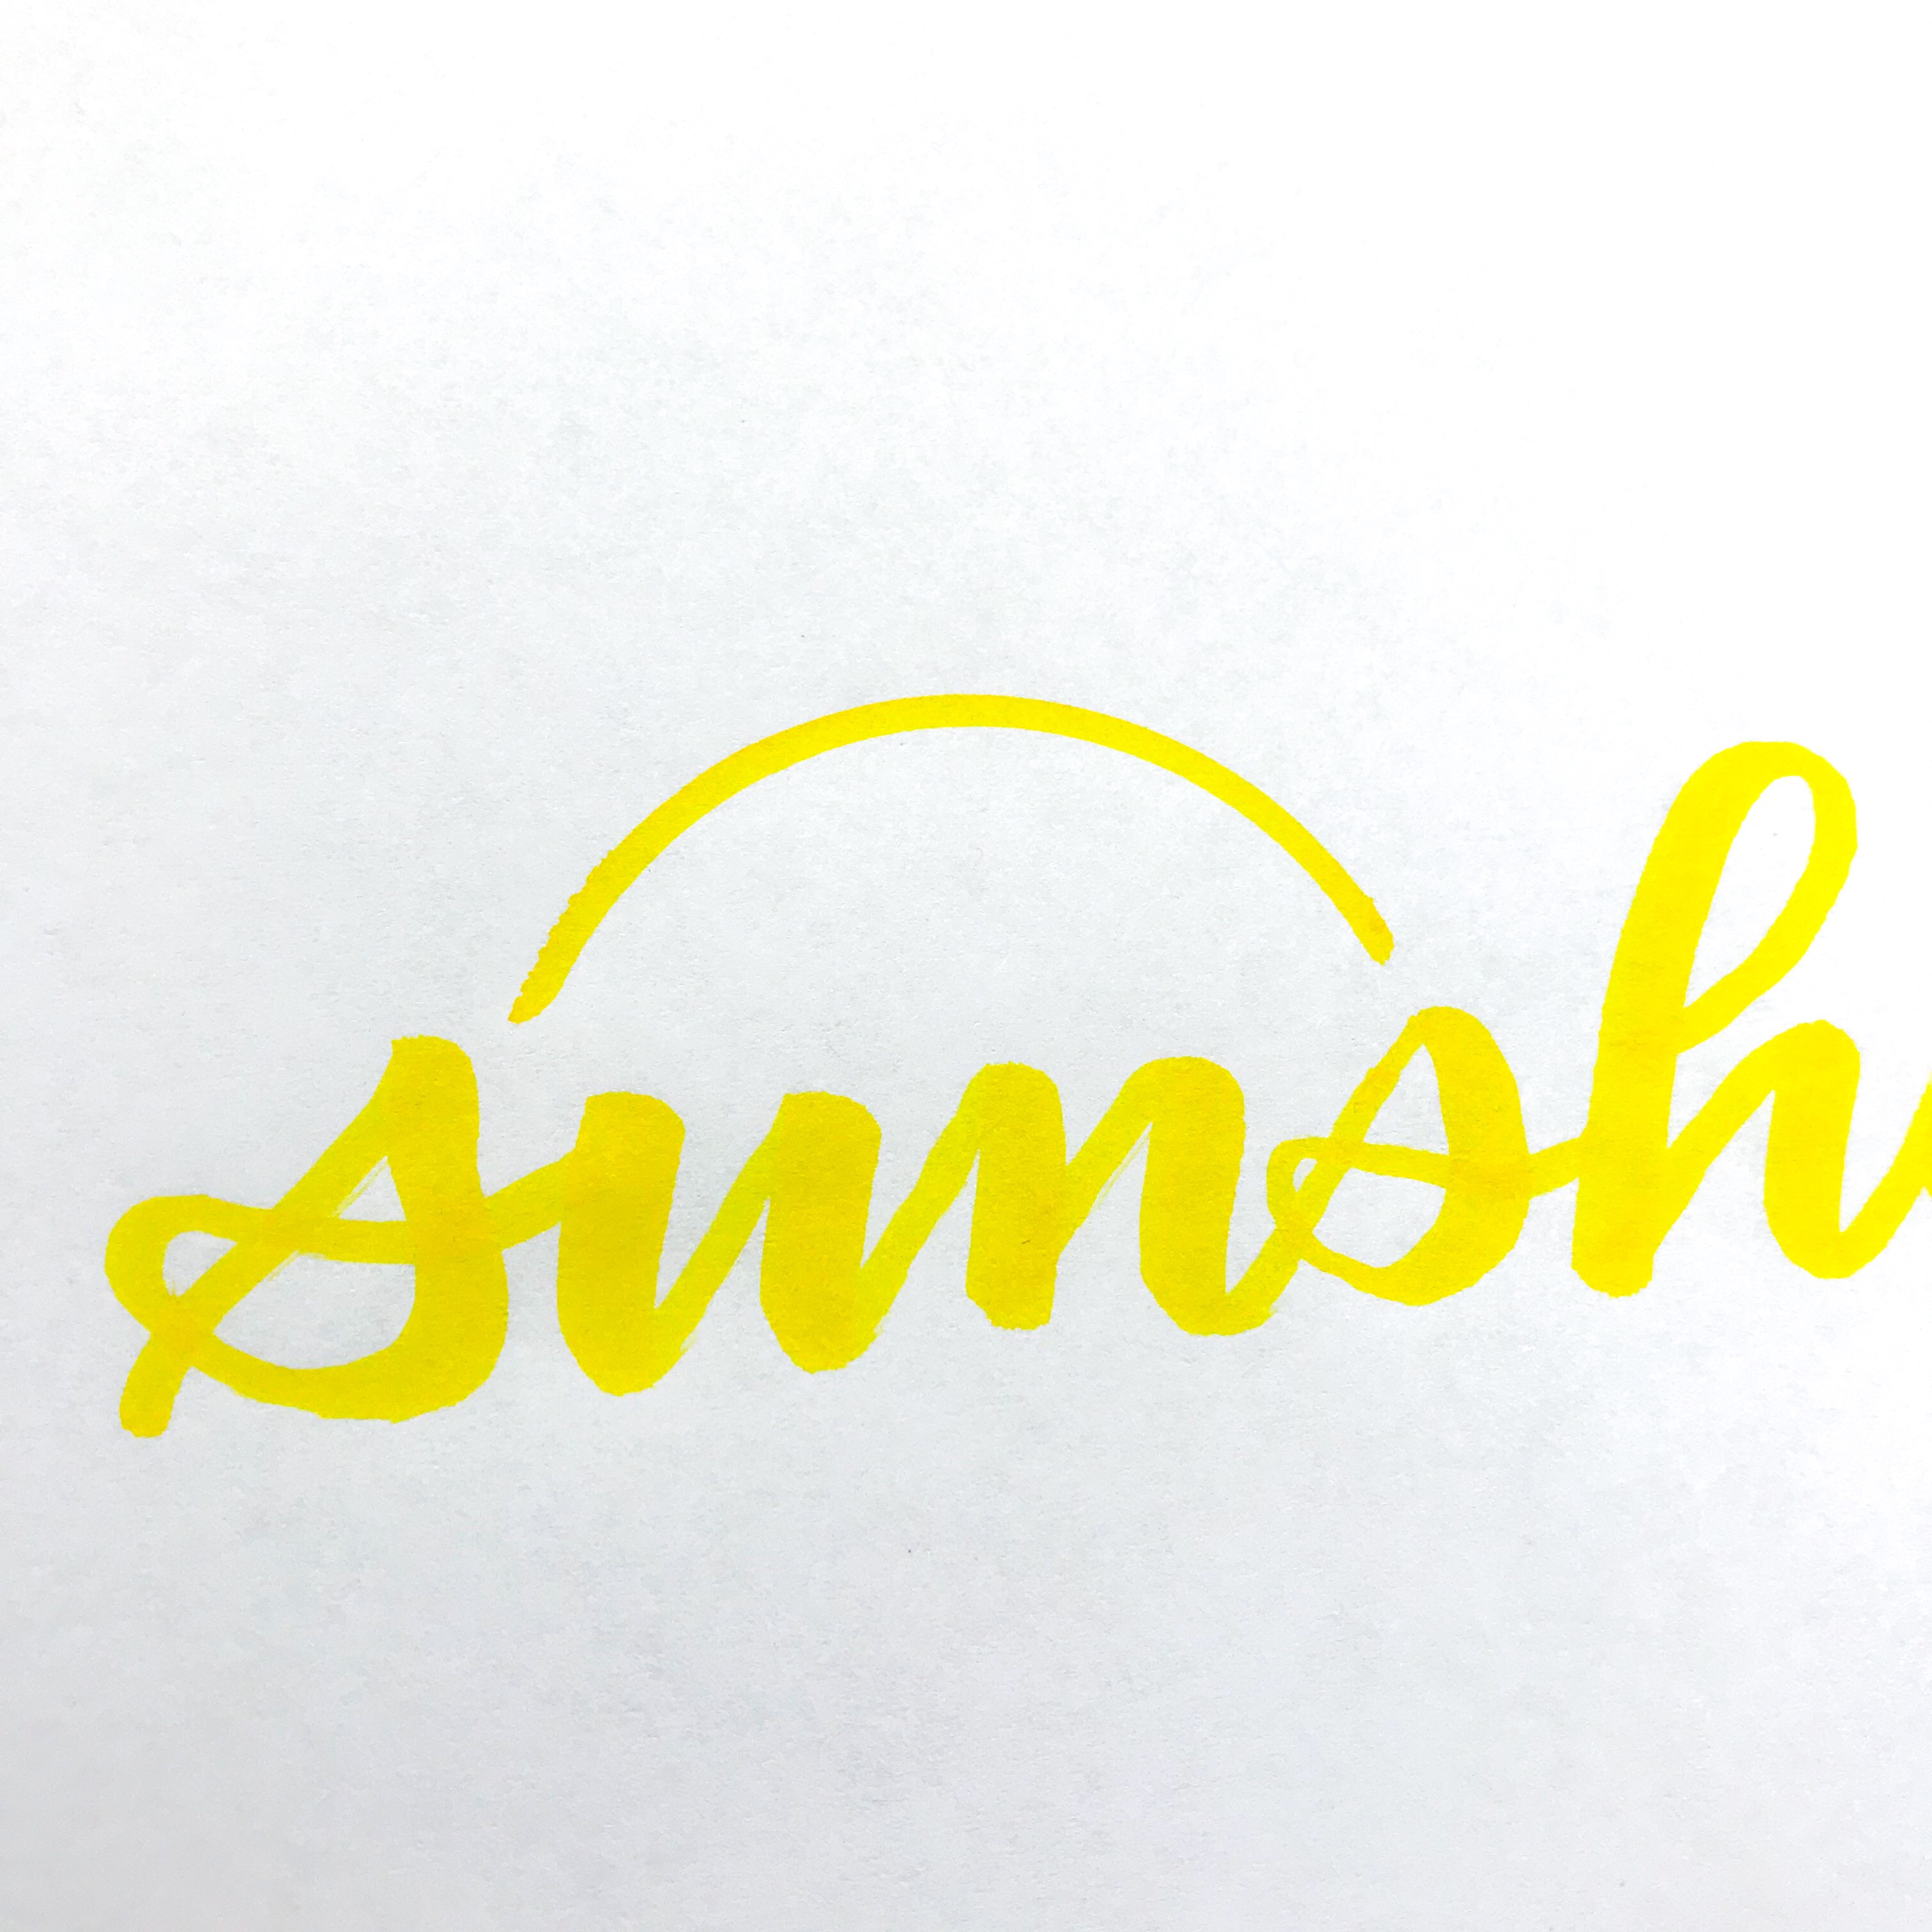
Connect one side of the sun to the other by tracing along the letter, leaving space between the letters and sun.
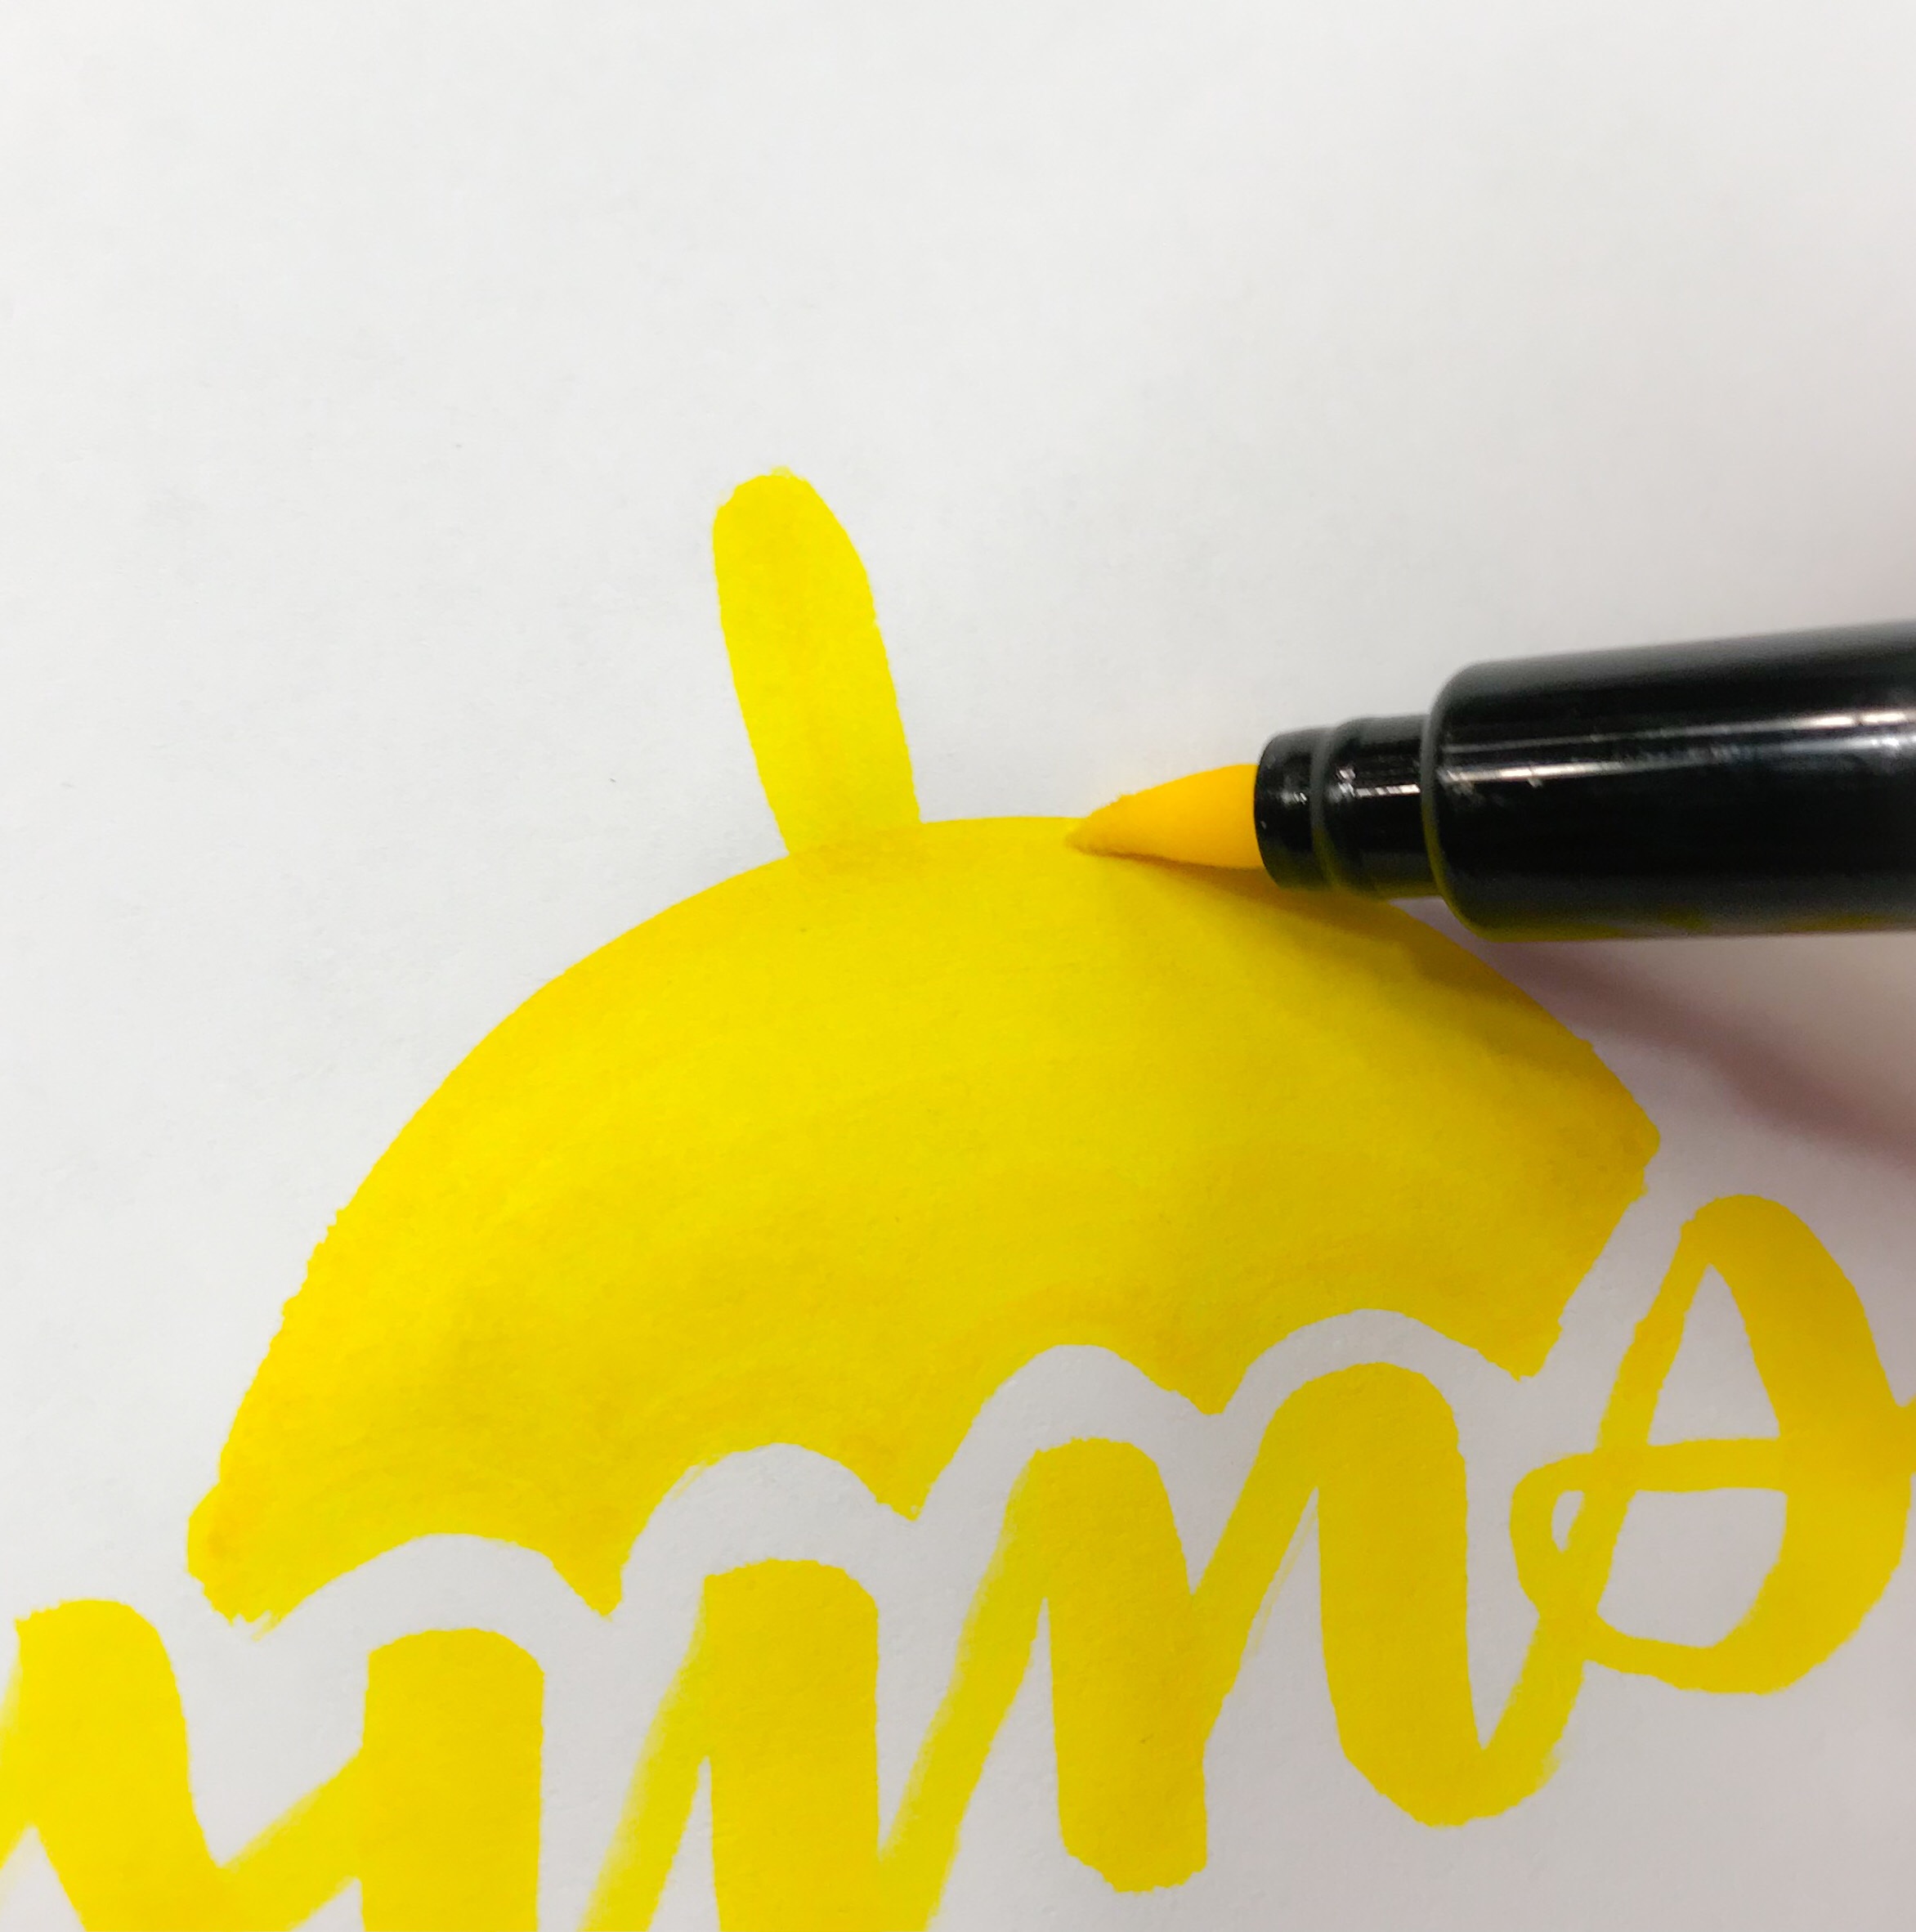
Now we can color the sun yellow and add some rays! 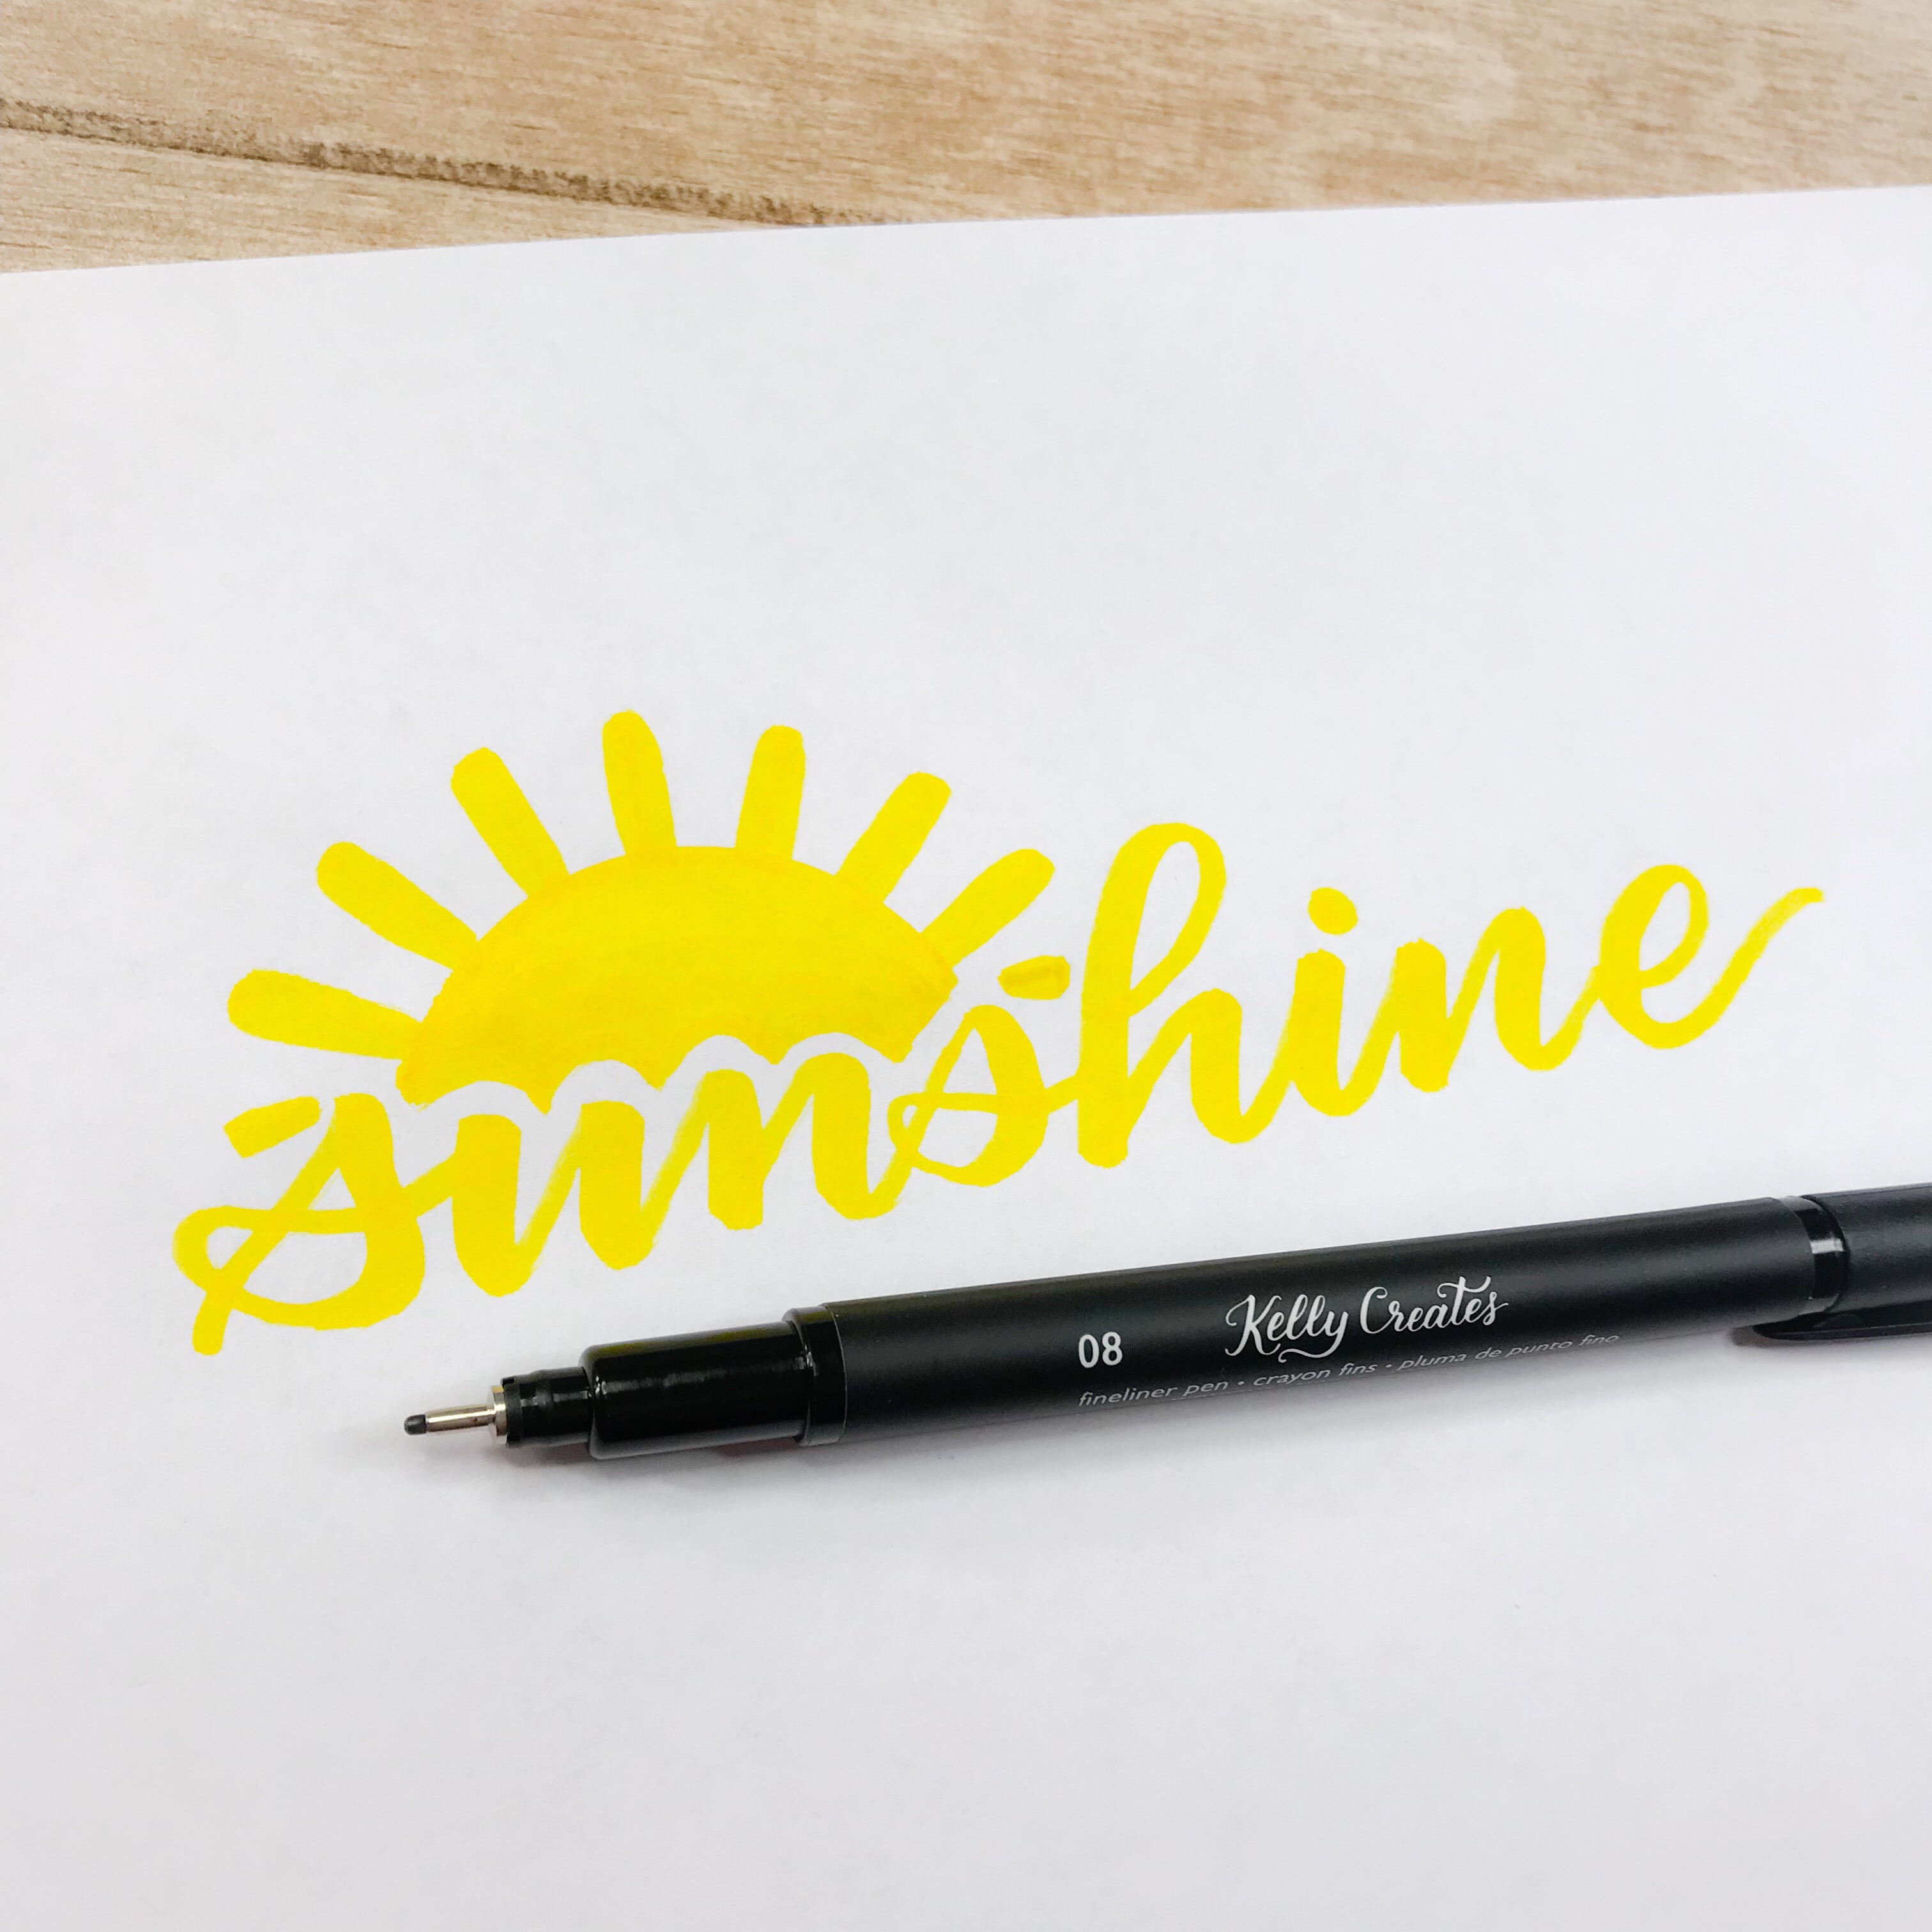
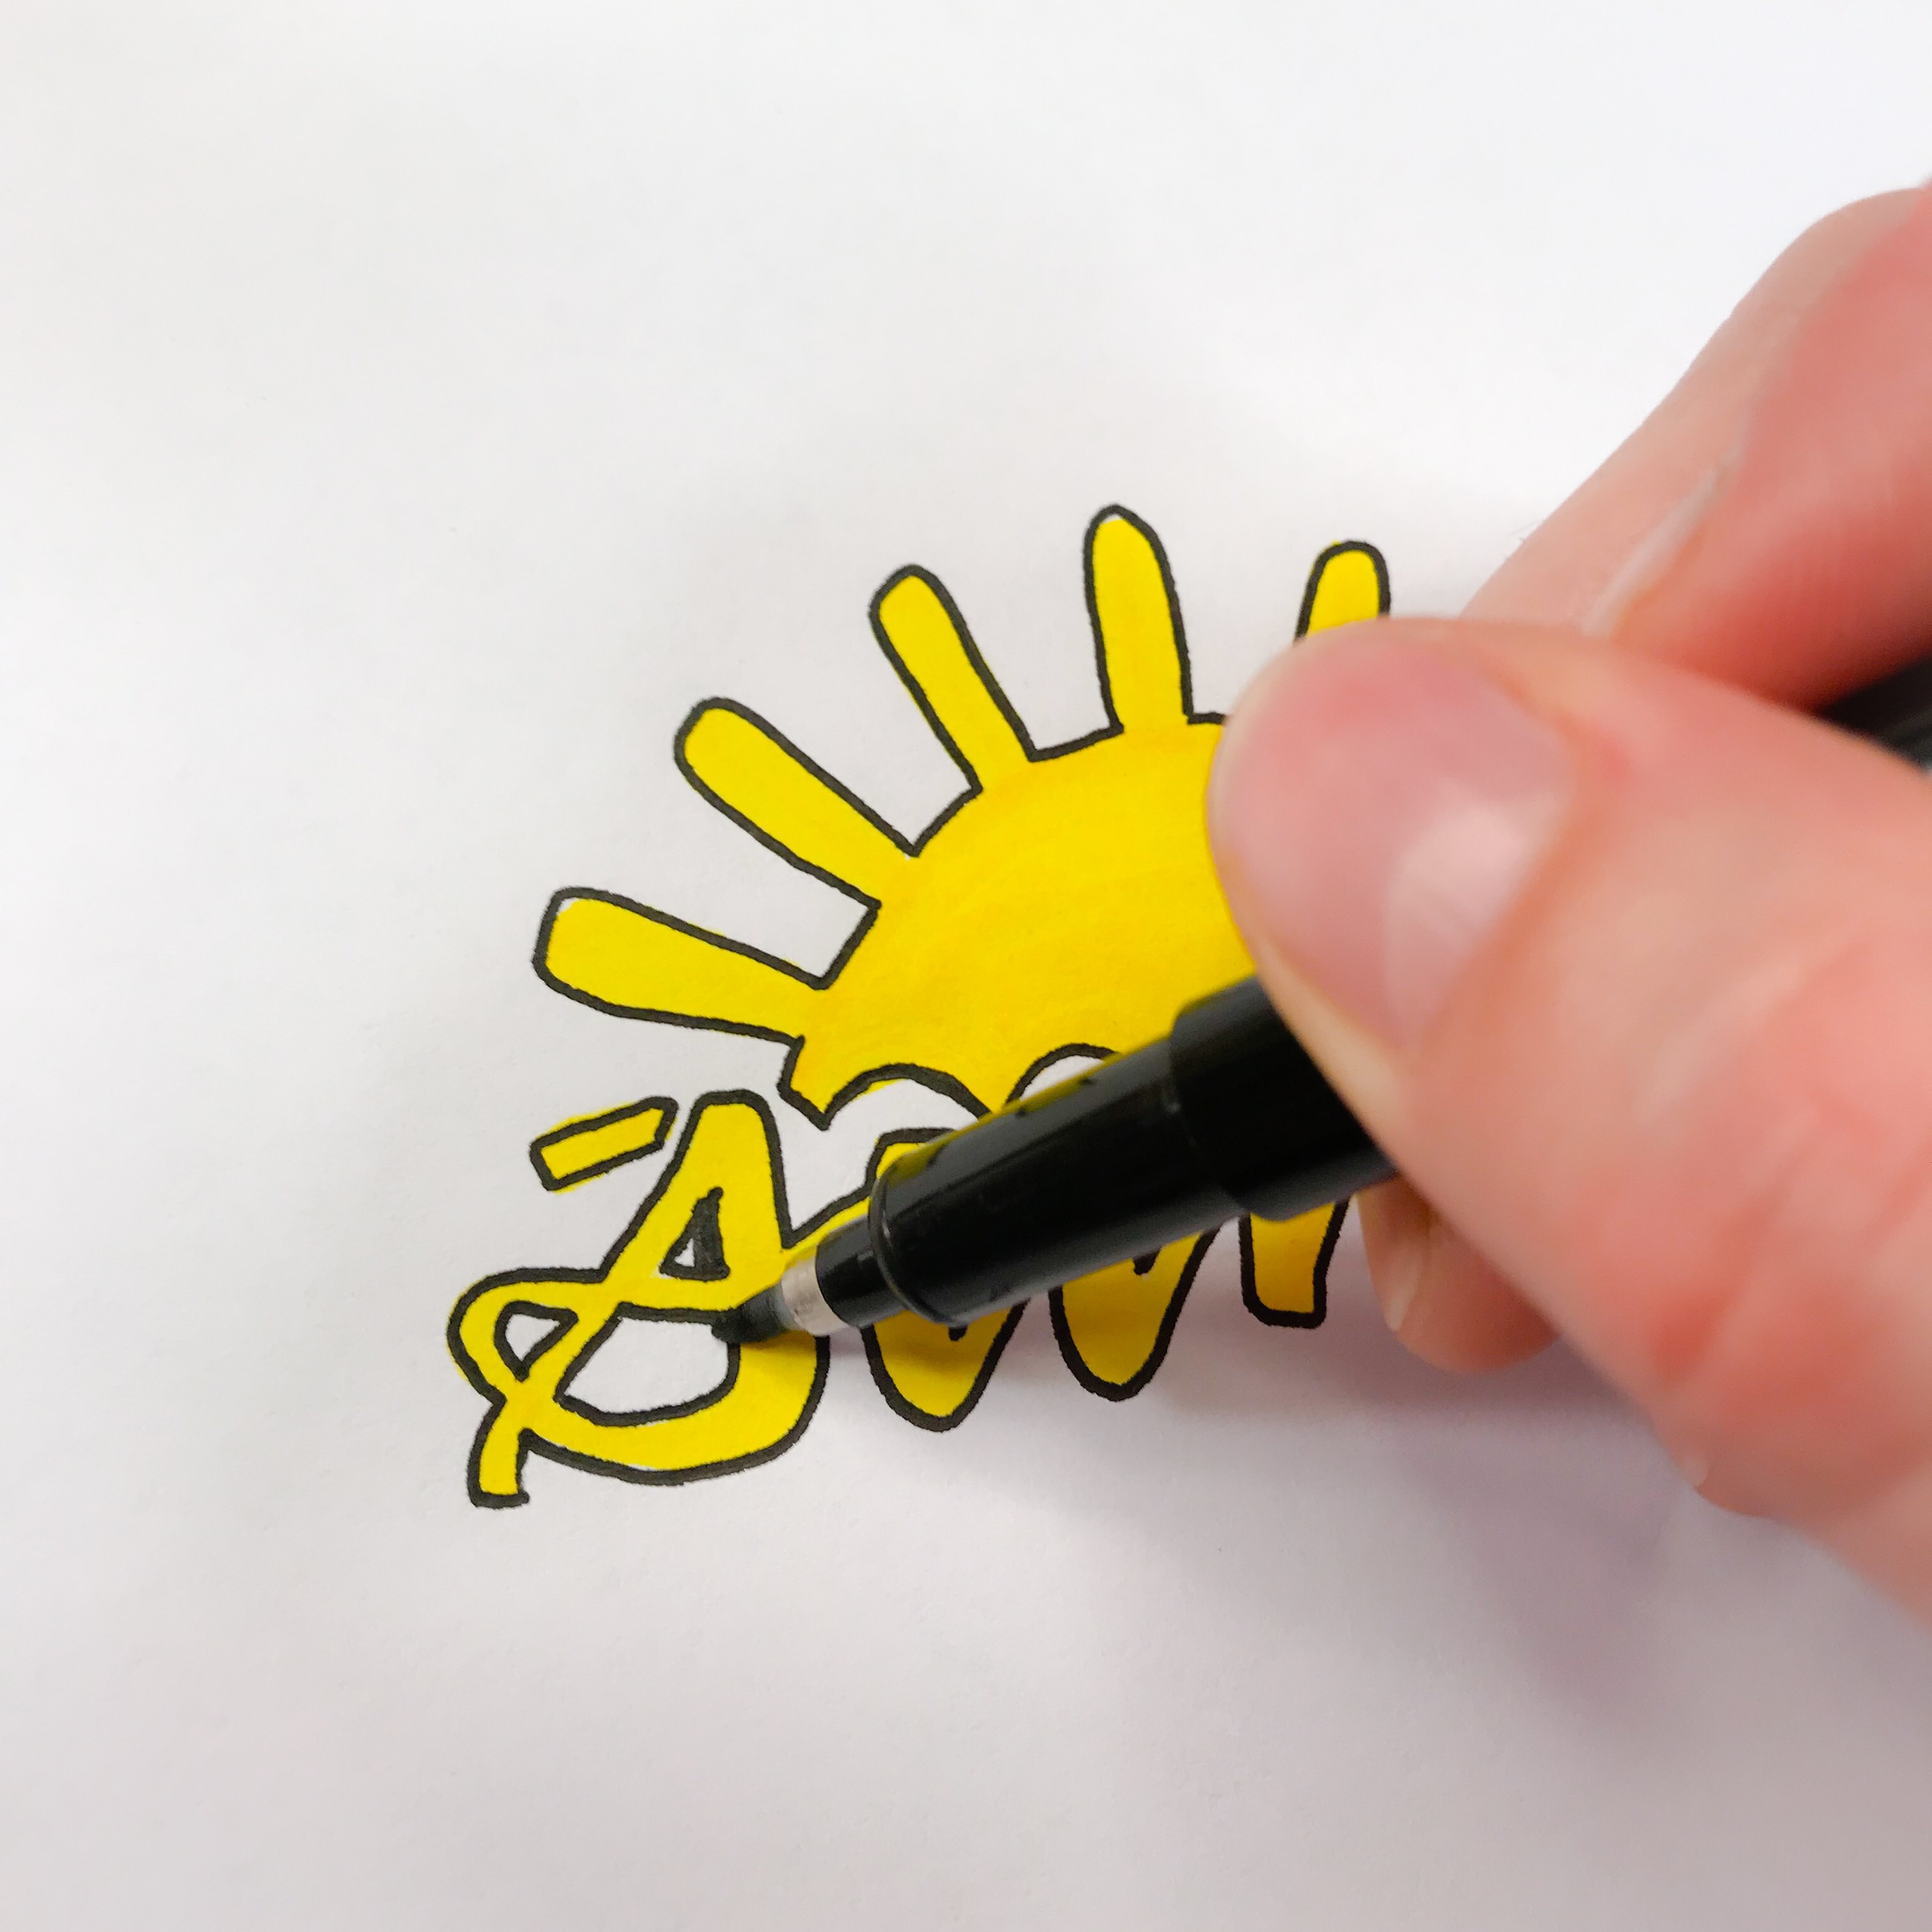
Next step is to outline all the letters and the sun using the Kelly Creates 08 Black Fineliner. (This black fineliner can be found in the set of 6 fineliners and also in the Deluxe Lettering Kit)
I LOVE outlining yellow with black because then it really pops! Remember that the more you practice outlining, the easier it gets.
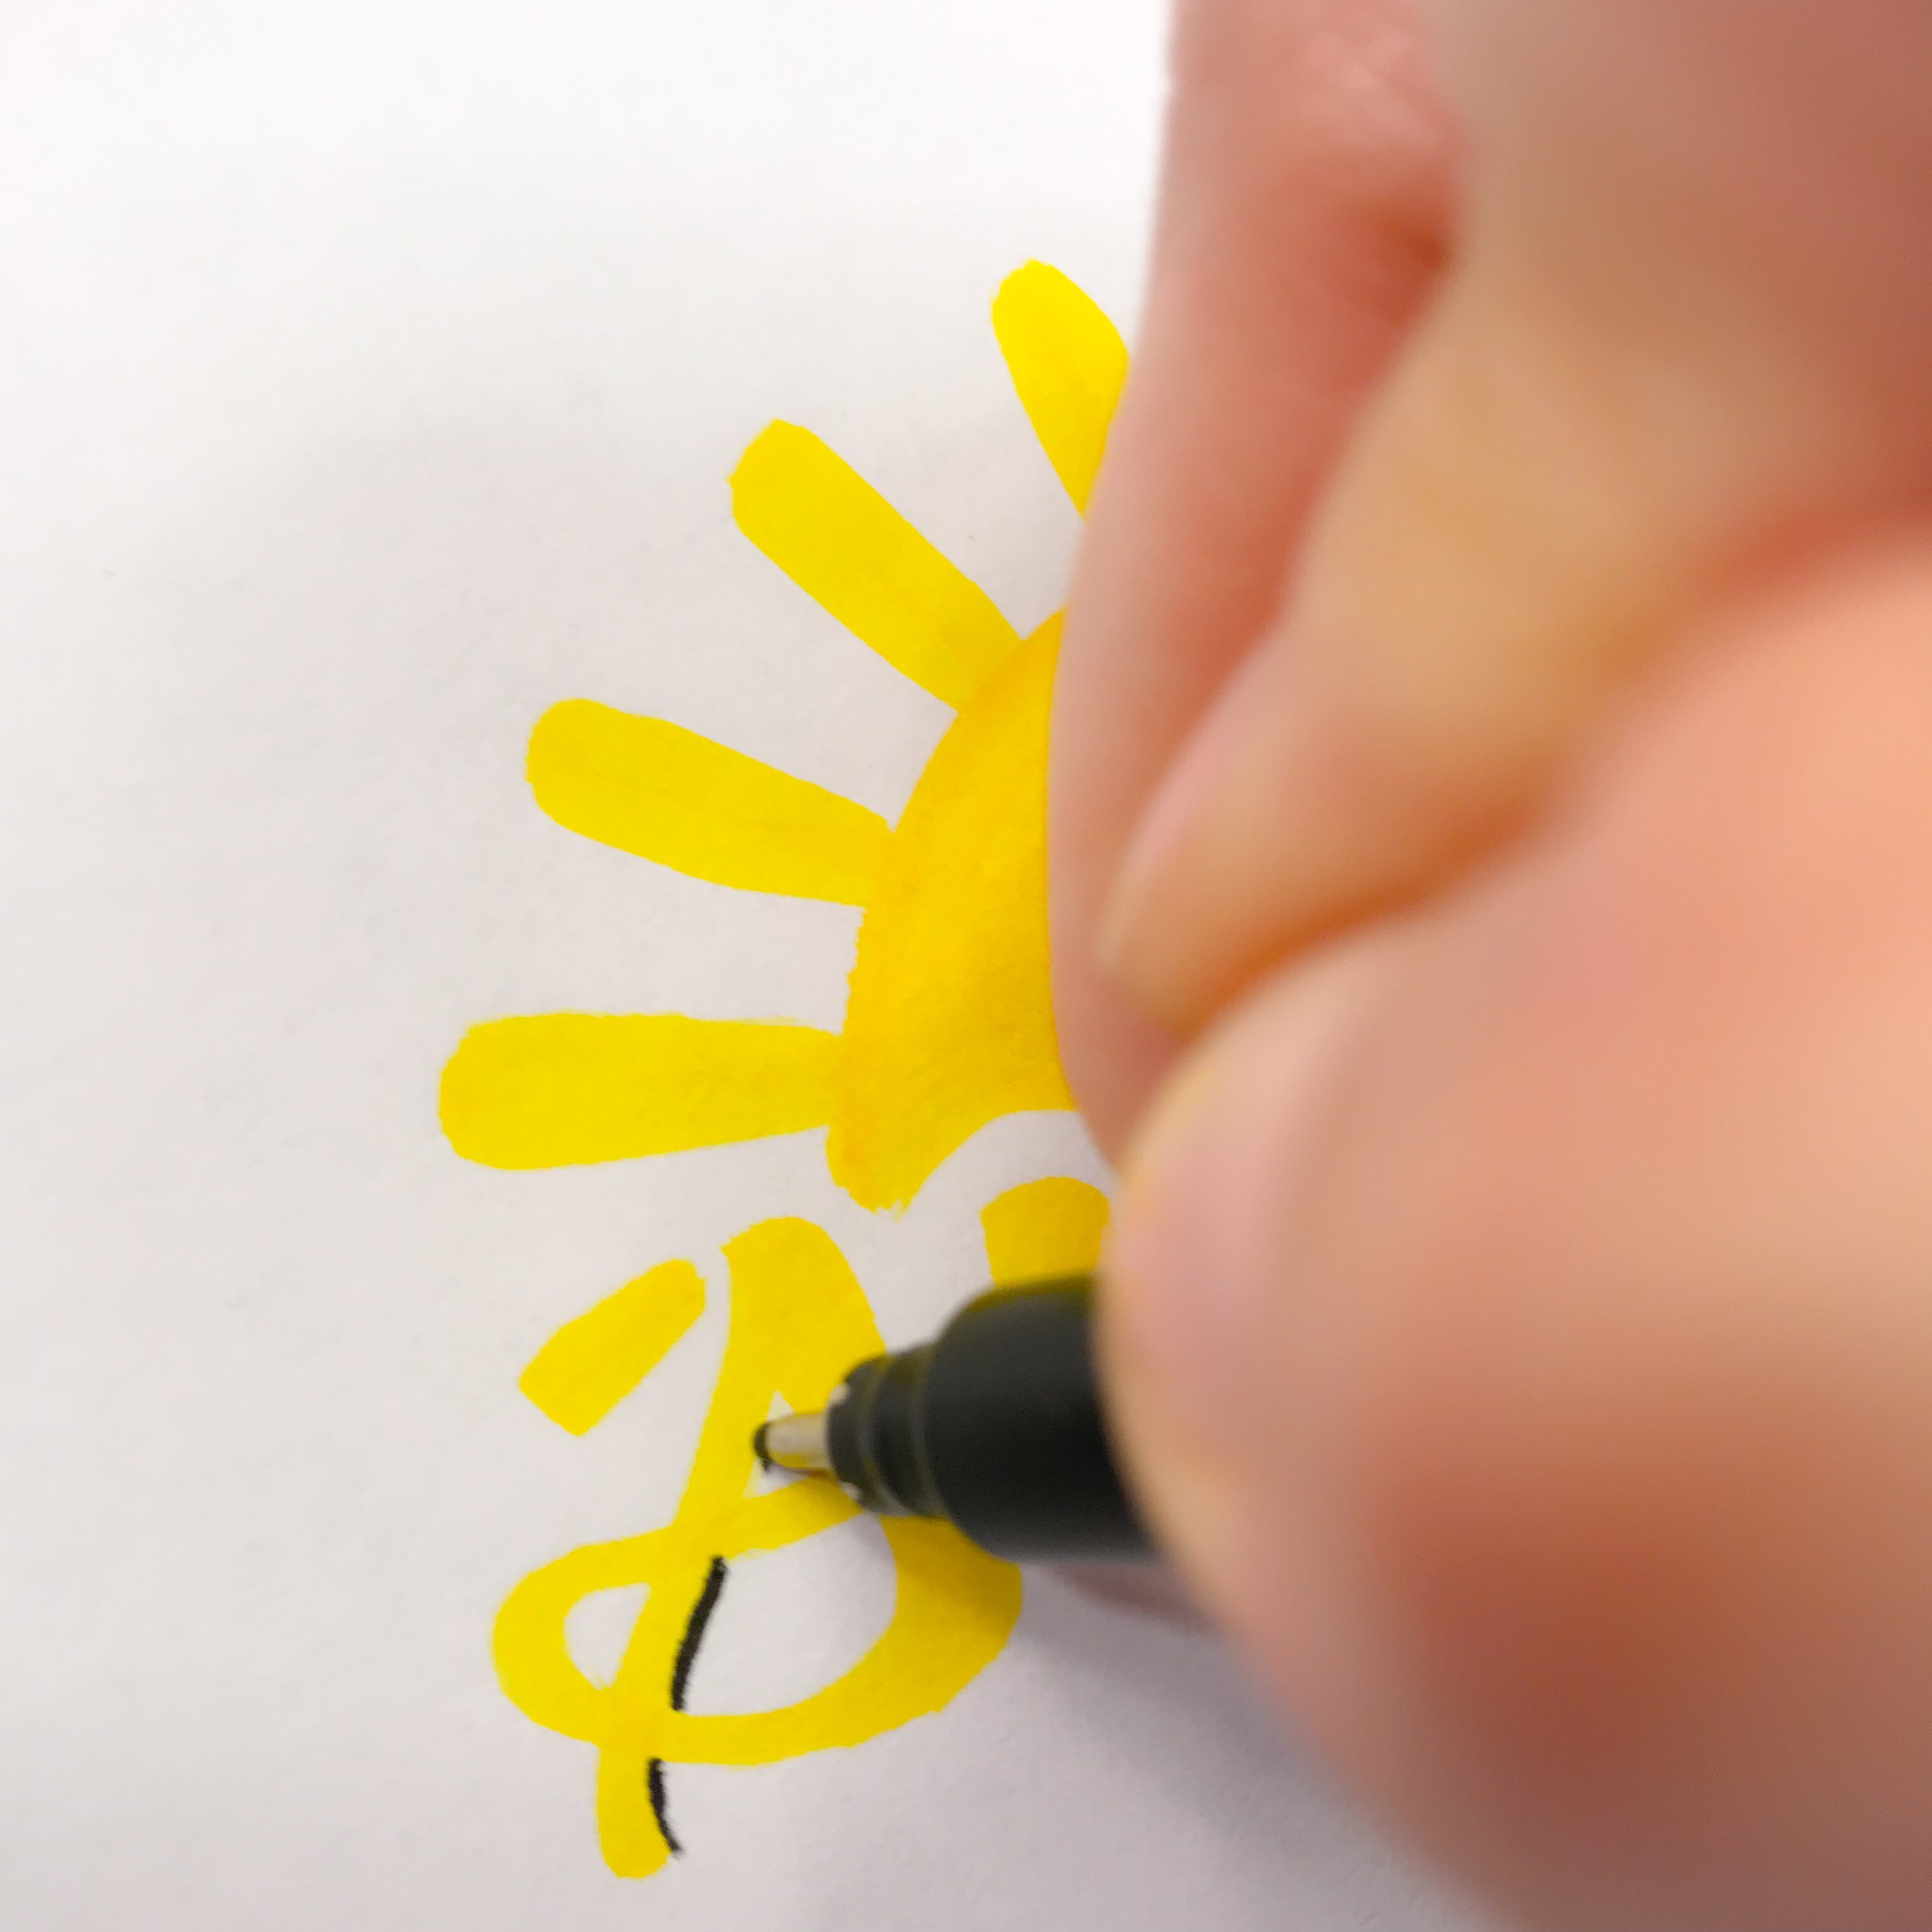
 Once the outlines are complete, add some shadows using the Kelly Creates Fine Black Brush tip pen to create even more dimension.
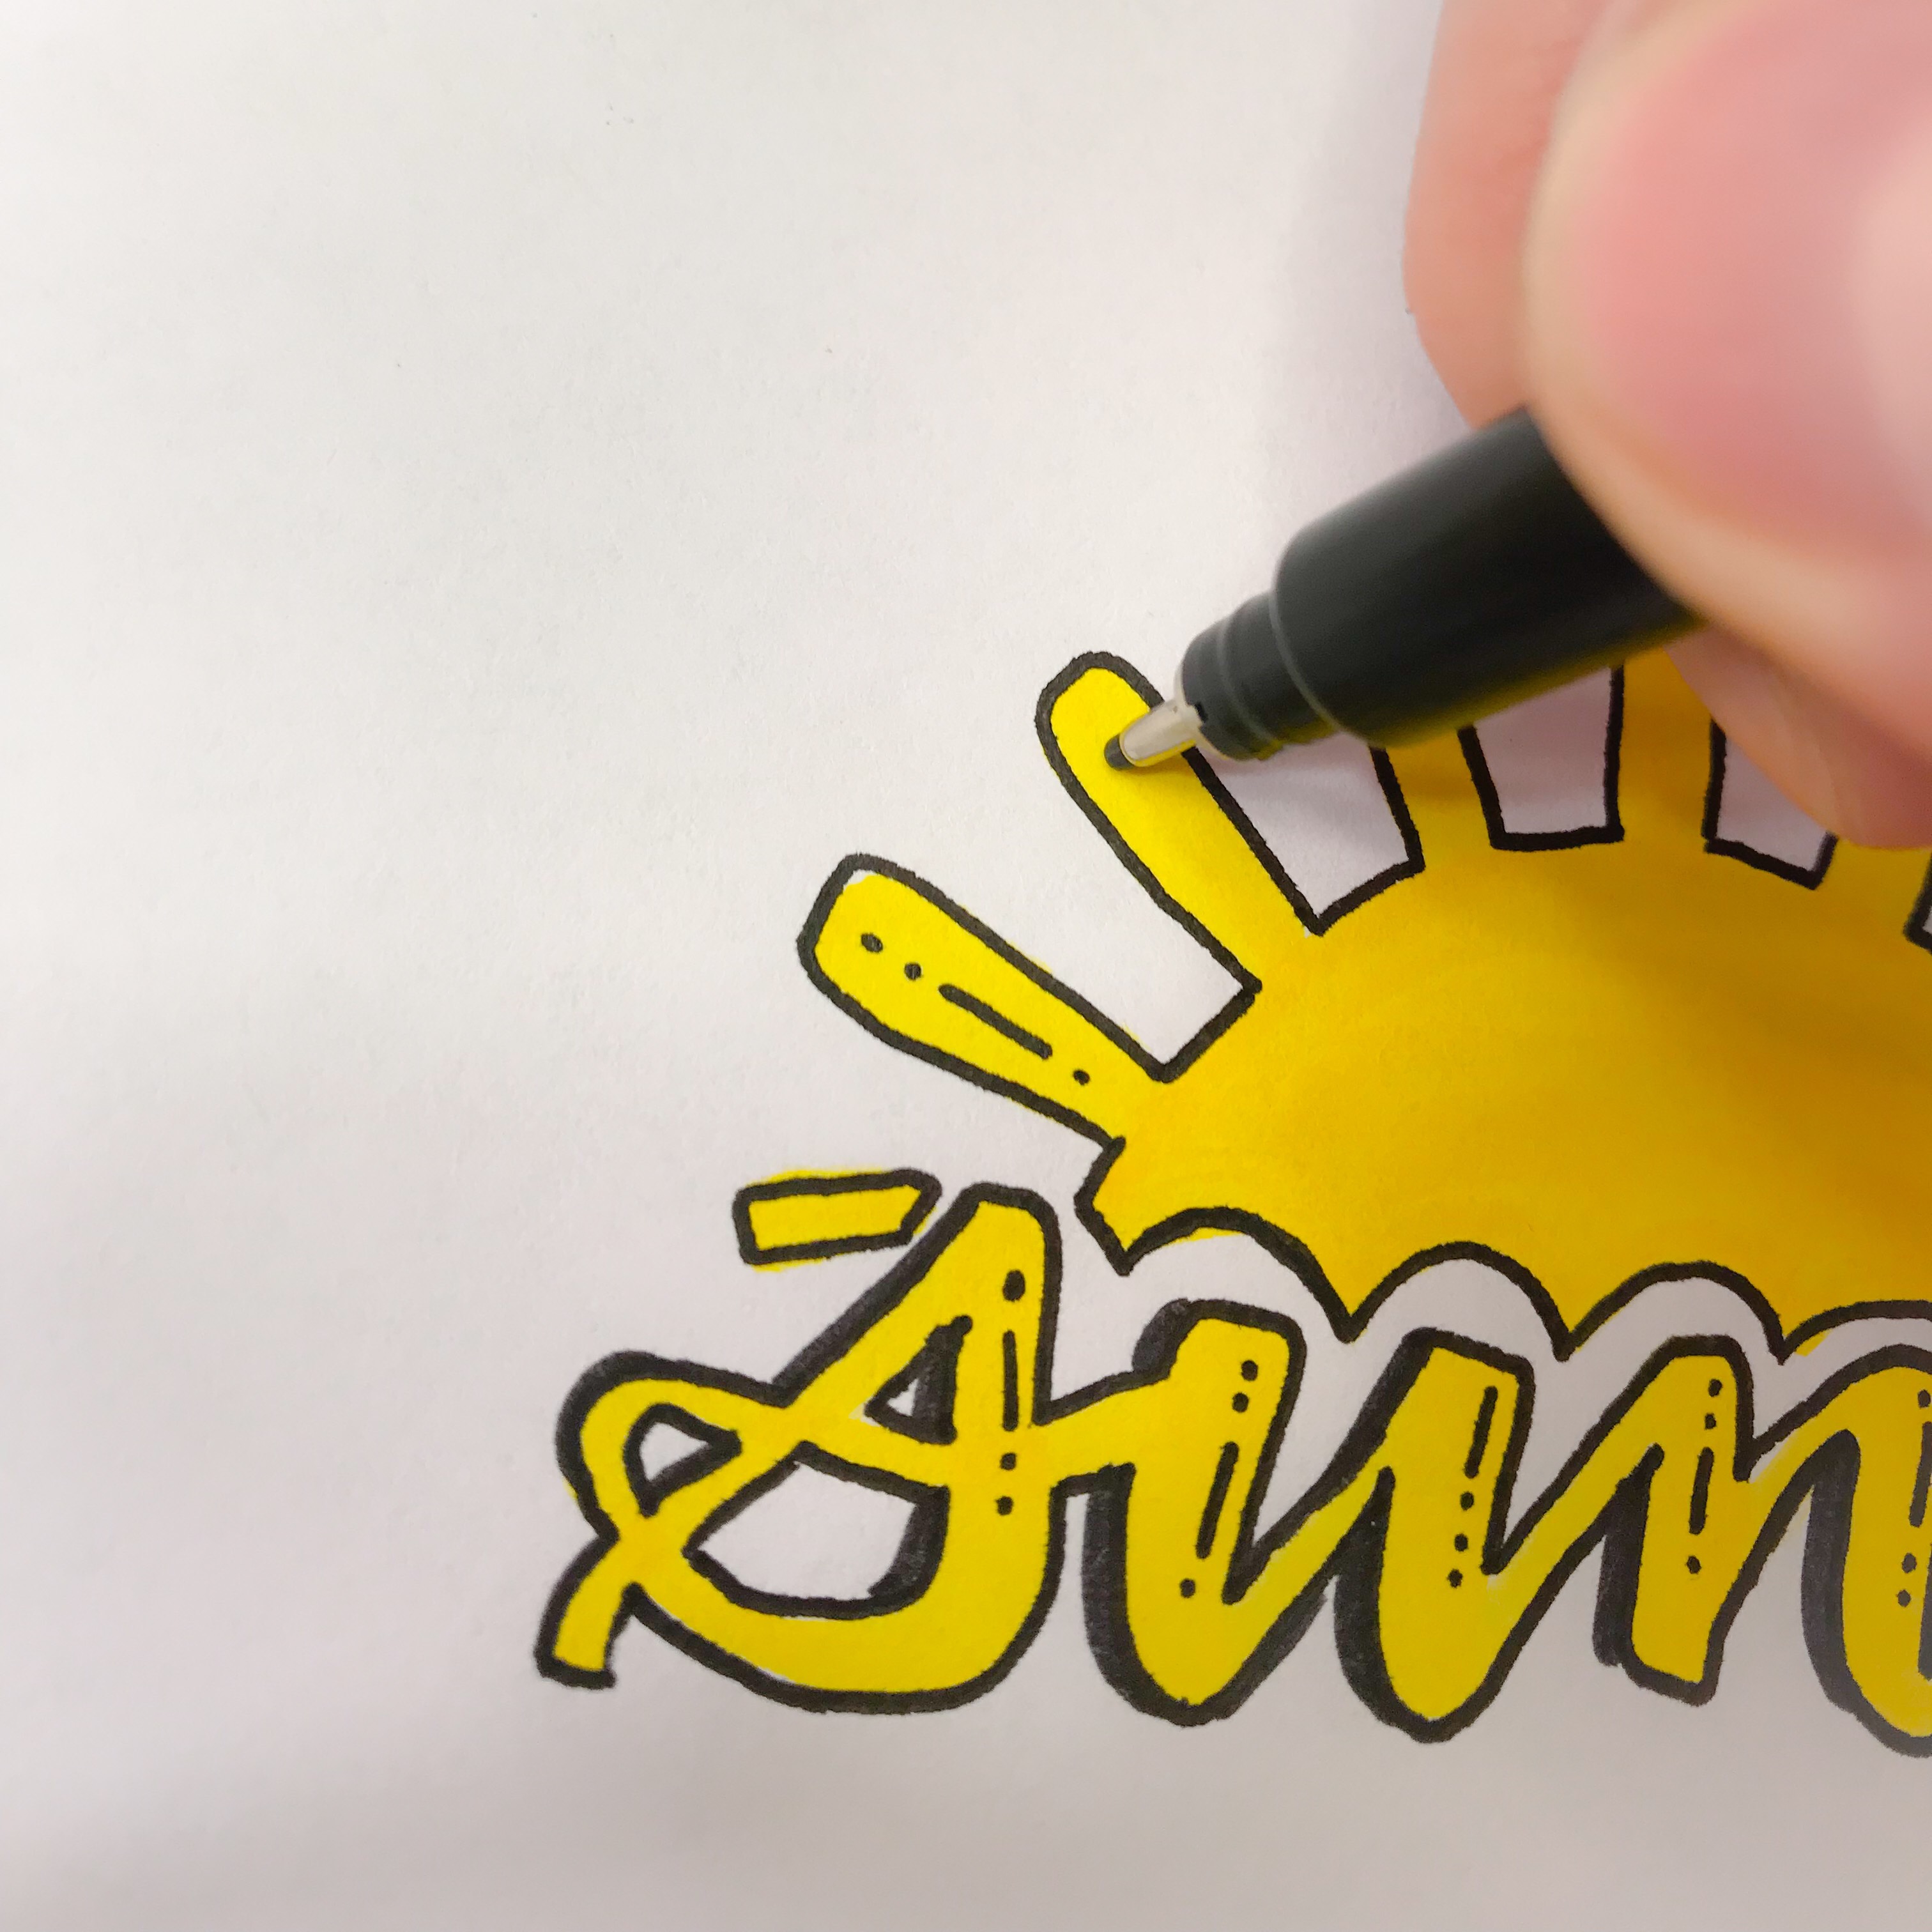
I typically add shadows to the right, but this time I put shadows to the left. I start with adding shadows to the left of all the thick lines and then I place a less thick shadow on the left side of the thin lines.
Now for my favorite part: little details inside the letters! I drew a combination of lines and dots with the Kelly Creates 08 Black Fineliner. You will notice I used 3 dots and 1 line as details in the letters. I varied the order from letter to letter for this project, but it’s always 3 dots and 1 line to maintain some sort of consistency. This is personal preference, and you can always find the combination you like best.
I placed the lines and dots to the right side of the thicks. And to finish it up: lines and dots in the sun and rays with a few lines and dots as extra rays.
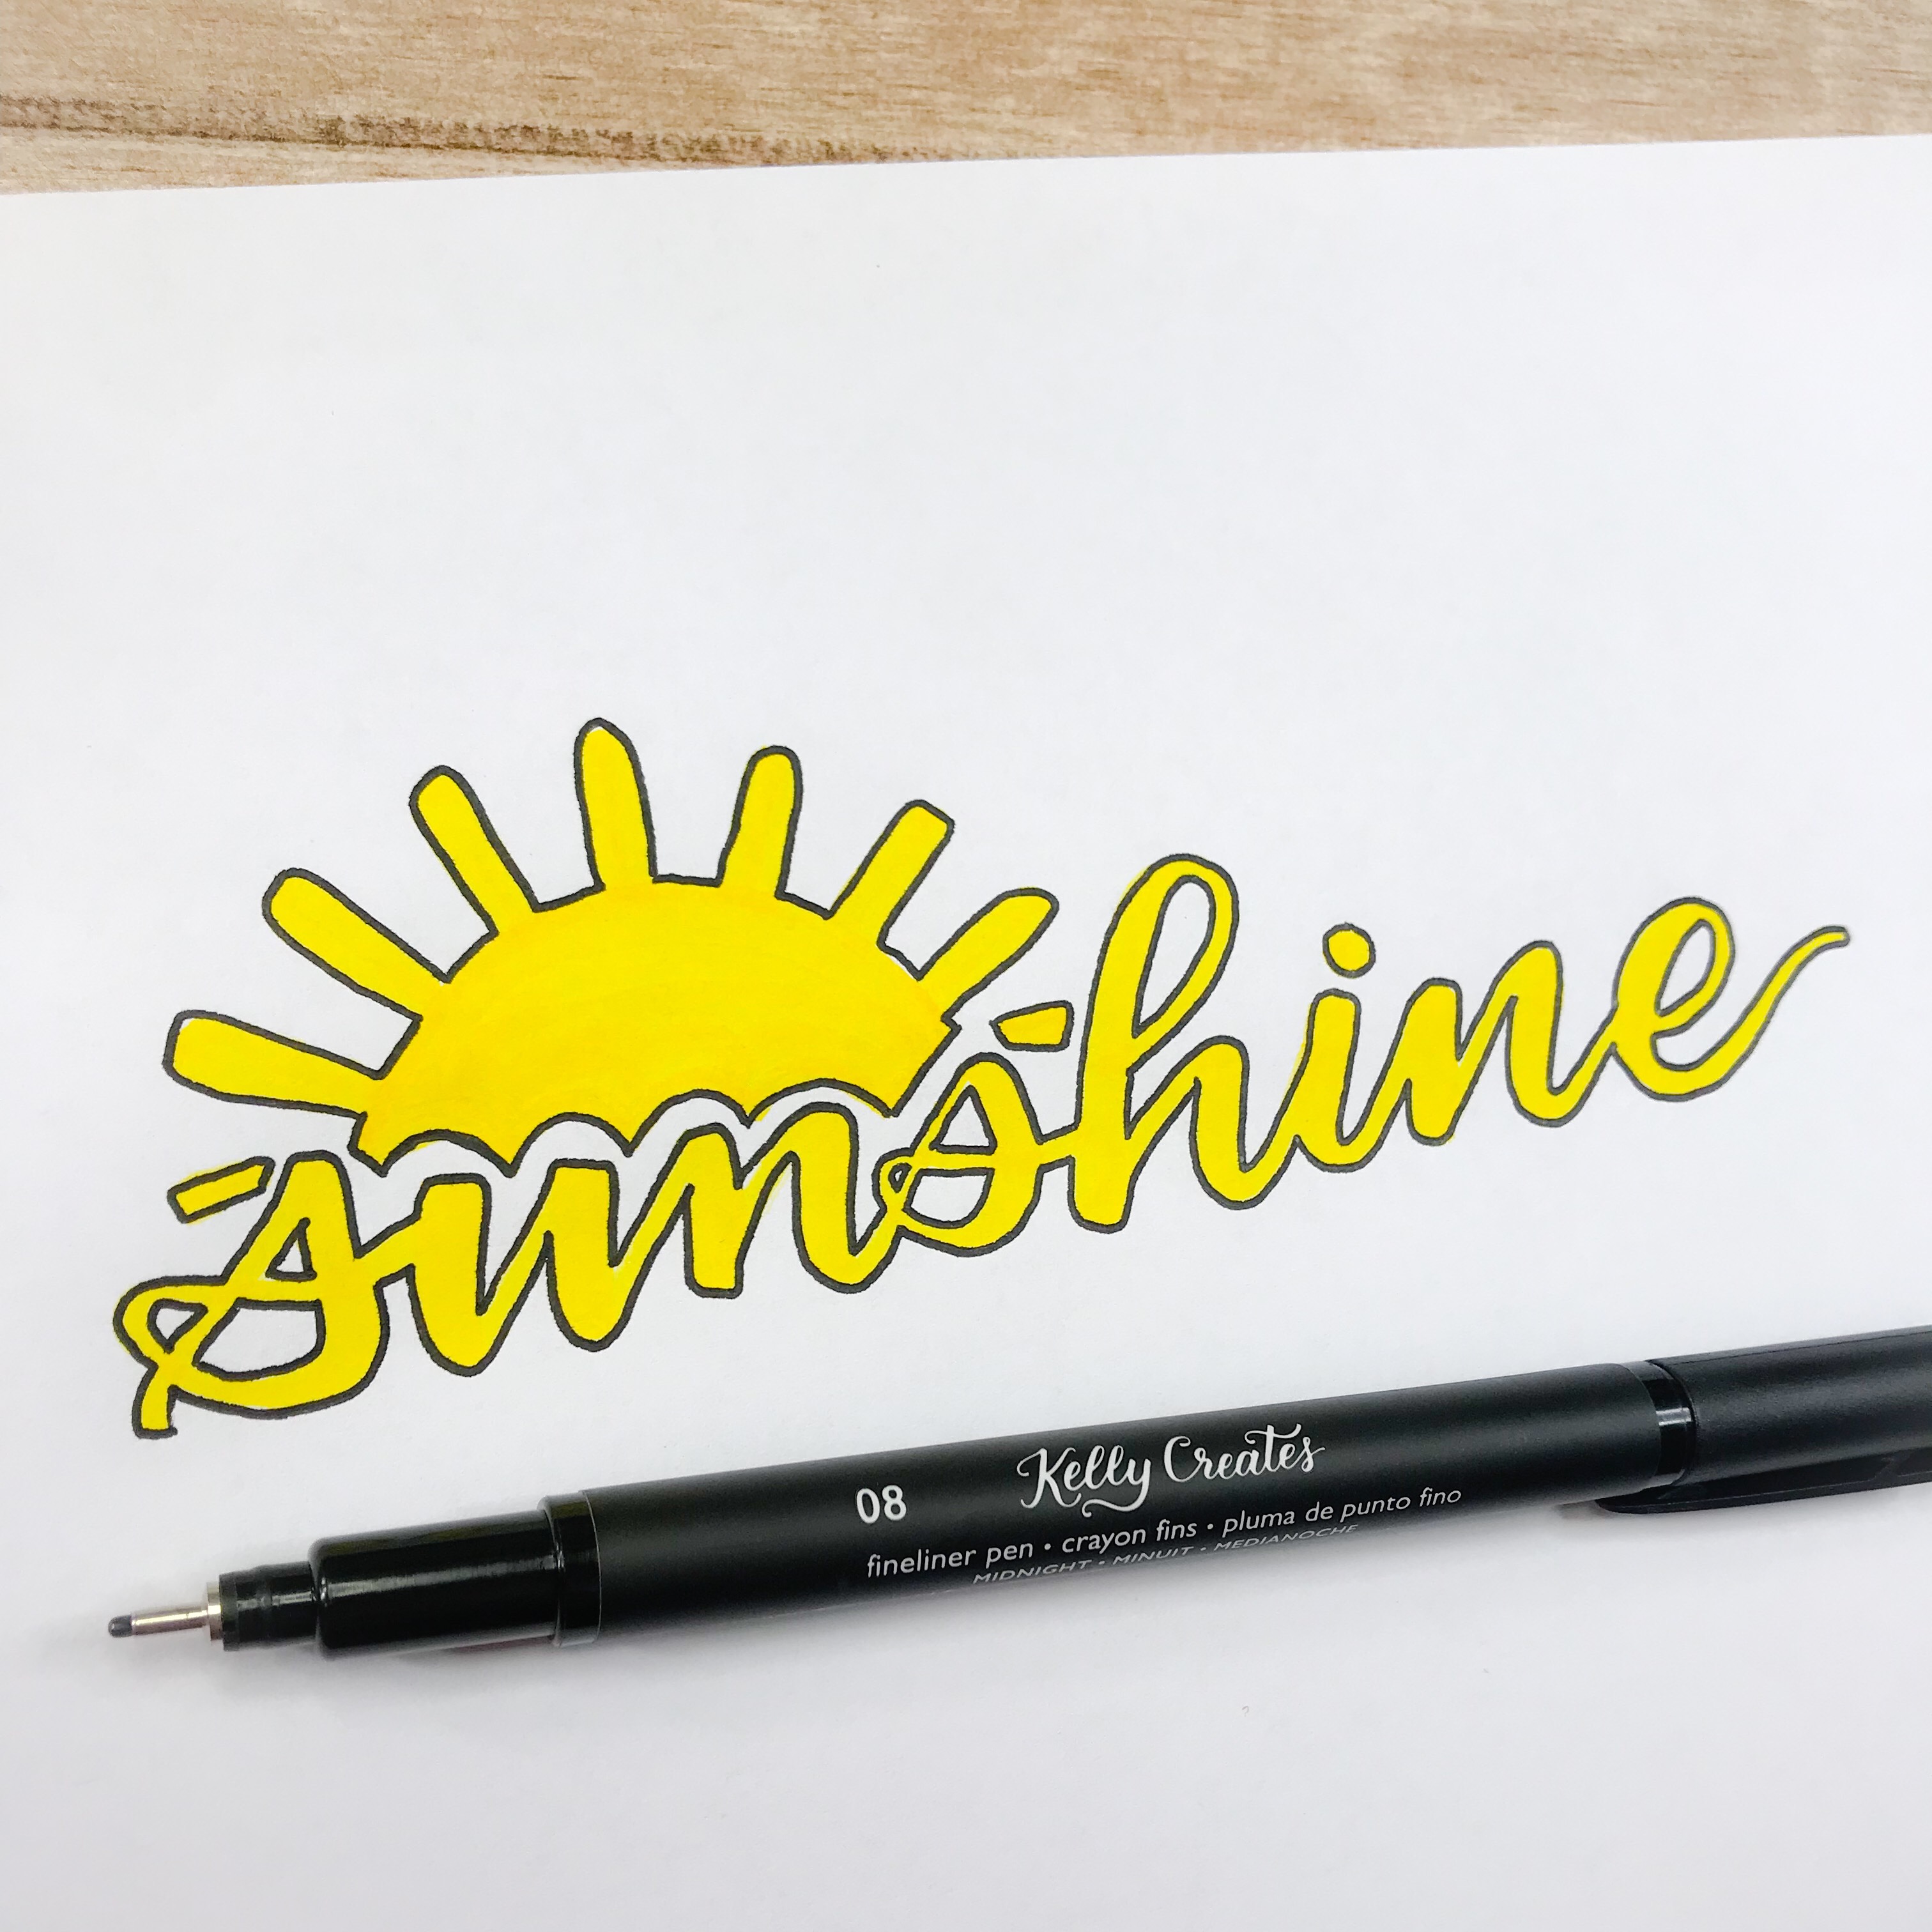
This look is one of my favorites. It has a primitive, cartoon-ish feel to it. It also doesn’t have to be perfect; a few imperfections in this look make it more interesting. And it never ceases to amaze me what you can do with just a few tools! 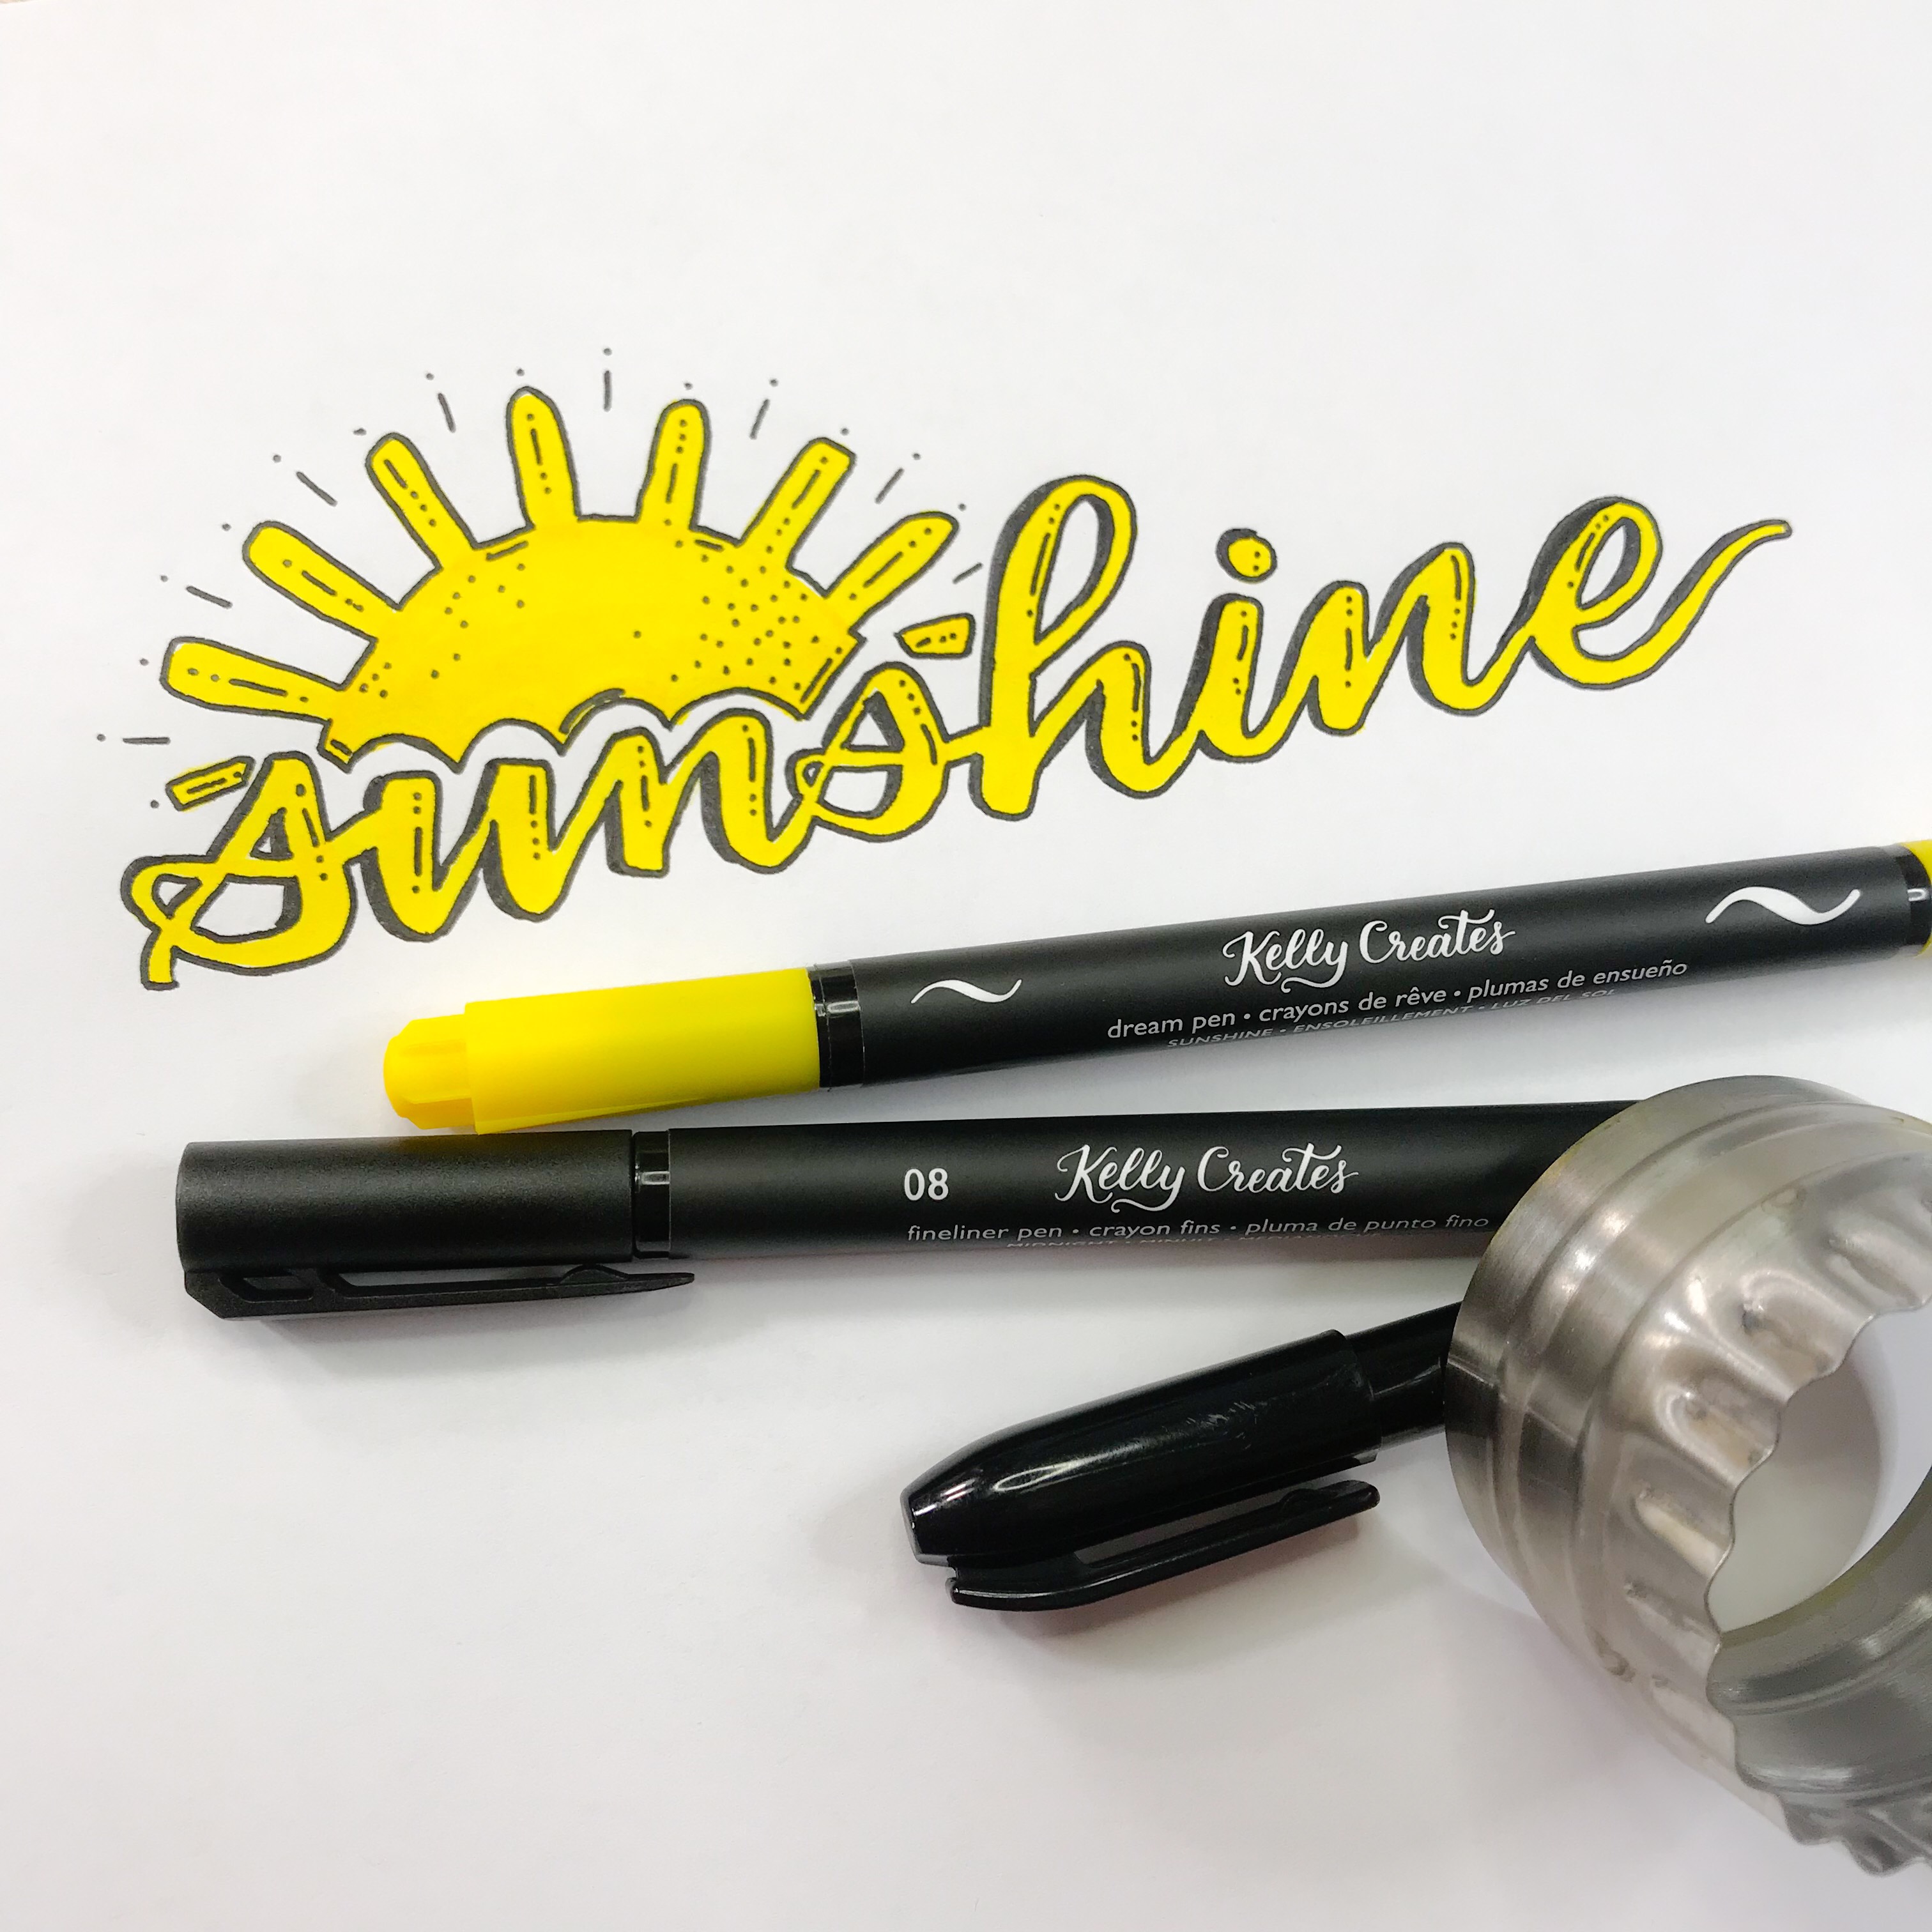
I would love to see if you try your hand at this project! You can share your photo in our Kelly Creates Art & Calligraphy group or on Kelly Creates Studio Facebook page.
Thanks Erica for showing us how little details can have a big impact on our lettering! Even if we have rainy days instead of sunshine (like where I am right now!) you can create a bright, happy piece of sunshine on paper like Erica did.
For more lettering inspiration and creative ideas, click HERE to follow Erica on Instagram @ericalligraphy2.
To shop for the supplies Erica used, click the affiliate links below:


PIN ME!
Linda Epstein
July 27, 2019 at 4:08 pm (7 years ago)Nice work Erica and some great ideas.
Debbie V
July 28, 2019 at 9:55 am (7 years ago)Love your style