
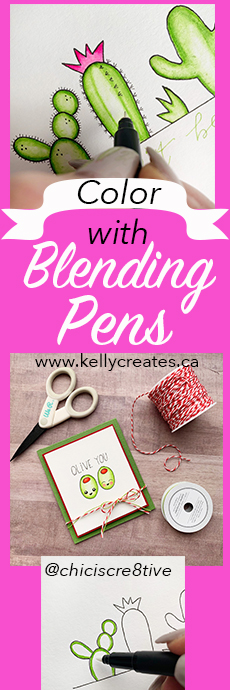
Chasity (@chiciscre8tive) makes the CUTEST cards! Today on the blog she has a wonderful tutorial for some ‘punny’ romantic Valentine’s Day cards, showing us how to colour and create dimension with Kelly Creates brush pens and the Blending Kit.
Kelly Creates Supplies: Multicolor Small Brush pens Berry & Sage, Black Fineliners 005 and 0, Deluxe Lettering Kit (Pencil, Eraser and Ruler), Aqua Brush Blossom, Blending Kit
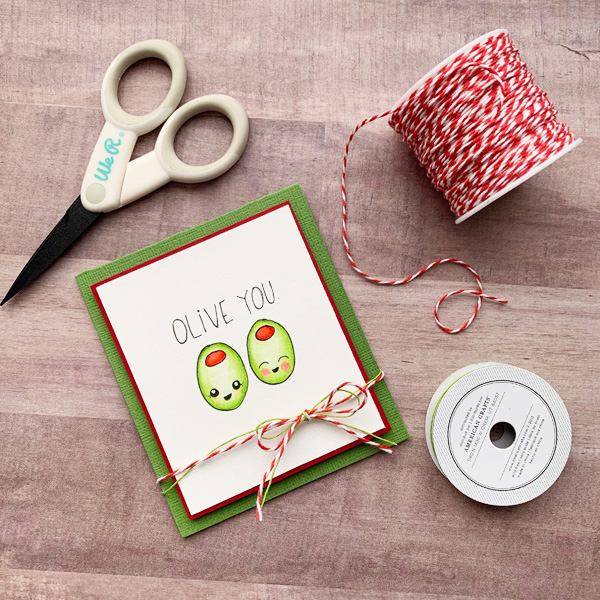
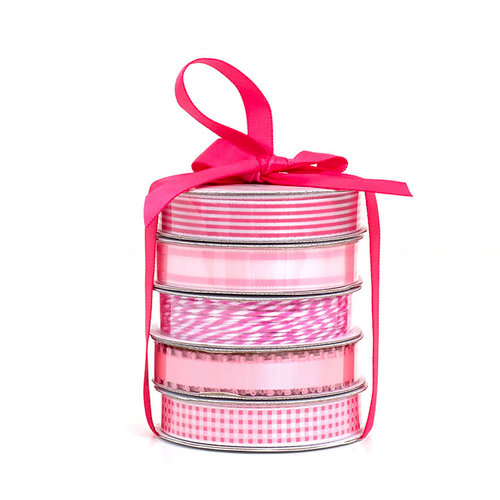
Other Supplies: Watercolor Paper, Adhesive, Foam dots, WRMK Trim & Score Board, Scissors, Bazzill Pink and Green Card stock, Baker’s Twine and Jute
February is upon us, the month of LOVE. My husband and I have celebrated many, many Valentine’s Days together. Don’t get me wrong, I am a romantic to the core, but we are just not the mushy card couple! I wanted to create a fun, punny handmade card for him this year. We sure do love humor! In this post, I will show you how to use Kelly’s pens for more than just hand lettering!
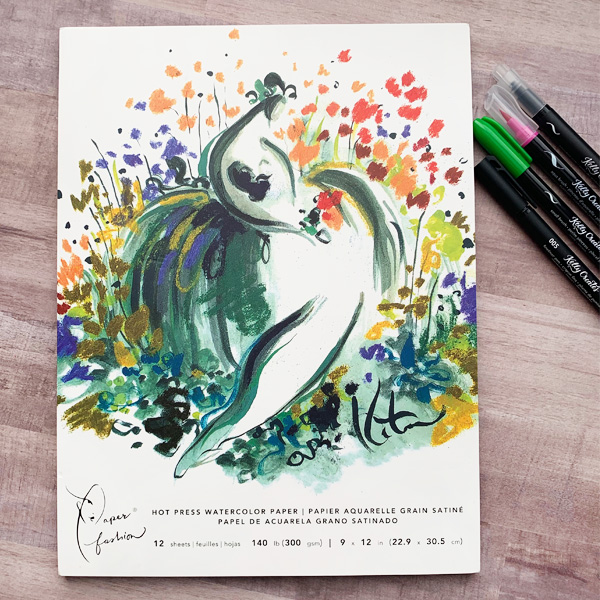
For this project, I focused on using the Kelly Creates Blender Pens. I wanted to draw some cacti, and used a funny pun to make the card. I started with smooth watercolor paper as my base. This type of paper is great for blending, but make sure it’s not too rough to damage your brush tips. (NOTE: Regular paper and card stock will not work well to ‘blend’ colours with water based pens)
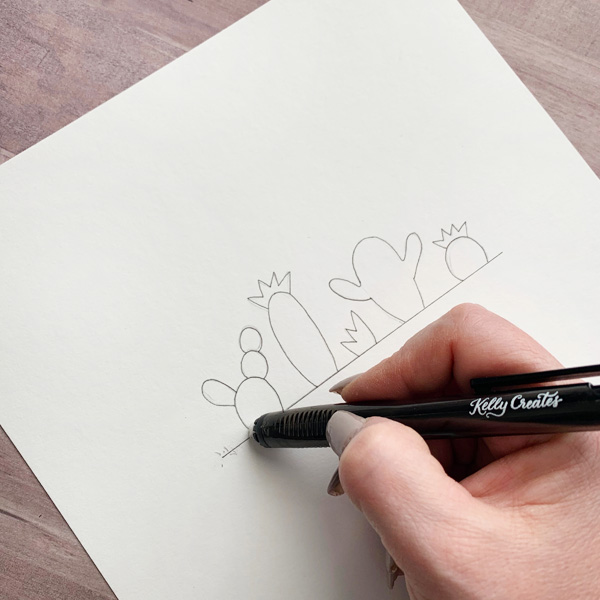
 Then I used the pencil, eraser and ruler from the Kelly Creates Deluxe Lettering Kit to draw the cacti first.
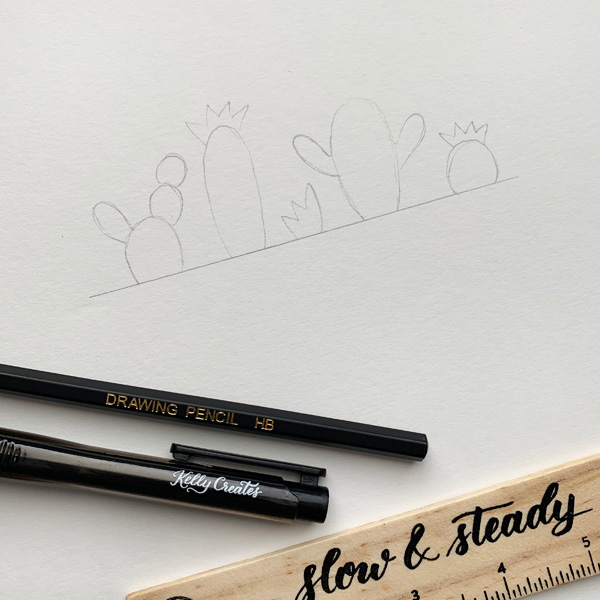
Freehand your design in pencil, but keep in mind this will be mounted on a card, so I kept mine about 6.5” x 4.5” so it would fit on a 5” x 7” card.
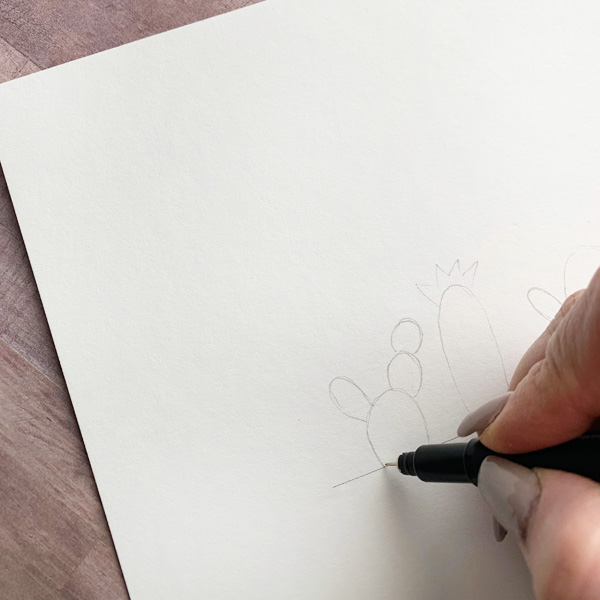 Next step, take the Kelly Creates Black Fineliner 01 and trace over the pencil lines. Use the eraser to erase the pencil lines.
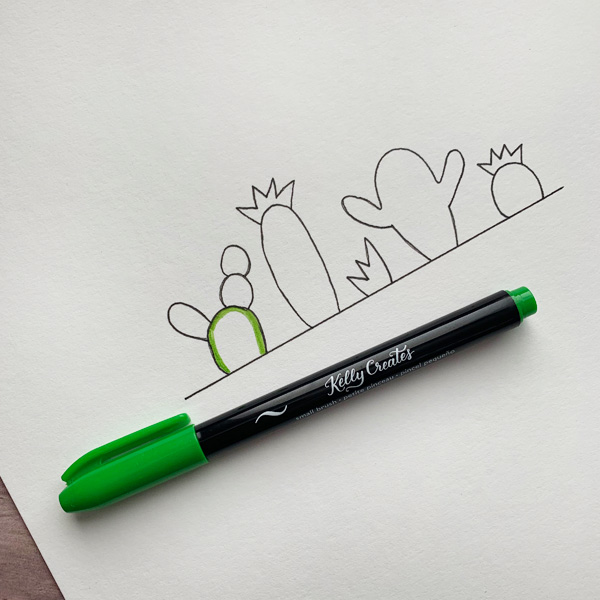
 Now it’s time to practice some blending! I chose the Kelly Creates Multicolor Small Brush Pen “Sage” and drew a few green lines on the inside edge of the cactus.
Next, begin to blend the green towards the center of the cactus with the Kelly Creates Blending Pen. This is a really fun technique! You can add more green if you need, so start with just a little and add as needed! 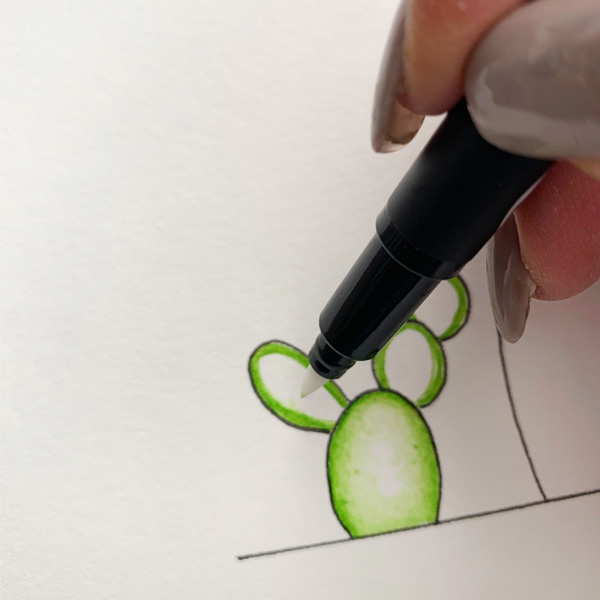
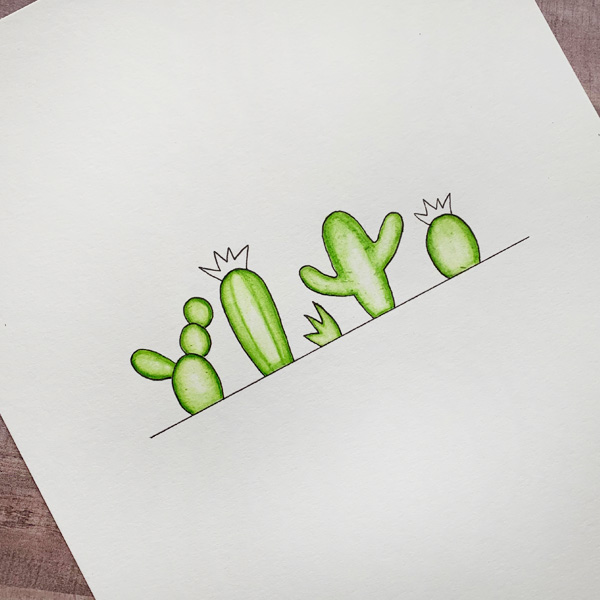
Continue this same technique for each cactus shapes. It’s fun to see how the varied shapes blend differently. I also added some green lines for dimension. (NOTE: Try to blend in just a few strokes. Overworking the paper will cause it to pill or tear).
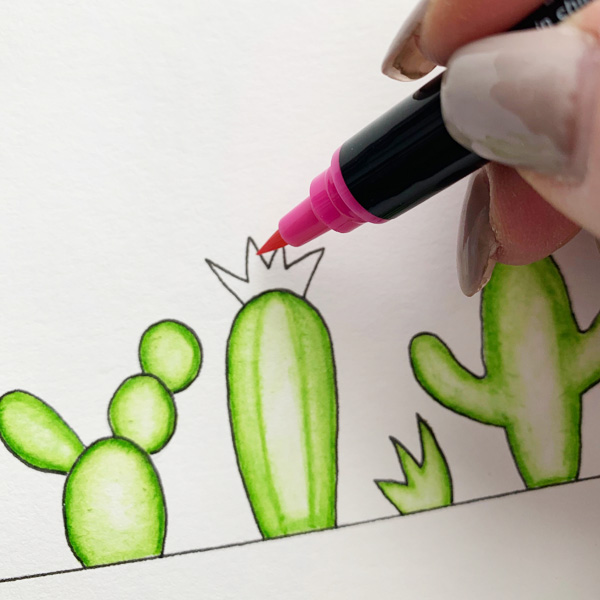
Next, I used the Kelly Creates Aqua Pen Blossom and applied the same technique with the Kelly Creates Blending Pen. I really love how the green and pink look together.
Now that the cacti are done, time to move on to some lettering.
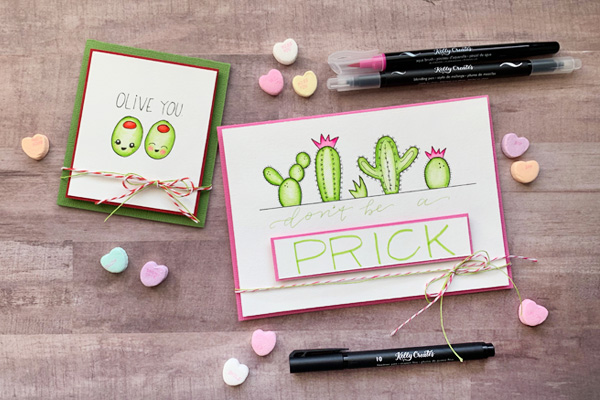
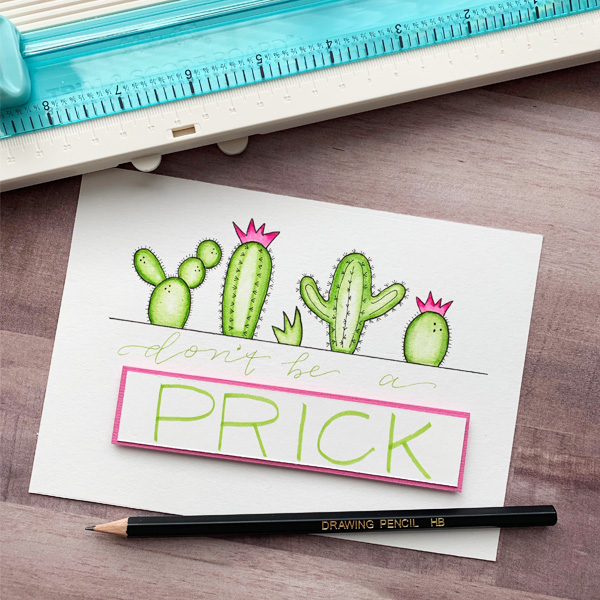
The funny pun that I chose for the front of my card is “Don’t be a Prick”. Get it?!? It goes great with the cacti! I used the same “Sage” Kelly Creates Multicolor Small Brush Pen to write the words.
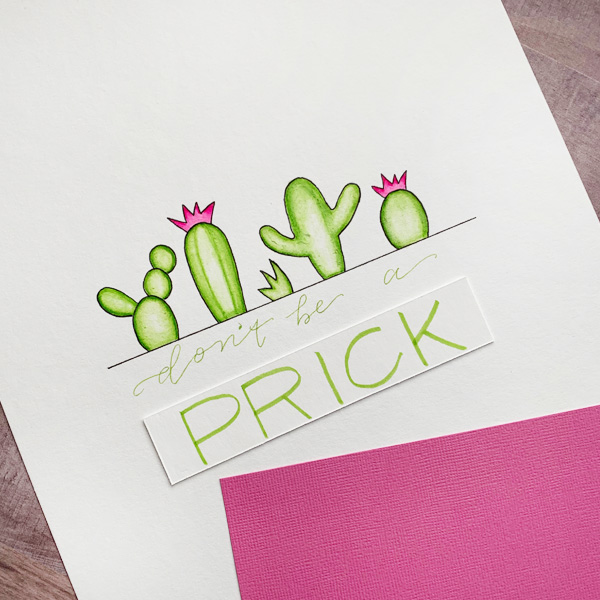
Then I matted the small piece of watercolor paper with pink cardstock, and added some foam pop dots to give it some dimension.
 Next, I wanted to add some details to the cacti collection. I used the Kelly Creates 005 Black Fineliner Pen. This is one of my all time favorite pens!
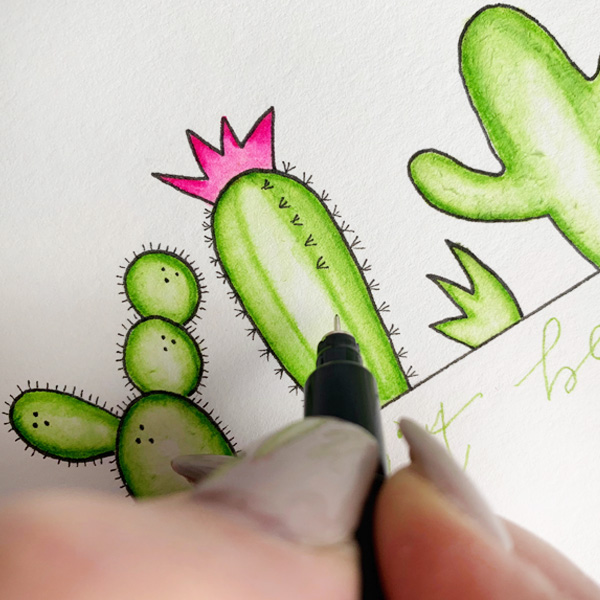
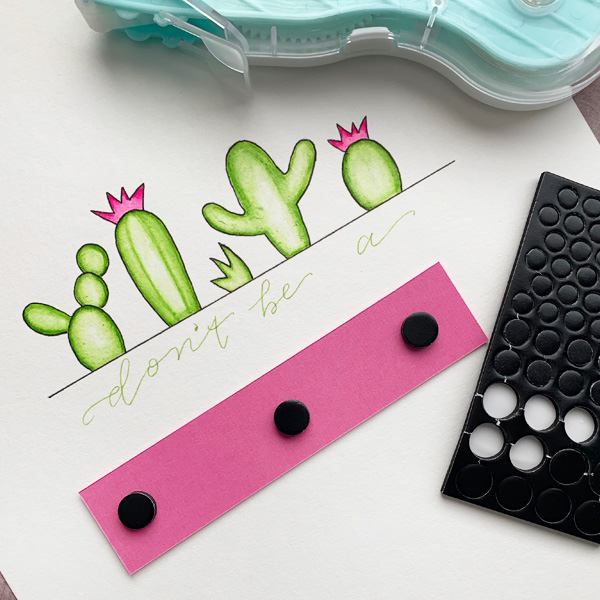
You can draw the spines and also add short lines, hatch lines, and dots as details. Be sure to put the lines on the outside of the shapes as well as on the inside to create dimension.  Now adhere the matted small watercolor paper to the front of the cactus card, centering it with the wording. I love the way it pops off the paper!
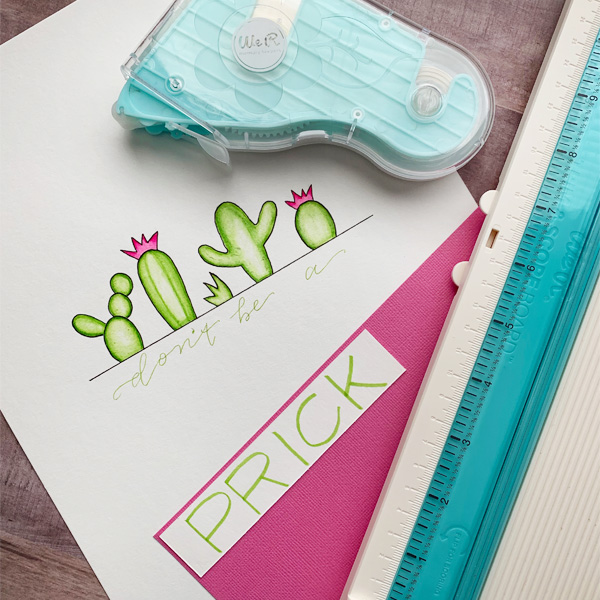
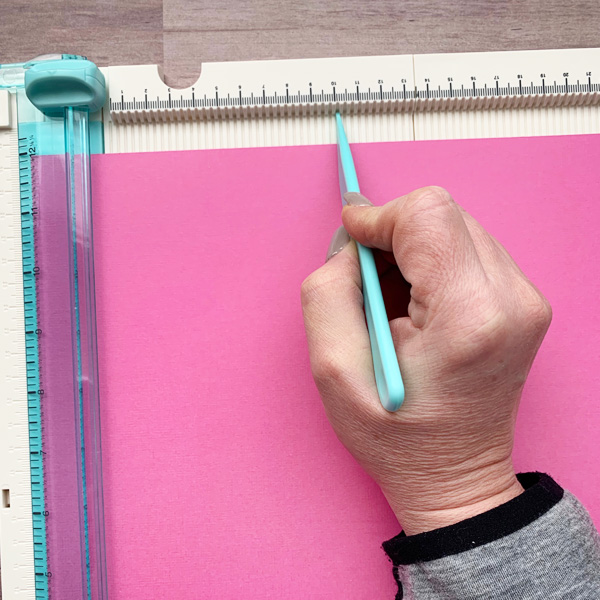
Trim the watercolor paper just slightly smaller than 7” x 5”. Take a piece of pink cardstock and trim to 7”x 10”. Score at 5” so when it is folded, it creates a 7” x 5” card.
 Mount the watercolor paper to the front of the card with a tape runner. There will be a small pink border.
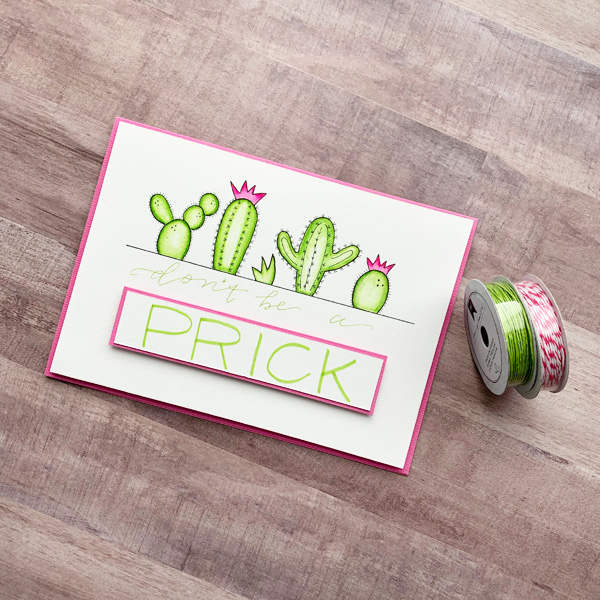
If desired, cut Baker’s Twine and jute in coordinating colors and wrap around the front of the card and tie in a bow. Take a 6” x 4” piece of watercolor paper and hand letter “It’s Valentine’s Day” using the Sage and Berry Kelly Creates Small Brush Pens. Adhere to the inside of the card. 
If this punny card isn’t quite your style, feel free to experiment with other illustrations and sentiments or even Kelly Creates Stamps to create the perfect card for your loved one! Here is a cute “OLIVE YOU” card using the same blending techniques.
Just have fun with the blending technique! Try the Blending Pens with all of Kelly’s pens for different looks. Please share with us what you create! Thanks for joining me today!
Handmade cards for any occasion are just the best, aren’t they? Thank you Chasity for sharing how the Blending Pens can be used for colouring and adding pretty details to illustrations.
For more crafty inspiration, follow Chasity on Instagram @chiciscre8tive !
To Shop for the supplies Chasity used, click on the images below (affiliate shopping links):


Michele K. Henderson
February 7, 2019 at 10:08 am (7 years ago)I LOVE this! Thanks for the quick and easy picture tutorial!
Linda Epstein
February 8, 2019 at 2:16 pm (7 years ago)Very cute ideas. Thanks.